Create presets to save and reuse settings
Presets are assets used to save and reuse settings configurations from Unity Editor windows. Presets help you avoid having to manually configure the same settings repeatedly. You can save the property configuration of a component, asset, or Project SettingsA broad collection of settings which allow you to configure how Physics, Audio, Networking, Graphics, Input and many other areas of your project behave. More info
See in Glossary window and then apply that configuration in other instances of the same context.
For example, you can edit the properties of a RigidbodyA component that allows a GameObject to be affected by simulated gravity and other forces. More info
See in Glossary component, save these settings to a preset asset, then apply that preset asset to Rigidbody components in other GameObjectsThe fundamental object in Unity scenes, which can represent characters, props, scenery, cameras, waypoints, and more. A GameObject’s functionality is defined by the Components attached to it. More info
See in Glossary. The preset applies only to the Rigidbody component and doesn’t affect other components.
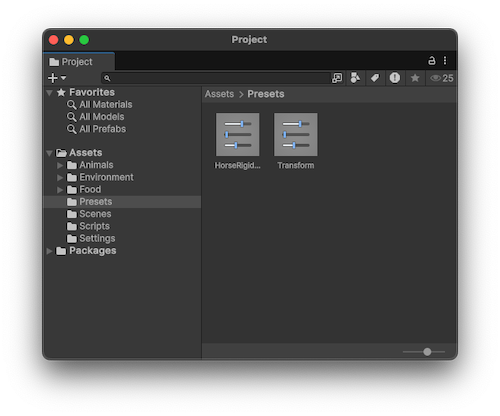
You can store presets in the Assets folder of your project. Use the Project window to view and select presets to edit in the InspectorA Unity window that displays information about the currently selected GameObject, asset or project settings, allowing you to inspect and edit the values. More info
See in Glossary.
Save settings to a new preset
To save configured settings, create a new preset asset for them as follows:
- Identify the asset or settings group you want to save as a preset:
- For GameObjects: Select a GameObject in the Hierarchy window to open its properties in the Inspector window.
- For assets: Select an asset in the Project window to open its import settings in the Inspector window.
- For Project Settings: From the main menu, go to Edit > Project Settings and select the settings group you want to save as a preset.
Configure the properties in the Inspector or Project Settings window.
Click the preset selector (the slider icon) at the top-right corner of the window.

In the Select Preset window, click Create New. A File Save dialog appears.
Choose a location for your new preset, enter its name, and click Save.
Note: Preset support and the preset selector are only available for certain Project Settings windows.
Edit saved settings in an existing preset
To edit the saved settings in an existing preset, select the preset asset from the Project window and edit its properties in the Inspector window.
Note: When you change the properties in a preset, your changes don’t affect items you’ve already applied the preset to. For example, if you apply a preset for a Rigidbody component to a GameObject, and then edit the preset, the settings in the Rigidbody component don’t change.

Apply settings from a preset
There are two ways to apply a preset:
- Via the Select Preset window.
- For component presets, you can drag a preset from the Project window onto a GameObject that contains the component type.
Note: Applying a preset copies properties from the preset to the item. It doesn’t link the preset to the item. Changes you make to the preset don’t affect the items you have previously applied the preset to.
To apply a preset via the Select Preset window:
-
Select the GameObject, Asset import settings, or Project Settings window to which you want to apply the preset.
For GameObjects, select a GameObject in the Project window to open its properties for editing in the Inspector window.
For assets, select an asset in the Project window to open its import settings for editing in the Inspector window.
For project settings, from the main menu go to Edit > Project Settings and select the settings group you want to save as a preset.
In the Inspector or Project Settings window, click the preset selector (the slider icon) at the top-right of the window.
-
In the Select Preset window, search for and select the preset to apply.
Unity applies this preset to the component, asset, or Project Settings window.
Close the Select Preset window.
If you apply a component preset via drag-and-drop, Unity’s behavior depends on the state of your GameObject:
- If you drop the preset on an existing GameObject in the Hierarchy window, Unity adds a new component and copies properties from the preset.
- If you drop the preset on an empty area in the Hierarchy window, Unity creates a new, empty GameObject and adds a component with properties copied from the preset.
- If you drop the preset on the Inspector window onto the title of an existing component, Unity copies properties from the preset.
- If you drop the preset on an empty area in the Inspector window, Unity adds a new component and copies properties from the preset.
Partially apply settings from a preset
You can choose to only apply some properties from a preset and exclude others. To do this:
Select your preset in the ProjectIn Unity, you use a project to design and develop a game. A project stores all of the files that are related to a game, such as the asset and Scene files. More info
See in Glossary window.In the Inspector, right-click a property and choose Exclude Property. The window displays a red horizontal line next to excluded properties.

Apply the preset to the target component, asset, or Project Settings.
Note: To select all or clear all checkboxes in a preset, select the More items menu (⋮) or right-click the preset name, and select Include all properties or Exclude all properties. You can still adjust individual properties if you need to.
You can also use the Exclude option for presets that you then set as the default configuration for components and asset importers. For more information, refer to Preset Manager.
Applying presets based on asset location
You can write code to apply a preset to an asset based on the asset’s location in your project folder structure. For more information, refer to Applying default presets to assets by folder.
Export preset assets
To share saved settings across projects and team members, you can export presets as an asset packageA collection of files and data from Unity projects, or elements of projects, which are compressed and stored in one file, similar to Zip files, with the .unitypackage extension. Asset packages are a handy way of sharing and re-using Unity projects and collections of assets. More info
See in Glossary that other team members can import. For more information and instructions for how to export preset assets, refer to Create and export asset packages.
Using presets for transitions of Animation State nodes
You can save and apply presets for Animation state nodes. However, the transitionsThe blend from one state to another in a state machine, such as transitioning a character from a walk to a jog animation. Transitions define how long the blend between states should take, and the conditions that activate the blend. More info
See in Glossary in the preset are shared among presets and the nodes that you apply the preset to. For example, you apply a preset to two different nodes in the Animator windowThe window where the Animator Controller is visualized and edited. More info
See in Glossary. In the Inspector window, you edit the settings for one of the transitions in the first node. Your change also appears in the other node and in the preset.