Introduction to 2D lighting in URP
Add 2D lights to scenes to light 2D GameObjects such as sprites, tilemaps, and sprite shapes in the Universal Render Pipeline (URP).
Note: 2D lighting is not physically-based, unlike 3D lighting.
Types of 2D light
There are four types of 2D light:
- 2D spot light: Emits light from a point in a specific direction with a cone-shaped area of effect.
- 2D sprite light: Emits light in the shape of a sprite.
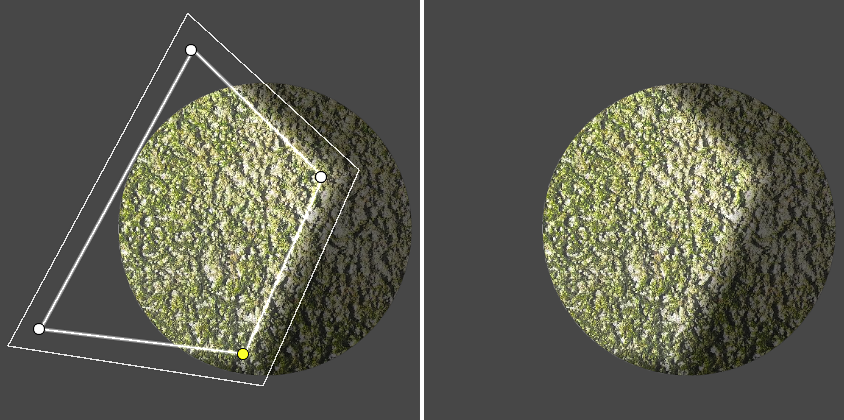
- 2D freeform light: Emits light as a custom polygon shape that you can edit.
- 2D global light: Lights all 2D GameObjects equally with no attenuation. You can only use one global light per blend style and sorting layer.

How Unity renders 2D lights
Unity renders 2D lights and shadows in three stages:
- Draws the shapes of 2D shadows into one or more shadow textures.
- Draws the color and shape of each 2D light into one or more light textures.
- Renders the lit GameObjects onto the screen, using the information from the textures.
By default, Unity tries to render all the light and shadow textures before it renders any GameObjects into the scene. This approach improves performance, because Unity avoids alternating between rendering to the textures and rendering to the screen.
For more information, refer to Optimize 2D lights with batching.