docs.unity3d.com
  • Manual
  • Changelog
  • License
    • Welcome to Wig
    • Installing Wig
    • Licensing Wig
    • Basic Wig concepts
    • Marking menus
    • Creating and sculpting hair
      • Start your groom
      • Define the shape and density of your groom
        • Paint meshes
      • Set the length of the hair
      • Comb the hair
      • Trim the hair
      • Add directional flow to your groom
      • Curl the hair
        • Shape the curls
      • Clumping workflow
        • Clumping
        • Create clumps from curves
        • Adjust the clump settings
        • Create a clump set
        • Use the comb tool to sculpt a curve set
        • Randomize clumps
        • Resize curves from existing hairs
        • Add more strands to a clump
        • Delete a clump curve connected to a fur node
      • Create curves from strands
      • Move hairs with wires
      • Clone hair
      • Bend hair with field nodes
        • Set up your field curves
        • Field node shape attributes
      • Assign a texture to the hair
      • Add a wave to your hair
      • Select and edit parts of a groom
      • Smooth the hairs
      • Braid workflow
        • Create Braids
        • Manipulate Braids
        • Render Braids
        • Export braids
    • Shading and rendering
      • Render your scene
      • Save your groom
      • Set render properties
    • Animate your hair
      • Lock and unlock your groom
      • Guide curve deformers
      • Skinning nodes
      • Volume selection
      • Define intersections
    • Reference sections
      • Tools
        • Paint attributes tool
          • Paint attributes tool settings
        • Comb tool
          • Comb tool settings
        • Bend tool
          • Bend tool settings
        • Wire-Pin tool
          • Wire-Pin Tool Settings
        • Eccentricity tool
          • Eccentricity tool properties
        • Clone Stamp tool
          • Clone Stamp tool settings
        • Smooth tool
          • Smooth tool settings
        • Trim tool
          • Trim Tool Settings
        • Length tool
          • Length Tool Settings
        • Braid tool
          • Braid curve attributes
        • Braid Manipulator tool
        • Coil tool
          • Coil attributes
        • Coil Manipulator tool
      • Brush settings
      • Menu commands
        • Merge Fur Options
        • Create Hair/Fur Options
        • Fix Strands Options
        • Create Skinning Deformer Options
        • Add/Update Field Maps Options
        • Create Paint Mesh Options
        • Blend Paint Mesh Attributes Options
        • Transfer Paint Mesh Attributes Options
        • Toggle Fur Shading Options
        • Edit Curve Length Options
        • Mask Strands by Face Selection Options
        • Create Curves from Strands Options
        • Rebuild by Curve Length Options
        • Rebuild by CVs Options
        • Curve Noise Options
        • Smooth Curves Options
        • Straighten Curves Options
        • Select Curves by Length Options
        • Generate Curves from Clumps Options
        • Select Random Curves Options
        • Select CVs by Curves Options
        • Create Clump from Pelt Options
        • Edit Clump Curve Radius Options
        • Resize Clump Curves from Strand Length Options
        • Randomize Clump Strand Length Options
        • Add/Update Pelt Artisan Maps Options
        • Randomize Coils Options
        • Assign Texture Options
        • Create Curves from Tubes Options
        • Export to USD Options
        • Export to Alembic Options
      • Node reference
      • Hotkeys
      • Support
      • MEL command reference
      • Python package references
      • Wig Preferences
    • Wig in USD
      • USD plug-ins
      • USD schemas
      • USD python
      • Maya USD plug-in
    • Transfer, copy, or update your groom
      • Update the growth mesh
      • Merging and emulating
        • Merge or emulate fur
    • Manual
    • Creating and sculpting hair
    • Clumping workflow
    • Use the comb tool to sculpt a curve set

    Use the comb tool to sculpt a clump curve set

    You can sculpt the curves of a clump set using the Comb Tool.

    To use the Comb Tool to sculpt a clump curve set:

    1. Hide the fur set and any curve sets that you do not want to comb.
    2. Create a selection of curves in the area you want to comb.
    3. Do one of the following:
      • From the Wig menu, select the Comb Tool .
      • Select Wig > Grooming Tools > Comb Tool.
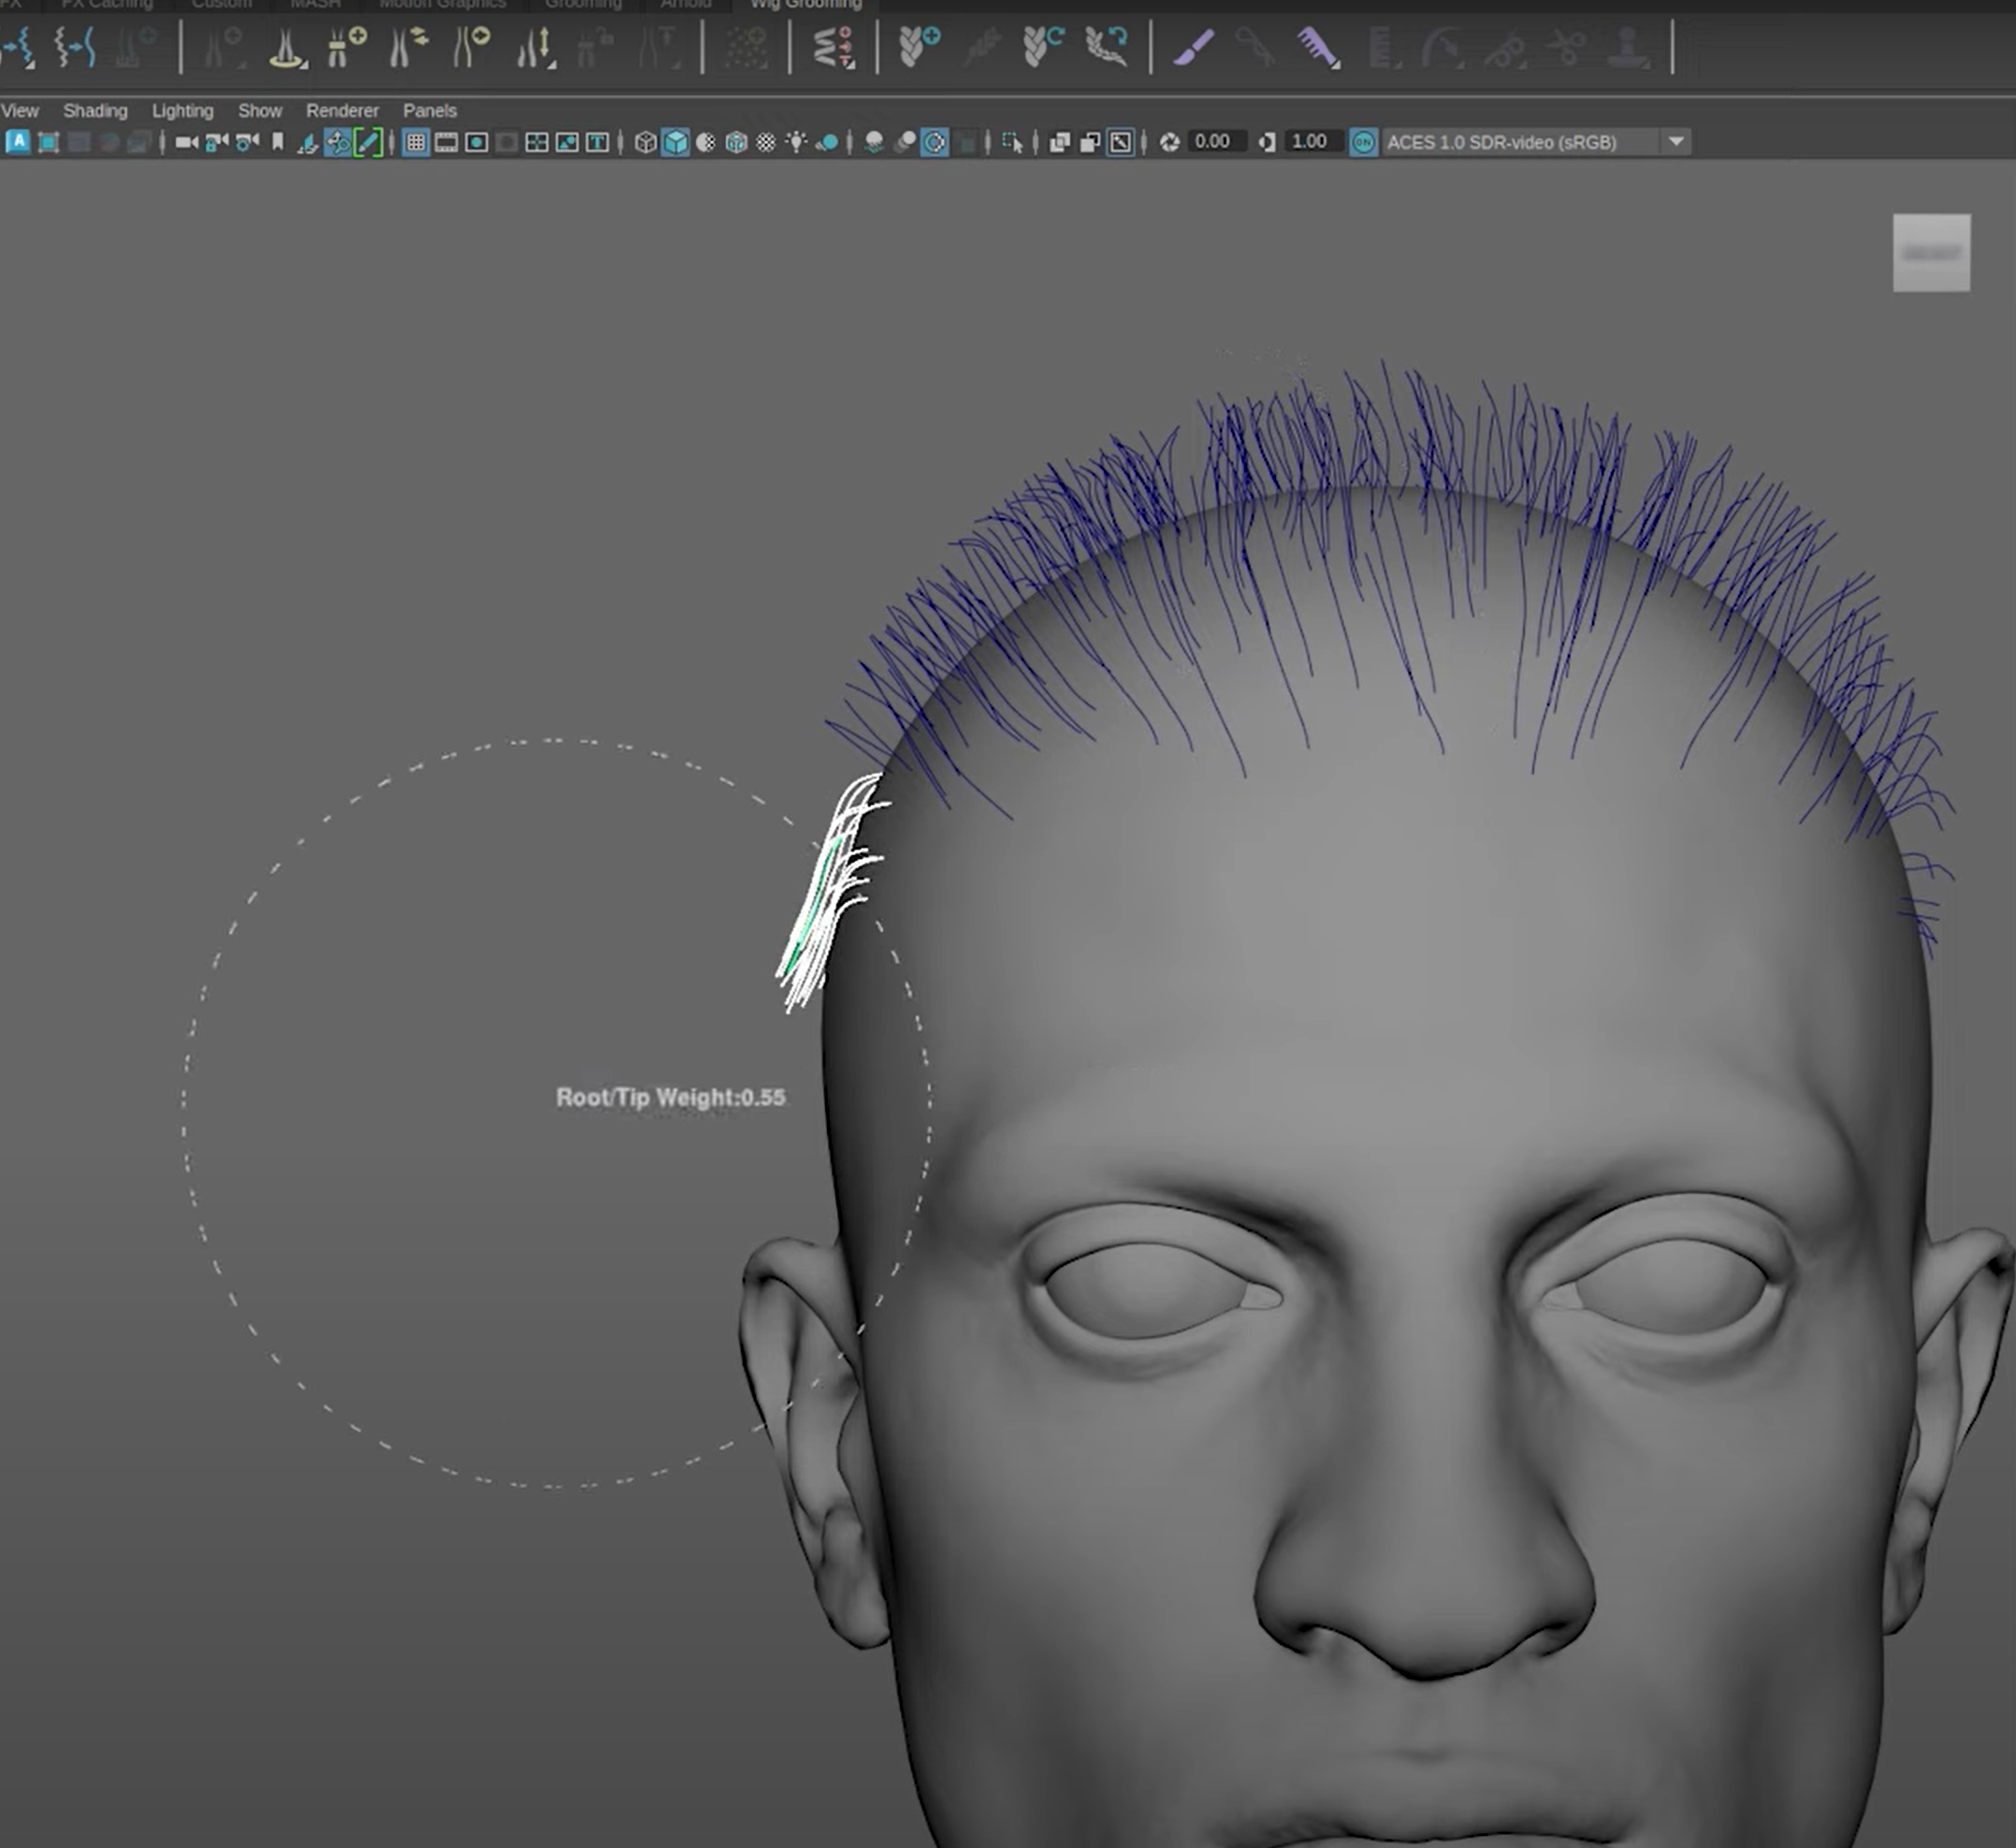
    4. Adjust the radius and falloff in the Tool Settings. You can also adjust the Root/Tip Weight by holding Ctrl and left-dragging your cursor.
    Note

    For a more organic look, adjust the radius to 0 and use only the falloff to sculpt the curves.

    1. Click and drag over the curves to style your groom.
    Note

    You can also use the Maya Transform tools to adjust clumps on your groom.

    The image below shows the comb tool sculpting a clump curve set with the fur display turned off.

    Copyright © 2023 Unity Technologies
    • Legal
    • Privacy Policy
    • Cookies
    • Do Not Sell or Share My Personal Information
    • Your Privacy Choices (Cookie Settings)
    "Unity", Unity logos, and other Unity trademarks are trademarks or registered trademarks of Unity Technologies or its affiliates in the U.S. and elsewhere (more info here). Other names or brands are trademarks of their respective owners.
    Generated by DocFX.