Start your groom
To get started with a groom:
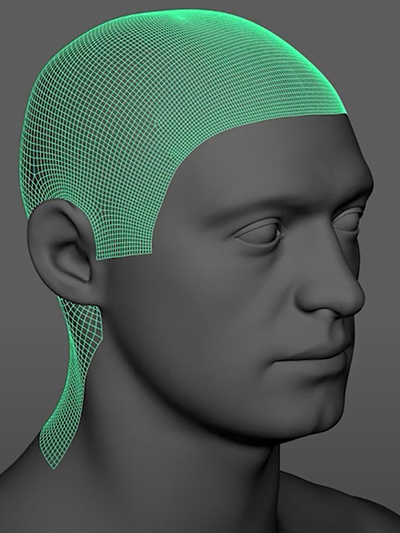
Create a growth mesh
A growth mesh is a polygon mesh surface for the hair to grow on. Growth meshes are also called a scalp or fur geo.
Note
Any mesh can be a growth mesh. For character grooms, duplicate the character mesh and trim it to the area where you want hair to grow. Leave extra space for adjustments.
Note
Wig creates hair from a polygon surface's subdivision mesh. If there are significant differences between the surface and the subdivision surface, you may see odd effects. For example, if you grow fur on a cube, the fur grows from the (spherical) subdivision surface rather than the top of the cube.
Add hair to your groom
To add hair to your groom:
- Select the growth mesh.
- Do one of the following:
- In the Wig Grooming shelf, select Create Hair/Fur
 .
. - From the Wig menu, in the Strands section, select Create Hair/Fur.
- In the Wig Grooming shelf, select Create Hair/Fur
Wig creates a Fur node and strands populate on all faces of the mesh. Refer to the Fur node attributes.
Set the strand density
Hair grows at a default density of 10 strands per cm2. For thicker hair, increase the density. We recommend a value of 50 or 100. To approximate an average human, use a value of 250.
To set the strand density:
- Select the Fur node.
- In the Attribute Editor, under Growth and Density, edit Master Density.
Adjust the tip scale
New strands have a uniform width. Adjust the tip scale and tip scale offset to make strands thicker at the root and taper toward the tip. We recommend a tip scale of 0.5 and an offset of 0.8.
To adjust the tip scale and tip scale offset:
- Select the Fur node.
- In the Attribute Editor, under Strands, edit Tip Scale and Tip Scale Offset.