Create and use multiple clump sets
You may want to create different clump sets for different areas of a groom; for example, at the top and bottom of the hair. To work with different clump sets throughout a groom, you can also differentiate them using color and easily switch the Clump ActiveID.
To create one or more clump sets from an existing clump set:
- Select the clump set you want to make a new clump set from.
- Select some curves or a group containing curves.
Tip
To make editing easier, you can hide your fur by going to Wig > Strand > Display > Toggle Strand Display.
- Make a selection of curves by going to Wig > Curves > Select > Children. Click and drag over the curves to include them in the new clump set.
- In the Wig menu, go to Clumps > Edit and select Create Clump Set. The curves that you selected are added to a new clump set.
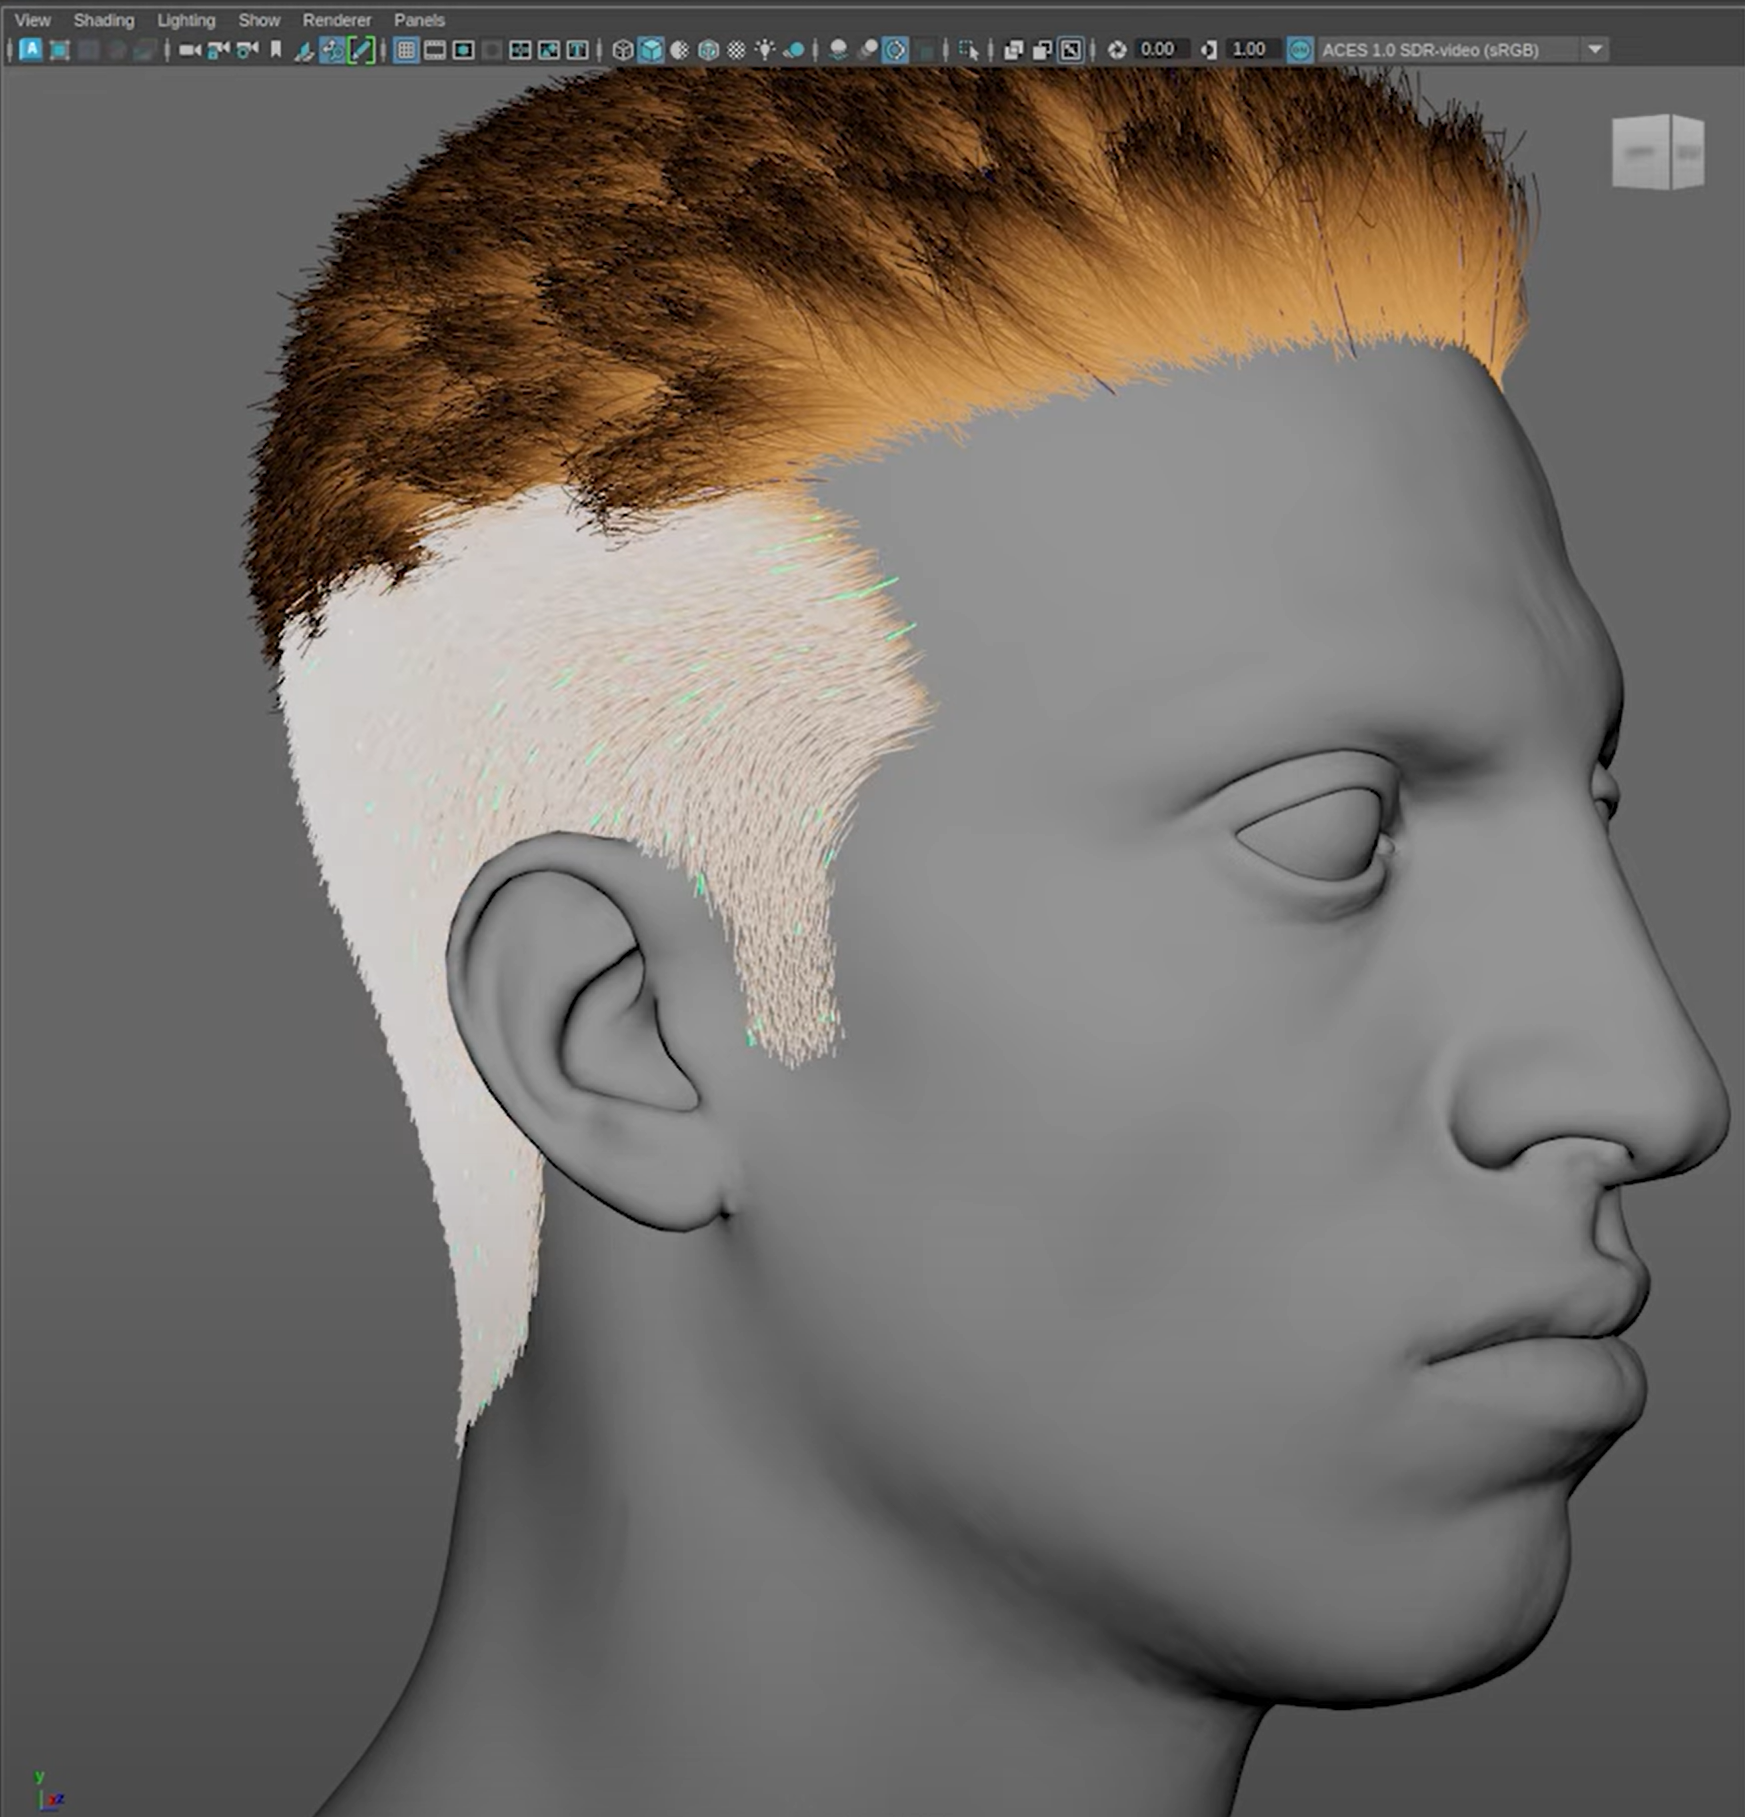
In the image above, two clump sets have been created and are differentiated by two colors.
To differentiate between clump sets using color:
- Select the
wmWigClumpToolNode. - Go to Attribute Editor >
wmWigClumpToolNodeShape> Clump Controls > Color. - Change the setting to customColor. You can adjust the root and tip colors using the slider bars.
To switch between clump sets:
- Select the group you want to switch to.
- In the S hotkey menu, select Switch to Clump Curve Set. The Clump ActiveID switches to the clump you selected.