- Unity ユーザーマニュアル
- グラフィックス
- グラフィックスの概要
- Terrain エンジン
- Brushes
Brushes
When you apply a tool such as Paint Texture or Smooth Height to the Terrain, Unity uses a brush, which is a ScriptableObject in the Terrain system. The brush defines the shape and strength of influence of the tool.
Built-in brushes
Unity comes with a collection of built-in brushes. They range from simple circles for quickly sketching designs, to more randomized scatter shapes that are good for creating detail and natural-looking features.

Custom brushes
It is possible to create your own custom brushes with unique shapes or specific parameters for your needs. For example, use the heightmap texture of a specific geological feature to define a brush, then use the Stamp Terrain tool to place that feature on your Terrain.
To create a new brush, click the New Brush button in the Terrain Inspector window.

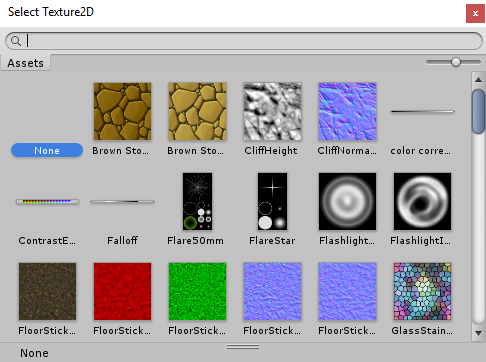
After you click New Brush, the Select Texture2D window appears. Choose a texture to define the shape of your new brush, then use the Brush Inspector to adjust the Falloff and Radius Scale values.

Alternatively, right-click in the Project window, and choose Create > Brush to create a new brush. The default brush shows a simple circle defined by a Falloff curve and a Radius Scale of 1. Use the Brush Inspector to change these values, or set a texture to define the shape of the brush.

Brush settings
| Property: | Function: |
|---|---|
| Mask Texture | Defines the shape and strength of the brush. Select a texture in your project, and the system creates a grayscale mask from the texture. If the selected texture has multiple color channels, the brush uses the Red channel as its source. |
| Falloff | Defines a curve that affects the strength of the brush in a circular fashion. Click the Falloff curve to open the Unity Curve Editor, where you can edit the curve to create effects ranging from smooth fades to sharp edges. |
| Radius Scale | Affects the scale of the falloff curve. Use this option to increase or decrease the radius of the curve. |
2019–01–29 編集レビュー を行って修正されたページ
Updated functionality in 2018.3