- Unity User Manual (2017.2)
- Unity Services ダッシュボード
- Unity Analytics
- Analytics の設定
Analytics の設定
Unity Services のプロジェクトを設定 すると、Analytics を使用できます。
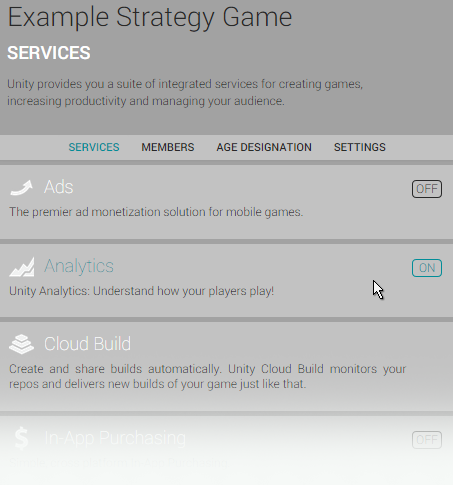
これを行うには、Service ウィンドウで Analytics を選択し、 OFF ボタンをクリックして ON にします。 この段階でまだ行っていない場合は、プロジェクトの必須項目の Age Designation を入力します。 (Ads などの 他の Unity Service のために既に入力済かもしれません)。 この年齢制限の設定は、Services ウィンドウに表示されます。

プロジェクト内で Analytics を使用可能にする
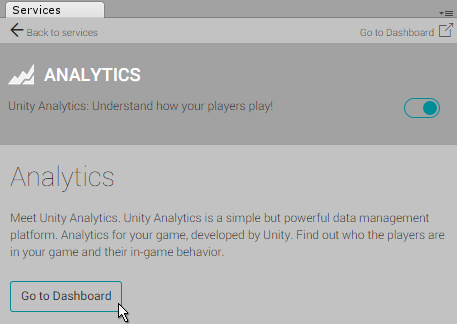
プロジェクトを再生して、Unity Analytics へ接続しているかを検証する必要があります。Unity エディターは、 Analytics のインテグレーションを検証するためのテスト環境として機能します。Analytics を有効にして、Play ボタンを押すと、エディターは Analytics サービスにデータを送信 (App Start イベント) します。つまり、ゲームをビルドしてパブリッシュすることなく Analytics をテストすることができます。Play ボタンを押したら、このプロジェクトの Analytics ダッシュボードに移動して、プロジェクトが有効になったかを確認できます。ダッシュボードに移動するには、Services -> Analytics -> Go To Dashboard の順にクリックします。

The Go to Dashboard button in the Analytics section of the Services window The dashboard opens in a web browser. You’ll see three headings under your project’s name: Overview, Basic Integration and Advanced Integration. Click Basic Integration, then directly underneath, click step 3: Play to Validate. If your project was set up correctly, you should see a table containing an entry showing an “appStart” event, along with the date and time, as well as your current editor platform and version number.
