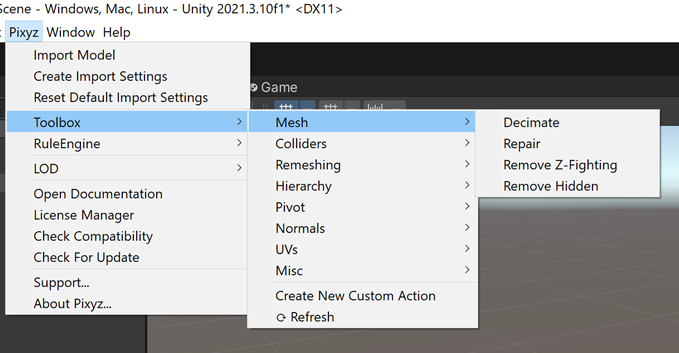
Toolbox
Use the out-of-the-box actions from the Toolbox to optimize or stage scenes in a semi-automated way. Unlike with Rule Engine actions, Pixyz applies Toolbox actions manually on the currently selected GameObjects in the scene.
Use the Toolbox for post-import modifications:
- For simple on-the-go tweaks
- To find a convenient chain of actions for creating a rule
- To perform operations that you can't do with the Rule Engine
You can use the Toolbox for any 3D scene in Unity, including those that you haven't imported using Pixyz Plugin for Unity.
Note
The Toolbox preserves the animations and bones of assets that you have imported using Unity, for examples from .fbx files.
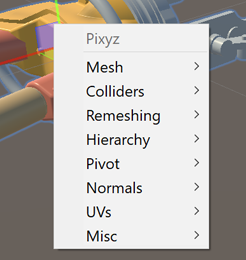
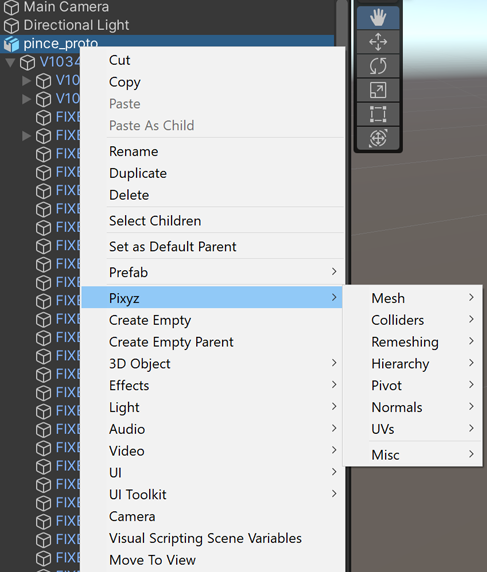
Built-in actions
The Toolbox comprises these actions:
- Meshes
- Colliders
- Create colliders
- Remove colliders
- Remeshing
- Hierarchy
- Pivot
- Normal
- UVs
Some actions act as filters that modify your selection. Other actions, such as merging, decimation, or UV creation, modify the asset.
To use the Toolbox, follow these steps:
Select GameObjects in the Unity Editor.
Optionally, modify your selection:
- To reduce the number of selected GameObjects, select Filter > Action.
- To increase the number of selected GameObjects, select Get Action.
Choose a Toolbox action.
The Toolbox is accessible at three locations:
Select the Pixyz menu.
Right-click in the Scene view to display the shortcut menu.
Right-click the hierarchy to display the shortcut menu.
Note
To manage the shortcut menu, go to Preferences.
Important
The Unity Editor doesn't handle well selections of more than 1000 GameObjects. Thus, the Toolbox doesn't work for these amounts of objects. Keep an eye on the size of your selection. We recommend that you avoid selecting Get Actions, because you may thousands of GameObjects. If this limitation is an issue, use the Rule Engine. Selections in the Rule Engine aren't limited in size.
Custom actions
From the Pixyz menu, choose Toolbox > Create New Custom Action.
If the built-in actions don't offer what you need, you can create custom actions. You can also use these actions in the Rule Engine.
When you create an action, Pixyz adds a new script to your project. This script is named NewCustomActions.cs by default and is always placed in this folder: Assets/Pixyz/Editor.
Pixyz doesn't refresh the menu automatically. To refresh this menu, from the Pixyz menu, select Toolbox > Refresh Toolbox. Pixyz updates this file: Assets/Plugins/Pixyz/Editor/ToolboxMenuItems.cs. If required, you can edit the file manually.