Using the Rule Engine
The Rule Engine is part of the optimization and staging tools. The Rule Engine is available only in the Unity Editor.
Use the out-of-the-box features to optimize or stage scenes. Using the Rule Engine, you define a sequence of actions to run. You can import, optimize, and stage models at once. Using the Toolbox, you use features only individually.
The Rule Engine proves very handy to import multiple files that are similar and that require identical processing.
You can use the Rule Engine with any object in your scene, even models that you haven't imported with Pixyz.
The Rule Engine has a set of built-in actions to optimize and stage scenes. Some actions directly use Pixyz built-in core algorithms.
Use these actions for different purposes:
- Use filters and modify selections
- Modify assets, for example through merging, decimation, and UV creation
Warning
You can't revert Rule Engine actions.
Create rule sets
The Rule Engine works with serialized sets of rules. You must first create a set of rules.
In the project folder, right-click and select Create > Pixyz > RuleEngine Rule Set.
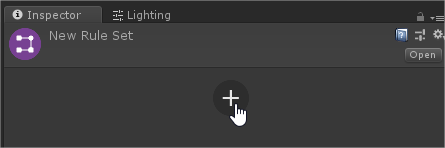
Select the new set of rules that is named New Rule Set.
In the Inspector, select the Plus sign (+) to add a rule to the set.
Note
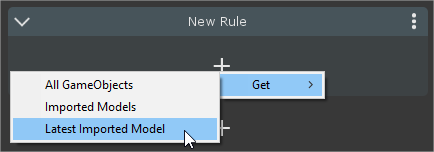
The list of actions that you can access by selecting the Plus sign (+) is dynamic. The available actions depend on the previous conditions in the selected rule.
Add a starting point.
For example, use Latest Imported Model as your starting point for the next block to process the latest model that you have imported with Pixyz. This point is generally the starting point after you have imported a model.
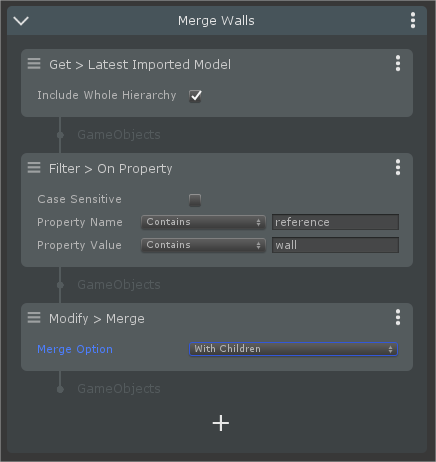
Add items to the sequence, for example filters, actions, and rules.
Rules are applied sequentially, from top to bottom.
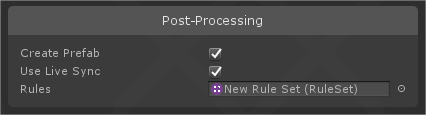
To run the rule set, for example to test it, select Run. Alternatively, select the rule set in the model import window.
Create custom actions
From the Pixyz menu, choose RuleEngine > Create New Custom Action.
If the built-in actions don't offer what you need, you can create custom actions. You can also use these actions in the Toolbox.
When you create an action, Pixyz adds a new script to your project. This script is named NewCustomActions.cs by default and is always placed in this folder: Assets/Pixyz/Editor.