Design a tree
Design a tree in the Tree Editor, create its materials, and add colliders.
If you want to use an imported mesh, refer to Create trees and leaves from meshes.
Add a new tree
To create a new Tree asset, from the main menu, select GameObject > 3D Object > Tree.
This action adds a tree to your Scene view. It also adds a tree prefab (Tree.prefab) and a texture folder (Tree_Textures) in the Assets folder of your Project window.
Place the tree in the Ambient-Occlusion folder
Trees can render correctly only when placed in a folder called Ambient-Occlusion.
- In the Project window, select the
Assetsfolder. - Select Add (+) > Folder.
- Give the folder the name
Ambient-Occlusion. - Move the tree prefab and its texture folder into the
Ambient-Occlusionfolder.
Add branches and leaves
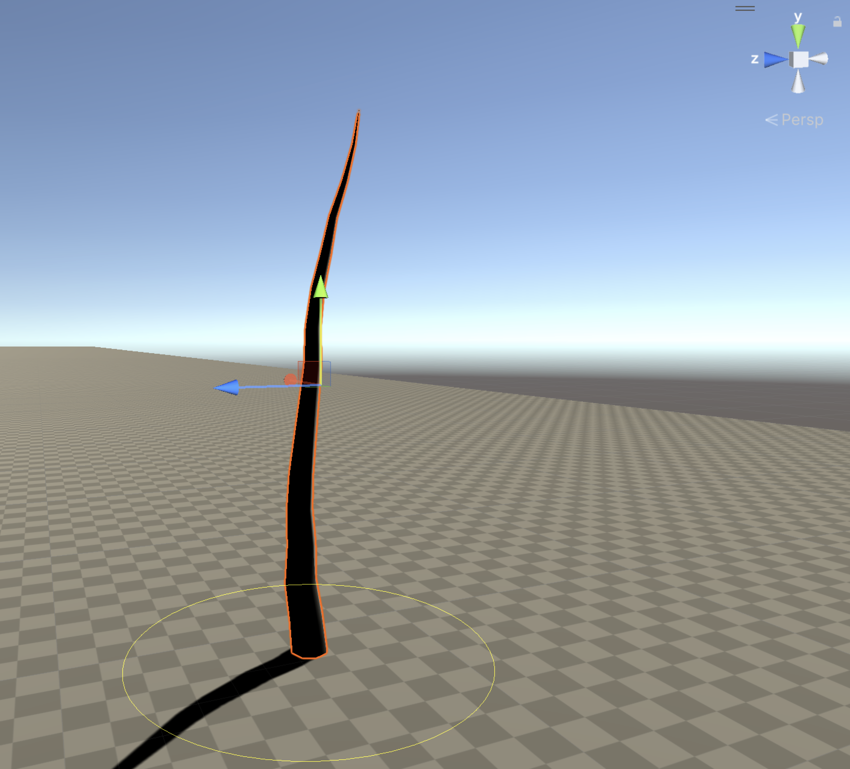
The first branch functions as the trunk - it starts on the ground and grows upwards. This example creates a single trunk, but you can create multiple trunks, for example for a group of reeds (refer to the Frequency property in the Branch group reference).
Available group actions
Select the tree to view it in the Inspector window. The Tree Hierarchy view shows the root node and the branch group that functions as the trunk. To learn more, refer to Tree Editor concepts.
Use the Tree Hierarchy view controls to manage branch and leaf groups:
- Add Leaf Group. You can add a leaf group to the tree root node or any branch group, but not to another leaf group. The leaf group is always one level above the branch group to which you added it.
- Add Branch Group. You can add a branch group to the tree root node or another branch group, but not to a leaf group. The branch group is always one level above the branch group to which you added it.
- Duplicate Selected Group. Create a copy of the group, with the same settings and at the same level.
- Delete Selected Group. Note that if you delete a group that has subgroups, the subgroups are also deleted.

Add branches
Branches are managed in groups. To add branches to the tree trunk, in the Tree Hierarchy view, select the existing branch group (the trunk) and click Add Branch Group.
A new branch group has only one branch. To add more branches, in the Inspector window > Tree Hierarchy view, select the new branch group and change its Frequency setting.
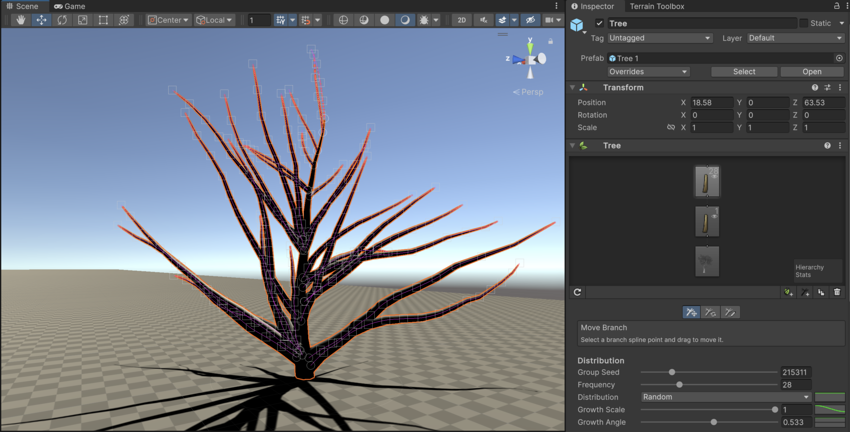
To add smaller branches to the existing branches, select the branch group you just added (not the trunk) and click Add Branch Group. The new branch group is added at a level above the selected branch group. Change the new group’s frequency to add more branches.
Note: The frequency isn’t always the final number of branches. The number of branches in the first group does equal its frequency, because those branches all grow out of a single branch (the trunk). In this new group, however, the branches grow from all the branches in the previous group, and so their frequency is distributed. To create a natural look, the growth isn’t uniform, meaning the distribution isn’t even. As a result, the final number of branches in the second group isn’t a simple product of the two frequencies.
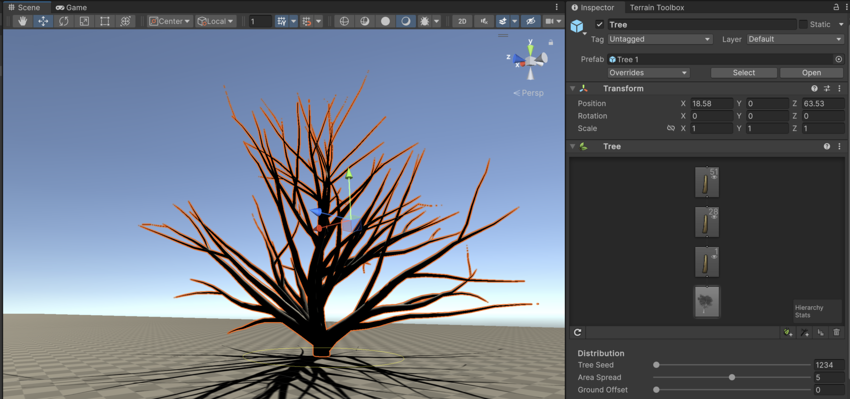
A new branch group’s growth angle is parallel to the ground. To change the angle, select the branch group and adjust its Growth Angle setting. You can also change its Seek Sun setting to make the branches bend upwards or downwards.
For more branch group settings and to learn about fronds, refer to Branch group reference.
Add leaves
You can add leaves to any branch group, including the trunk. You can also add leaves to the tree root node, which gives the effect of leaves scattered on the ground. Like branches, leaves are managed in groups.
To add leaves to a branch group, select the branch group and click Add Leaf Group.
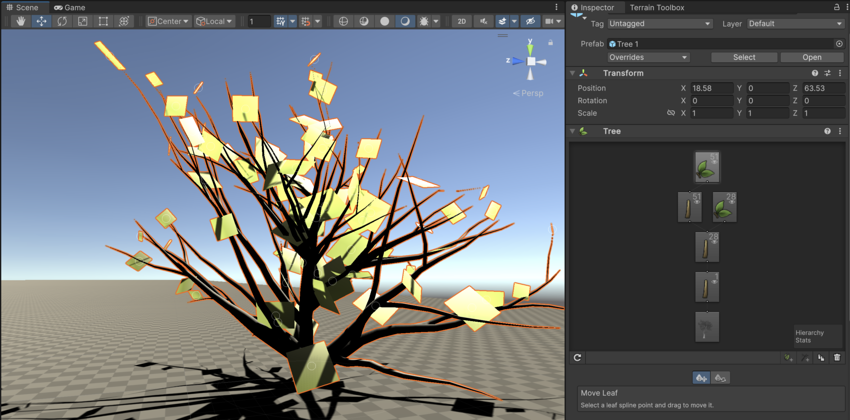
Leaves are added as an opaque plane. Change the group settings until you like the leaves’ appearance before adding materials. For more information, refer to Leaf group reference.
Add fruit
You can use the leaf group to add fruit. Refer to Create trees and leaves from meshes for more information.
To create fruit and leaves that overlap, add two leaf groups at the same level, and give them the same frequency and distribution.
Add materials
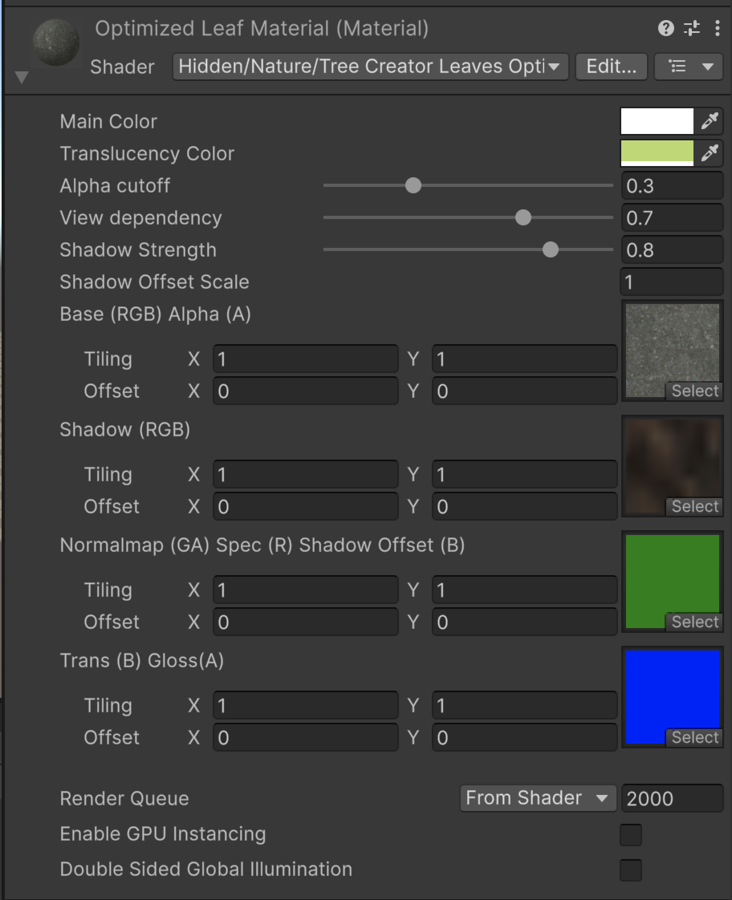
Trees have four materials: for the leaves, the fronds, the bark, and the cross-section visible on broken branches.
Create a material
To create a material:
From the main menu, select Assets > Create > Material.
Name the material.
- In the Inspector window, select the Shader drop-down and choose either:
- For leaves: Nature > Tree Creator Leaves.
- For bark (trunk and branches): Nature > Tree Creator Bark.
Tree Editor trees and leaves must use these shaders. You can’t use your own shaders.
-
Add textures. If you don’t have textures yet, you can rely on the Main color selection for testing, or download assets from the Unity Asset Store.
To learn more about textures, refer to TexturesAn image used when rendering a GameObject, Sprite, or UI element. Textures are often applied to the surface of a mesh to give it visual detail. More info
See in Glossary.
Add a material to the tree
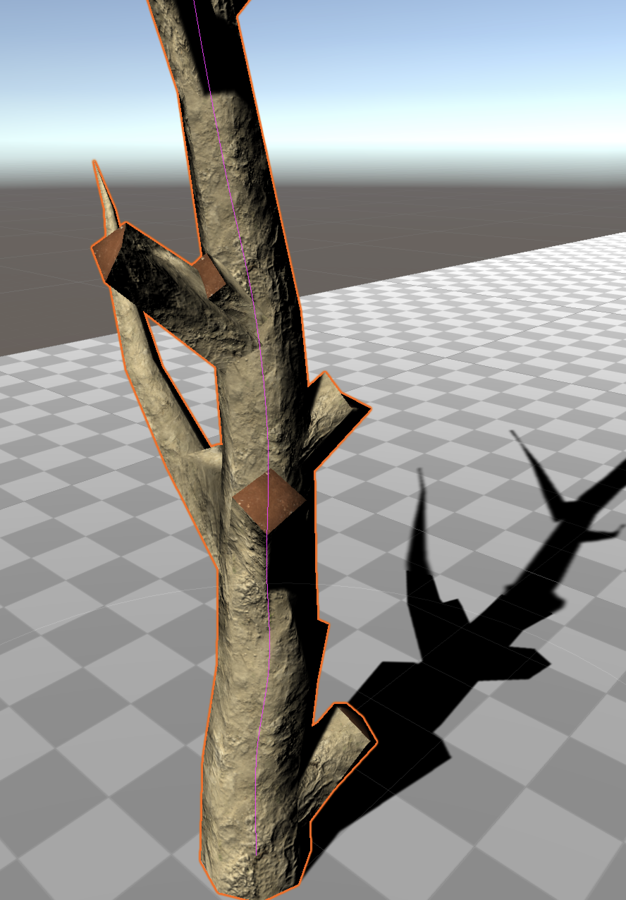
To add a material to a group, select the group in the Tree Hierarchy view and assign the material in its Geometry section:
- Leaves have only one material.
- Branches have two materials: Branch Material for the bark of the branch, and Break Material for the cross-section of a broken branch.
Transform individual branches and leaves
GameObject transforms work only on the tree as a whole and are available when you select the tree root node.
To transform individual branches and leaves, use the tree creator’s control points.
Tip: To transform the entire tree, click the Tree Root Node button.
Display the branch or leaf control points
When you select a branch group in the Tree Hierarchy view, the Unity Editor selects its branches in the Scene view. The branch or leaf group in the Scene view includes control points, which you can use to edit the branch or leaf. The following example shows a tree with a single branch selected.
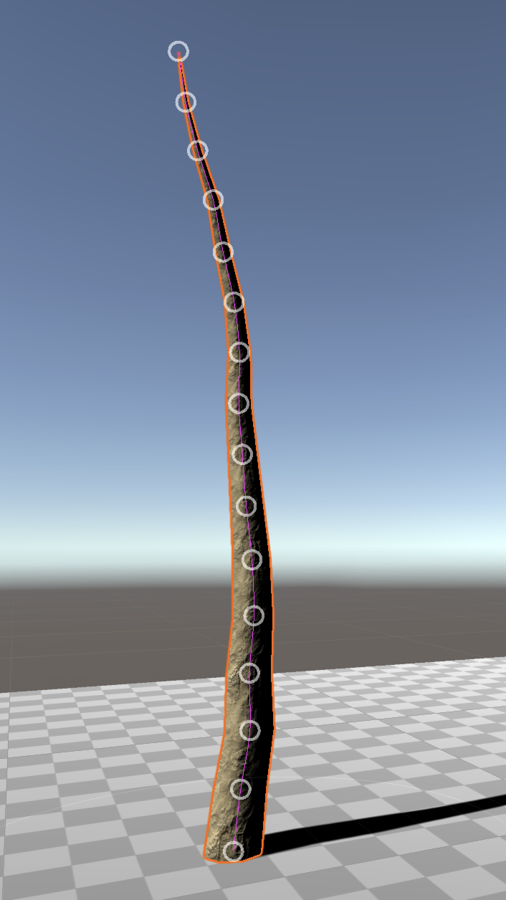
The control options are available from a toolbar below the Tree Hierarchy view.

Transform branches
The control points of the branches pass through the center line of each branch. You can click and drag any of the control points to move the branch.
For a branch, the control options are:
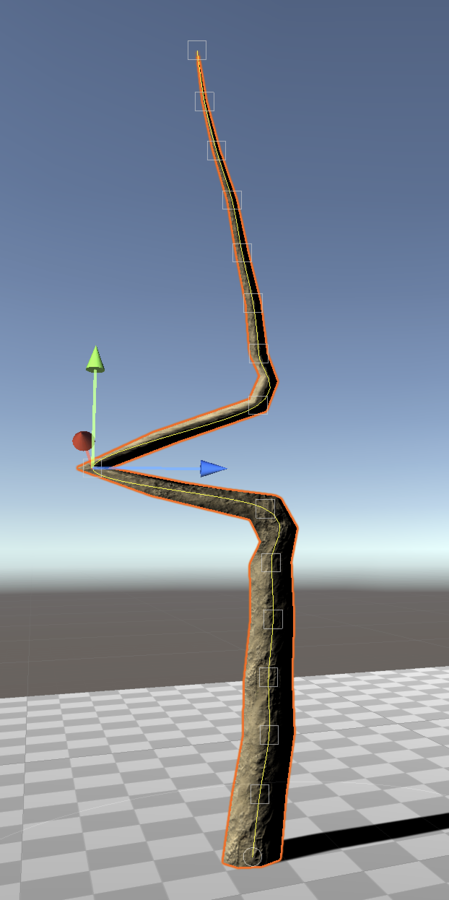
- Move Branch: Move a point on the branch. The rest of the branch remains in place, so the branch bends around the control point.
- Rotate Branch: Rotate the branch around the control point. The movement is only from the part of the branch above the control point.
- Free Hand: Draw a branch as a spline. Click and drag from the highest control point to add a part of the branch. Click on a lower control point to trim the branch down to that point.
Transform leaves
For leaves, the control options are:
- Move Leaf: Move a leaf up or down a branch. You can’t move a leaf to another branch.
- Rotate Leaf: Click the point at the center of the leaf and drag it to rotate the leaf around its axis.
Impact on procedural properties
Some branch and leaf properties are procedural, meaning that the Tree Editor generates them. When you edit a branch or leaf, the Tree Editor disables the procedural properties.
To restore the procedural properties, click Convert to Procedural Group. This removes any edits you made by hand.
Add a collider
Colliders define the shape of an object. They calculate physical collisions so that a character can’t walk through a tree, for example. Trees use the Capsule Collider component.
To learn more about tree colliders, refer to Add collision to trees.
Add wind
Wind Zones animate tree movements.
To add a Wind Zone GameObject, in the tree’s Inspector window, click Create Wind Zone. You can do this from any branch or leaf group, but not from the tree root node.
The Wind Zone’s default settings create a gentle breeze, and you can use it for your trees without changing it. If you want to create a stronger wind effect, refer to Animate trees with Wind Zones.
Hide the tree
The tree is now ready to be painted onto the terrain in groups. It’s a good idea to make the tree GameObject invisible so that you don’t accidentally move it or change its settings.
Select the tree GameObject in the Hierarchy window, and in the Inspector window, disable the Visibility checkbox next to the GameObject’s name.
Add the tree to the terrain
Use the Paint Trees tool to add clumps of your tree to the terrain. Refer to Add trees to the terrain for more information.