Animation from external sources
Animation from external sources are imported into Unity in the same way as regular 3D files. These files, whether they’re generic FBX files or recognized 3D software formats such as Autodesk® Maya®, Cinema 4D, Autodesk® 3ds Max®, or Blender™, can contain animation data in the form of a linear recording of the movements of objects within the file.
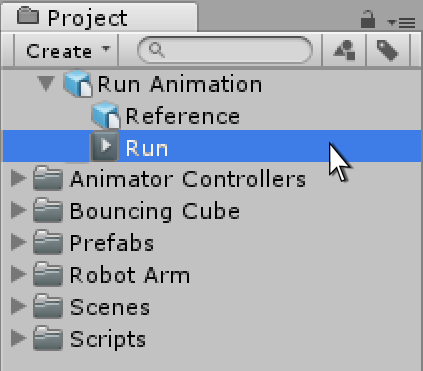
RunSometimes, the object you want to animate (for example, a character) and its animations are in the same file. In other cases, the animations might exist in a separate file from the object you want to animate.
It may be that animations are specific to a particular model, and cannot be re-used on other models. For example, a giant octopus end-boss in your game might have a unique arrangement of limbs and bones, and its own set of animations.
In other situations, it may be that you have a library of animations which are to be used on various different models in your scene. For example, a number of different humanoid characters might all use the same walk and run animations. In these situations, it’s common to have a simple placeholder model in your animation files for the purposes of previewing them. Alternatively, it is possible to use animation files even if they have no geometry at all, just the animation data.
When importing multiple animations, the animations can each exist as separate files within your project folder, or you can extract multiple animation clips from a single FBX file if exported as takes from MotionBuilder or with a plug-in or script for Autodesk® Maya®, Autodesk® 3ds Max® or other 3D packages. You might want to do this if your file contains multiple separate animations arranged on a single timeline. For example, a long motion captured timeline might contain the animation for a few different jump motions, and you may want to cut out certain sections of this to use as individual clips and discard the rest. Unity provides animation cutting tools to achieve this when you import all animations in one timeline by allowing you to select the frame range for each clip.
Import animation files
Before you can use any animation in Unity, you must first import it into your project. Unity can import Autodesk® Maya® (.mb or .ma), Autodesk® 3ds Max® (.max), and Blender™ (.blend), and also generic FBX files which you can export from most animation software. Note that importing from .blend files requires a local installation of Blender™.
For more information, consult Importing.
View and copy data from imported animation files
You can view the keyframes and curves of imported animation clips in the Animation window. If these imported clips have many bones with many keyframes, the amount of animation data can be overwhelming. For example, the following image shows bones and keyframes for a run animation:
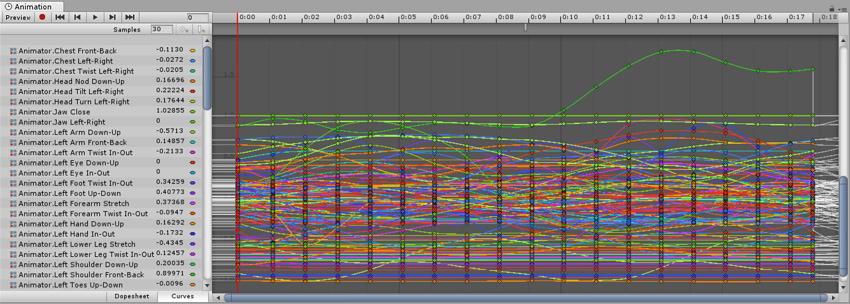
To limit the animation data being displayed, select only the bones you are interested in examining. The Animation window displays only the keyframes or curves for the selected bones.
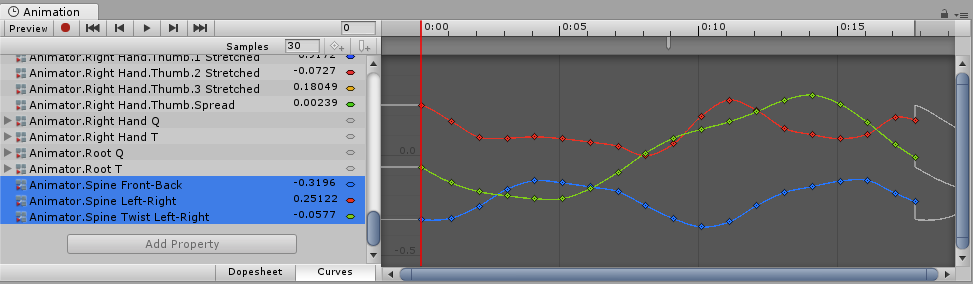
When viewing imported Animation keyframes, the Animation window provides a read-only view of the animation data. You cannot edit this data, but you can edit a copy of the Animation data by copying and pasting keyframes into a new Animation clip. To create a copy of Animation data from a read only FBX file, follow these steps:
- In the Project window, select the FBX file with the animation data that you want to copy.
- In the Animation window, select the properties to limit the amount of animation data being displayed.
- Select the keyframes that you want to copy.
- Press Ctrl+C (macOS: Cmd+C) to copy the selected keyframes.
- Create a new empty Animation Clip for the GameObject where you want to paste the copied keyframes. Consult Creating a new Animation Clip.
- Press Ctrl-V (macOS: Cmd+V) to paste the copied keyframes.
For best results, the GameObject where you are pasting should have the same hierarchy and properties as the animation data you are copying. For example, if you are copying properties for chest and head movement from an FBX file, the GameObject should have chest and head properties.
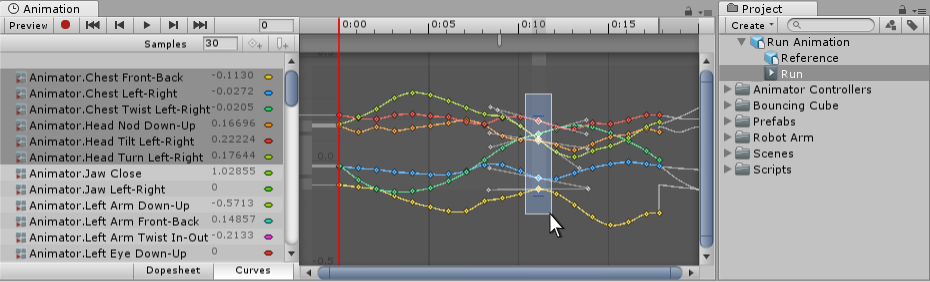
If the GameObject does not have the same properties, the animation data is copied, but the properties are drawn in yellow. Hovering over the name of the property displays the message The GameObject or Component are missing.