Draw and configure a trail behind a moving GameObject
To create a Trail Renderer:
- In the Unity menu bar, go to GameObject > Visual Effects > Trail.
- Select the Trail Renderer GameObject, and parent it to the GameObject that you want it to generate a trail for.
- Use the Inspector window to configure the color, width, and other display settings of the trail.
- Preview the trail in Edit Mode by moving the GameObject and observing the effect in the Scene view.
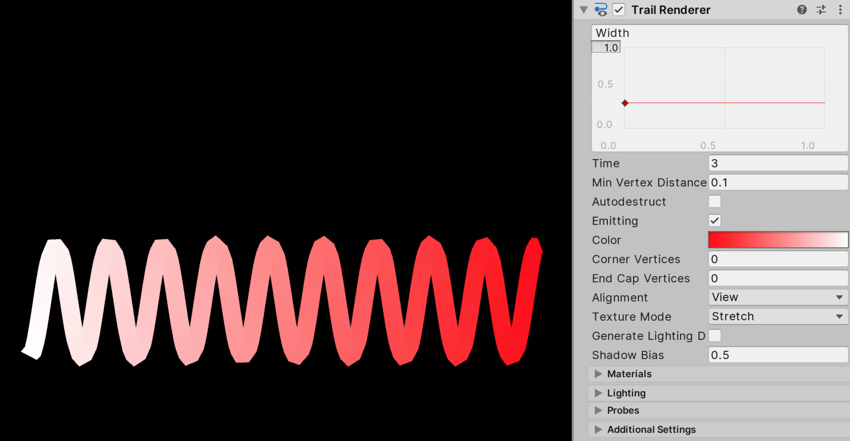
Set the Trail Renderer Material
By default, a Trail Renderer uses the built-in Material, Default-Line. You can make many changes to the appearance of the trail without changing this Material, such as editing the color gradient or width of the trail.
For other effects, such as applying a texture to the trail, you will need to use a different Material. If you do not want to write your own Shader for the new Material, Unity’s built-in Standard Particle Shaders work well with Trail Renderers. If you apply a Texture to a Trail Renderer, the Texture should be of square dimensions (for example 256x256, or 512x512).
If you apply more than one Material to a Trail Renderer, the trail is rendered once for each Material.
See Creating and using Materials for more information.
Color preferences
You can customize the gizmo colors that the Trail Renderer uses in the Scene view. For more information, refer to Trail Renderer color preferences.