Multi-display
You can use multi-display to display up to eight different Camera views of your application on up to eight different monitors at the same time. You can use this for setups such as PC games, arcade game machines, or public display installations.
Unity supports multi-display on:
- Desktop platforms (Windows, macOS X, and Linux)
- Android (OpenGL ES and Vulkan)
- iOS
Some features work only on some platforms. See the Display, Screen and FullScreenMode APIs for more information about compatibility.
Activating multi-display support
Unity’s default display mode is one monitor only. When you run your application, you need use Display.Activate() to explicitly activate additional displays. Once you activate a display, you can’t deactivate it.
The best time to activate additional displays is when your application creates a new SceneA Scene contains the environments and menus of your game. Think of each unique Scene file as a unique level. In each Scene, you place your environments, obstacles, and decorations, essentially designing and building your game in pieces. More info
See in Glossary. A good way to do this is to attach a script component to the default Camera. Make sure you call Display.Activate() only once during startup. As a best practice, you might find it helpful to create a small initial Scene to test your script.
Example script
using UnityEngine;
using System.Collections;

public class ActivateAllDisplays : MonoBehaviour
{
    void Start ()
    {
        Debug.Log ("displays connected: " + Display.displays.Length);
            // Display.displays[0] is the primary, default display and is always ON, so start at index 1.
            // Check if additional displays are available and activate each.

        for (int i = 1; i < Display.displays.Length; i++)
            {
                Display.displays[i].Activate();
            }
    }

    void Update()
    {

    }
}
Previewing multiple displays in your Project
To preview different Camera views, follow these steps:
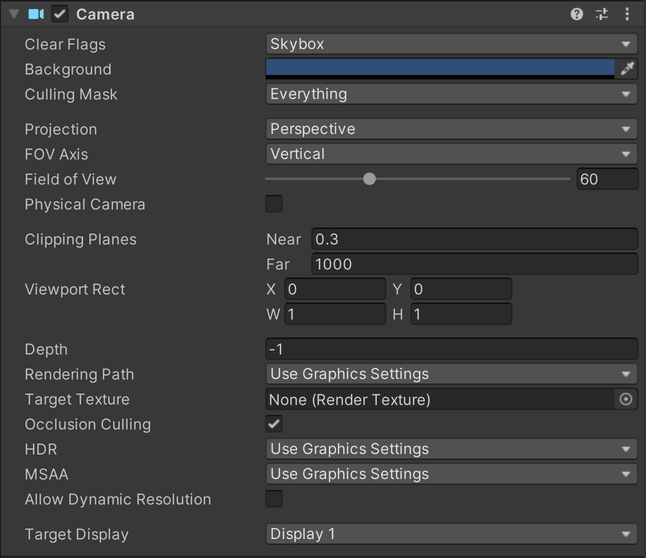
- In the Camera’s InspectorA Unity window that displays information about the currently selected GameObject, asset or project settings, allowing you to inspect and edit the values. More info
See in Glossary, select a Target Display for that Camera.
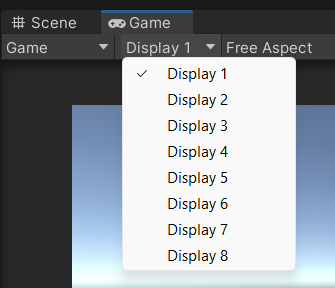
Make sure you’re in the Game view.
From the Display menu in the top-left corner, select the Display to Preview.
API support
Unity supports the following UnityEngine.Display API methods:
| Method | Description |
|---|---|
public void Activate() |
Activates a specific display on the current monitor’s width and height. This call must be made once on starting a new Scene. It can be called from a user script attached to a CameraA component which creates an image of a particular viewpoint in your scene. The output is either drawn to the screen or captured as a texture. More info See in Glossary or dummy GameObjectThe fundamental object in Unity scenes, which can represent characters, props, scenery, cameras, waypoints, and more. A GameObject’s functionality is defined by the Components attached to it. More info See in Glossary in a new Scene. |
public void Activate(int width, int height, int refreshRate) |
Windows only. Activates a specific display of custom width and height. On Linux and macOS X, secondary displays always use the display’s current resolution, if available. |
Controlling monitor display positions
By default, the user’s computer sorts the relative positions of its display monitors based on its x, y virtual desktop. To override this so that your application displays without any sorting, start your application from the command line and use the -multidisplay command line flag.
- Support for Vulkan on Android added in Unity 2020.1