Troubleshooting light leaking
If you use baked Global Illumination (GI), troubleshoot light leaks.
Lightmap leaking
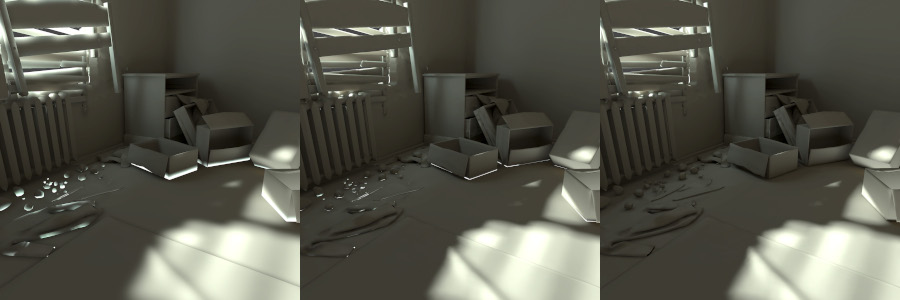
Lightmap leaking results in noticeable lighting discrepancies in dark indoor areas adjacent to bright outdoor lighting.
Symptoms
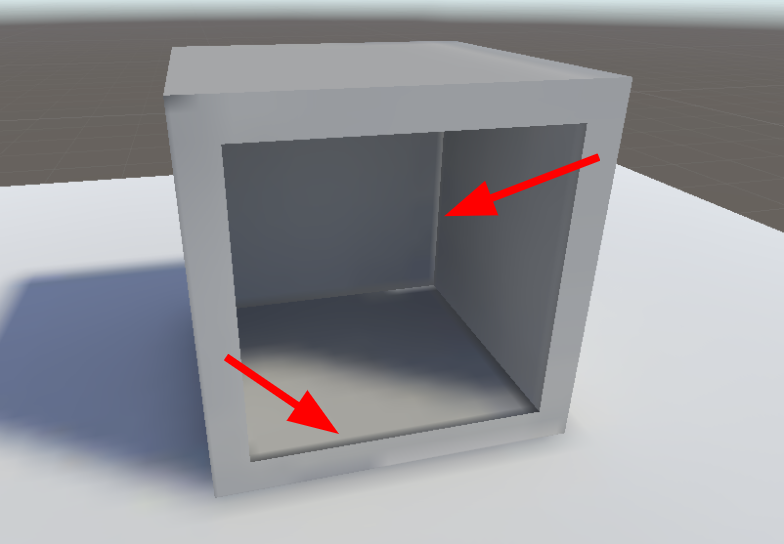
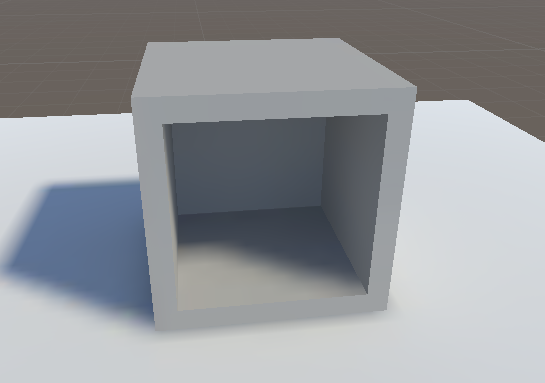
Light leaking appears as unwanted illumination in shadowed areas due to incorrect lightmap texel assignment.
- Aliasing and pixelation in baked lightmaps.
- Console warnings about overlapping UVs. Example error message:
Warning: UV overlap detected on the following GameObjects: [GameObject Name]. - Red highlights on affected texels in the Scene view’s UV Overlap draw mode or Baked Lightmaps Preview.
Cause
- Incorrect or inadequate lightmap UVs.
- Low lightmap resolution.
- Small margins between charts.
Resolution
To resolve lightmap leaking, do the following.
Adjust lightmap UVs and resolution
You can increase Lightmap Resolution to improve texel coverage and reduce light leaking.
Note: Lightmaps use mipmaps. So, while there may be no leakage at high resolution, leakage can occur when the camera moves farther away and a lower mip level is sampled. Therefore, it’s important to ensure sufficient texel spacing between UV charts depending on lighting conditions.
If you can’t adjust resolution, modify lightmap UVs in a digital content creation tool by following these steps:
- Split the UV chart at the seam between light and dark areas to prevent light bleeding.
- Adjust Unity-generated lightmap UVs:
- Set Margin Method to Calculate and adjust Min Lightmap Resolution and Min Object Scale.
- Alternatively, set Margin Method to Manual and increase the Pack Margin.
- Increase lightmap resolution to create more space between charts:
- Go to the Lighting window and adjust the Lightmapper Settings.
- For individual GameObjects, increase the lightmap resolution under Lightmap Settings in the Mesh RendererA mesh component that takes the geometry from the Mesh Filter and renders it at the position defined by the object’s Transform component. More info
See in Glossary component.
- Preview UV overlaps using the UV Overlap draw mode or Baked Lightmaps Preview to verify the issue is resolved.
Adjust filtering settings
High Gaussian filter settings can introduce light leaks. For detailed solutions on adjusting these settings, refer to Troubleshooting lightmapping artifacts.
Adjust scene geometry
Light leaking is often caused by mesh overlap rather than filtering issues.
To adjust scene geometry, do the following:
- Ensure that objects don’t intersect or protrude through scene geometry.
- For interior scenes, avoid one-sided wall meshes. Instead, use extruded meshes to create proper thickness and effectively block light leaks.