Create a cubemap
Creating Cubemaps from Textures
The fastest way to create cubemaps is to import them from specially laid out TexturesAn image used when rendering a GameObject, Sprite, or UI element. Textures are often applied to the surface of a mesh to give it visual detail. More info
See in Glossary.
Select the Texture in the Project window, to see the Import Settings in the Inspector window. In the Import Settings, set the Texture Type to Default, Normal MapA type of Bump Map texture that allows you to add surface detail such as bumps, grooves, and scratches to a model which catch the light as if they are represented by real geometry.
See in Glossary or Single Channel, and the Texture Shape to Cube. Unity then automatically sets the Texture up as a Cubemap.
Several commonly-used cubemap layouts are supported (and in most cases, Unity detects them automatically).
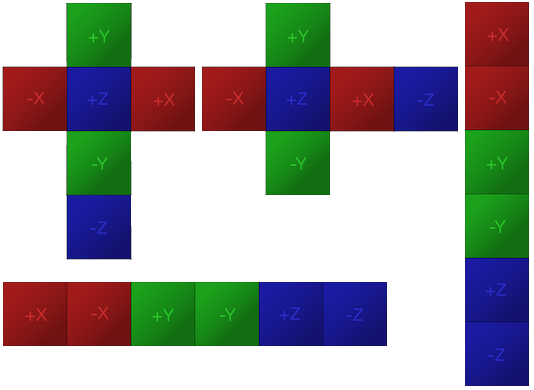
Vertical and horizontal cross layouts, as well as column and row of cubemap faces are supported:
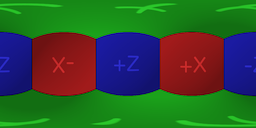
Another common layout is LatLong (Latitude-Longitude, sometimes called cylindrical). Panorama images are
often in this layout:
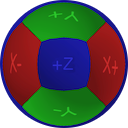
SphereMap (spherical environment map) images can also be found:
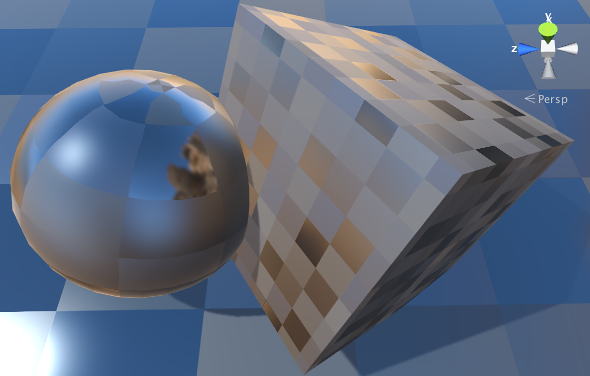
By default Unity looks at the aspect ratio of the imported texture to determine the most appopriate layout from the above. When imported, a cubemap is produced which can be used for skyboxes and reflections:
Selecting Glossy Reflection option is useful for cubemap textures that will be used by
Reflection ProbesA rendering component that captures a spherical view of its surroundings in all directions, rather like a camera. The captured image is then stored as a Cubemap that can be used by objects with reflective materials. More info
See in Glossary. It processes cubemap mipmap levels in a special way
(specular convolution) that can be used to simulate reflections from surfaces of different smoothness:
Other Techniques
Another useful technique is to generate the cubemap from the contents of a Unity scene using a script. The Camera.RenderToCubemap function can record the six face images from any desired position in the scene; the code example on the function’s script reference page adds a menu command to make this task easy.
Legacy Cubemap Assets
Unity also supports creating cubemaps out of six separate textures. Select Assets > Create > Rendering > Legacy Cubemap from the menu, and drag six textures into empty slots in the inspector.
| Property: | Function: |
|---|---|
| Right..Back Slots | Textures for the corresponding cubemap face. |
| Face Size | Width and Height of each Cubemap face in pixels. The textures will be scaled automatically to fit this size. |
| Mipmap | Should mipmaps be created? |
| Linear | Should the cubemap use linear color? |
| Readable | Should the cubemap allow scripts to access the pixel data? |
| Filter Mode | The filtering mode to use for the cubemap. For more details, refer to Filter Mode |
| Aniso LevelThe anisotropic filtering (AF) level of a texture. Allows you to increase texture quality when viewing a texture at a steep angle. Good for floor and ground textures. More info See in Glossary |
The anisotropic filtering level to use for the cubemap. For more details, refer to Aniso Level |
Note that it is preferred to create cubemaps using the Cubemap texture import type (see above) - this way cubemap texture data can be compressed; edge fixups and glossy reflection convolution be performed; and HDR cubemaps are supported.