AR Mobile Template Quick Start Guide
Unity’s AR Mobile Project Template provides a starting point for mobile augmented reality development in Unity. The template configures project settings, pre-installs the right packages, and includes various pre-configured Example Assets to demonstrate how to set up a project that is ready for mobile AR.
For a detailed tutorial on how to build your first test app with this template, refer to the Learn tutorial Configure your AR development environment.
Unity directly supports the following mobile AR platforms:
Please refer to the XR Project Setup documentation for additional information.
The AR Mobile Project Template uses the following Unity features:
- AR Foundation - Unity’s framework for multiplatform AR development.
- XR Interaction Toolkit - A high-level, component-based, interaction system for creating XR experiences. It provides a framework that makes 3D and UI interactions available from Unity input events.
- ARKit XR Plug-in - Enables ARKit support via Unity's multi-platform XR API.
- ARCore XR Plug-in - Enables ARCore support via Unity's multi-platform XR API.
Using the Sample Scene
The AR Mobile Template contains a Scene named SampleScene located in Assets/Scenes. This scene’s Hierarchy is pre-configured with GameObjects that allow your application to manage screen-based inputs, instantiate interactive objects and generate AR Planes based on data captured from your physical environment.
Additionally, the scene contains an XR UI Canvas to display guidance prompts for all supported interactions.
You can use this Scene as a reference, or you can remove the example Assets from it and use it as a starting point for your own Project.
Sample Scene Hierarchy Overview
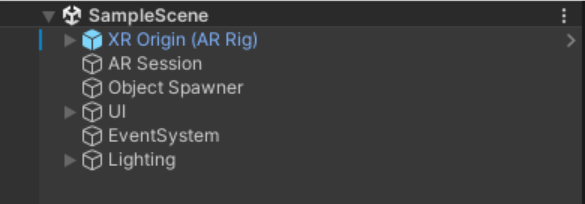
XR Origin Configuration
The XR Origin configuration is made up of a set of GameObjects and Components that work together to transform data from the XR tracking subsystems into world space.
| GameObjects | Components |
| XR Origin (AR Rig) | |
| XR Origin/ Camera Offset / Main Camera | |
| XR Origin / Camera Offset / Screen Space Ray Interactor | |
| XR Origin / Camera Offset / Screen Space Ray Interactor / <Inputs> |
AR Session Configuration
The AR Session controls the lifecycle and configuration options for an AR session. There is only one active session. If you have multiple ARSession components, they all communicate to the same session and will conflict with each other.
| GameObjects | Components |
| AR Session |
Object Spawner
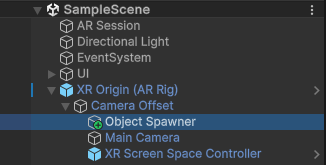
The Object Spawner manages XR Interactables that can be spawned in the scene. It is located within the XROrigin in order to conform to the AR environment.
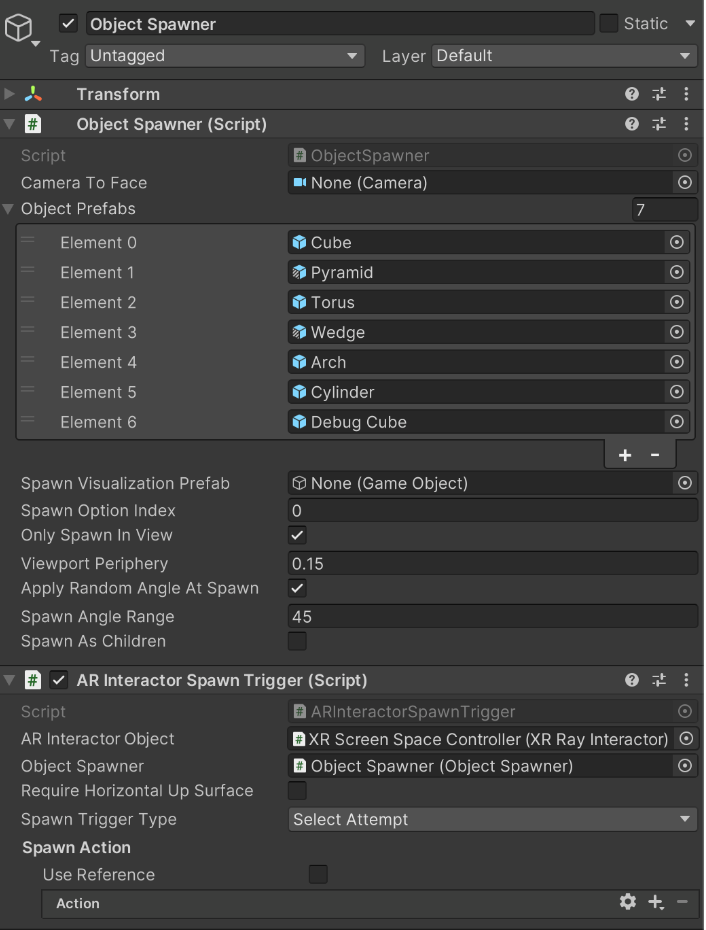
The component also allows users to define additional properties to control the way objects will spawn, such as Spawn Visualizations, Spawn Angles and more. The spawn taps are handled via the ARInteractionSpawnTrigger component which triggers the creation of new objects.
Screen Space UI
The Sample Scene contains various screen-space UI Canvas examples with UI elements such as scrollable menus, animated prompts, toggles, and buttons.
Screen Space UI Example
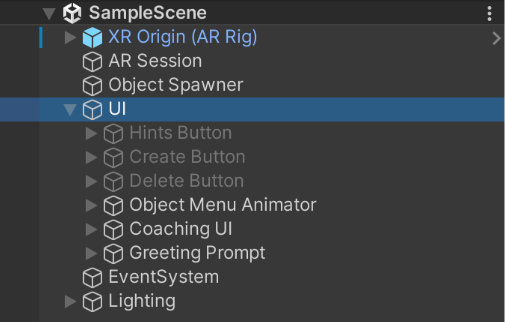
Create Menu
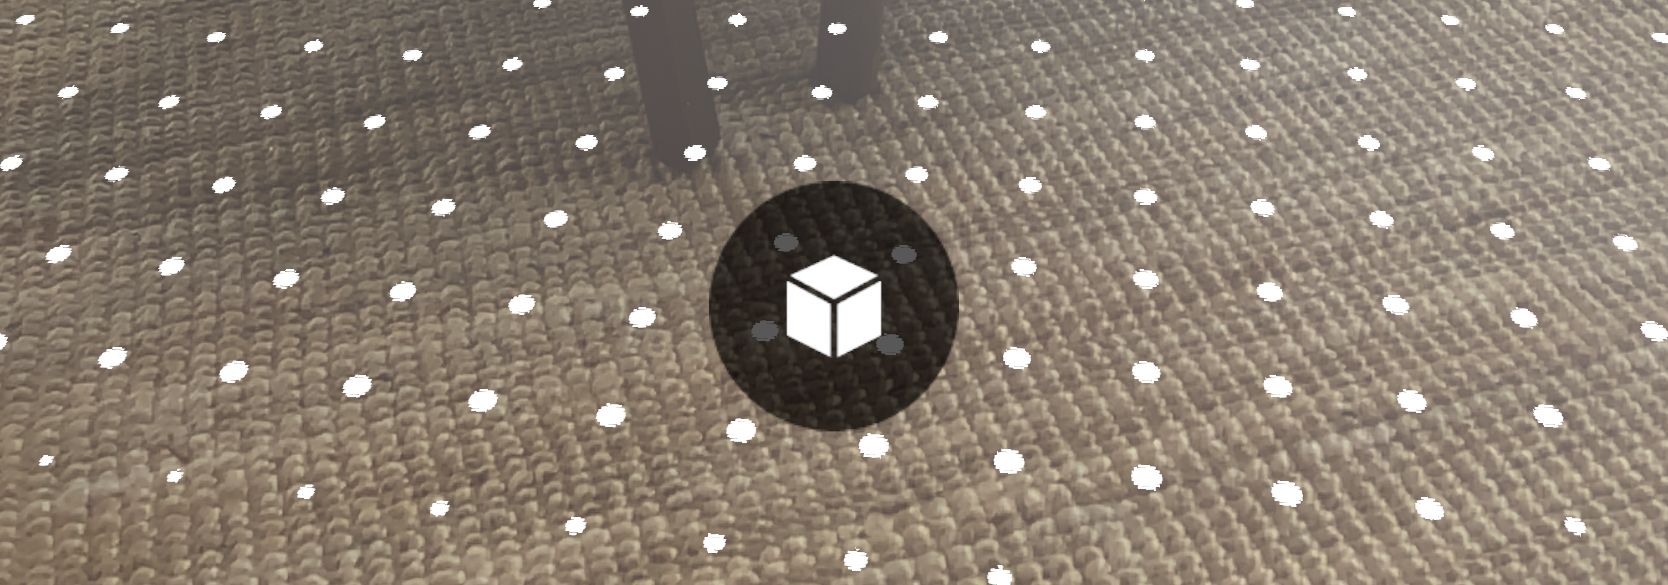
In the sample scene, the bottom of the screen has a button that opens the create menu.
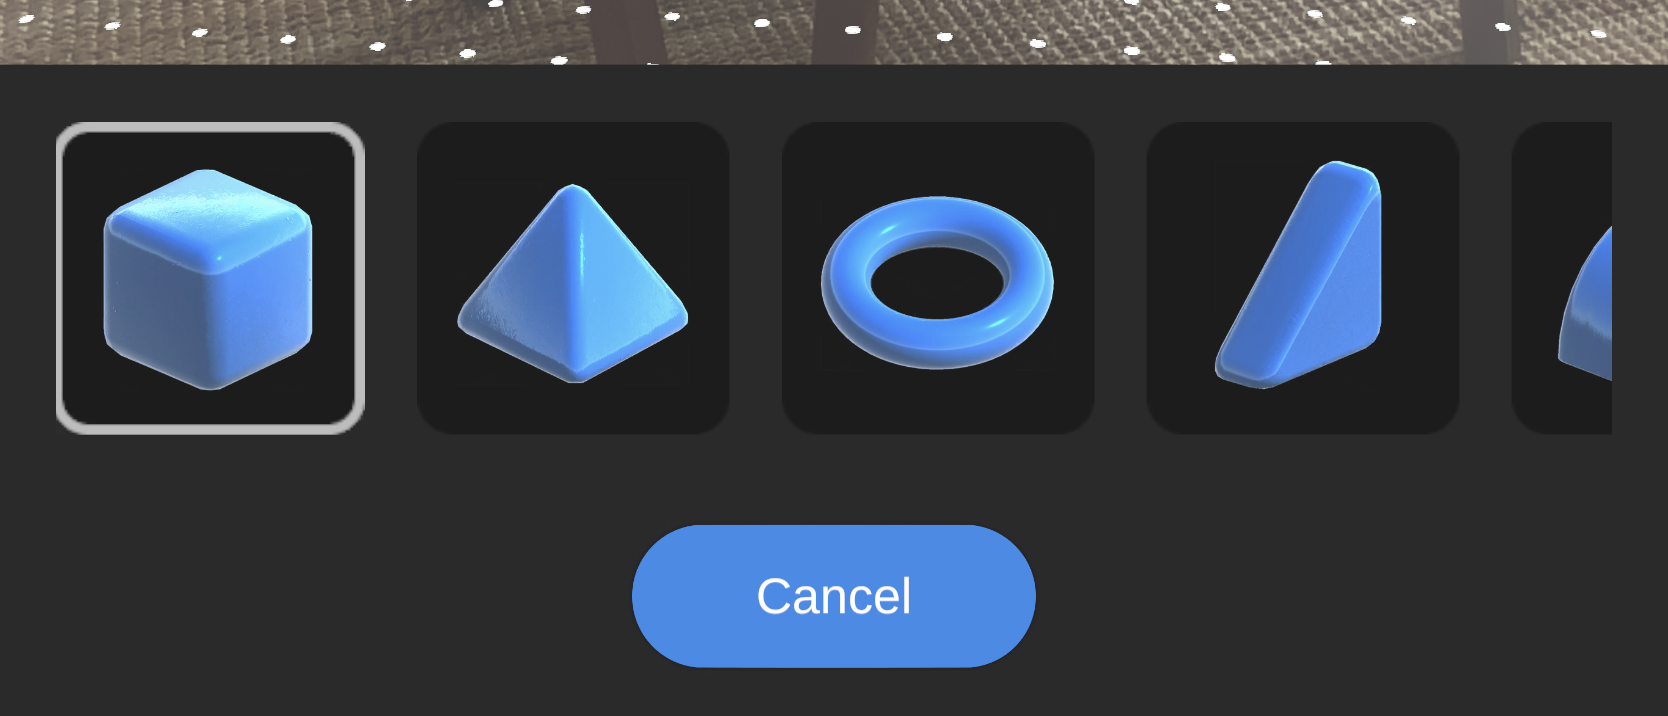
The create menu has a series of objects that can be spawned in the scene. To spawn a specific type of object, select its image. To dismiss the menu, select the cancel button at the bottom.
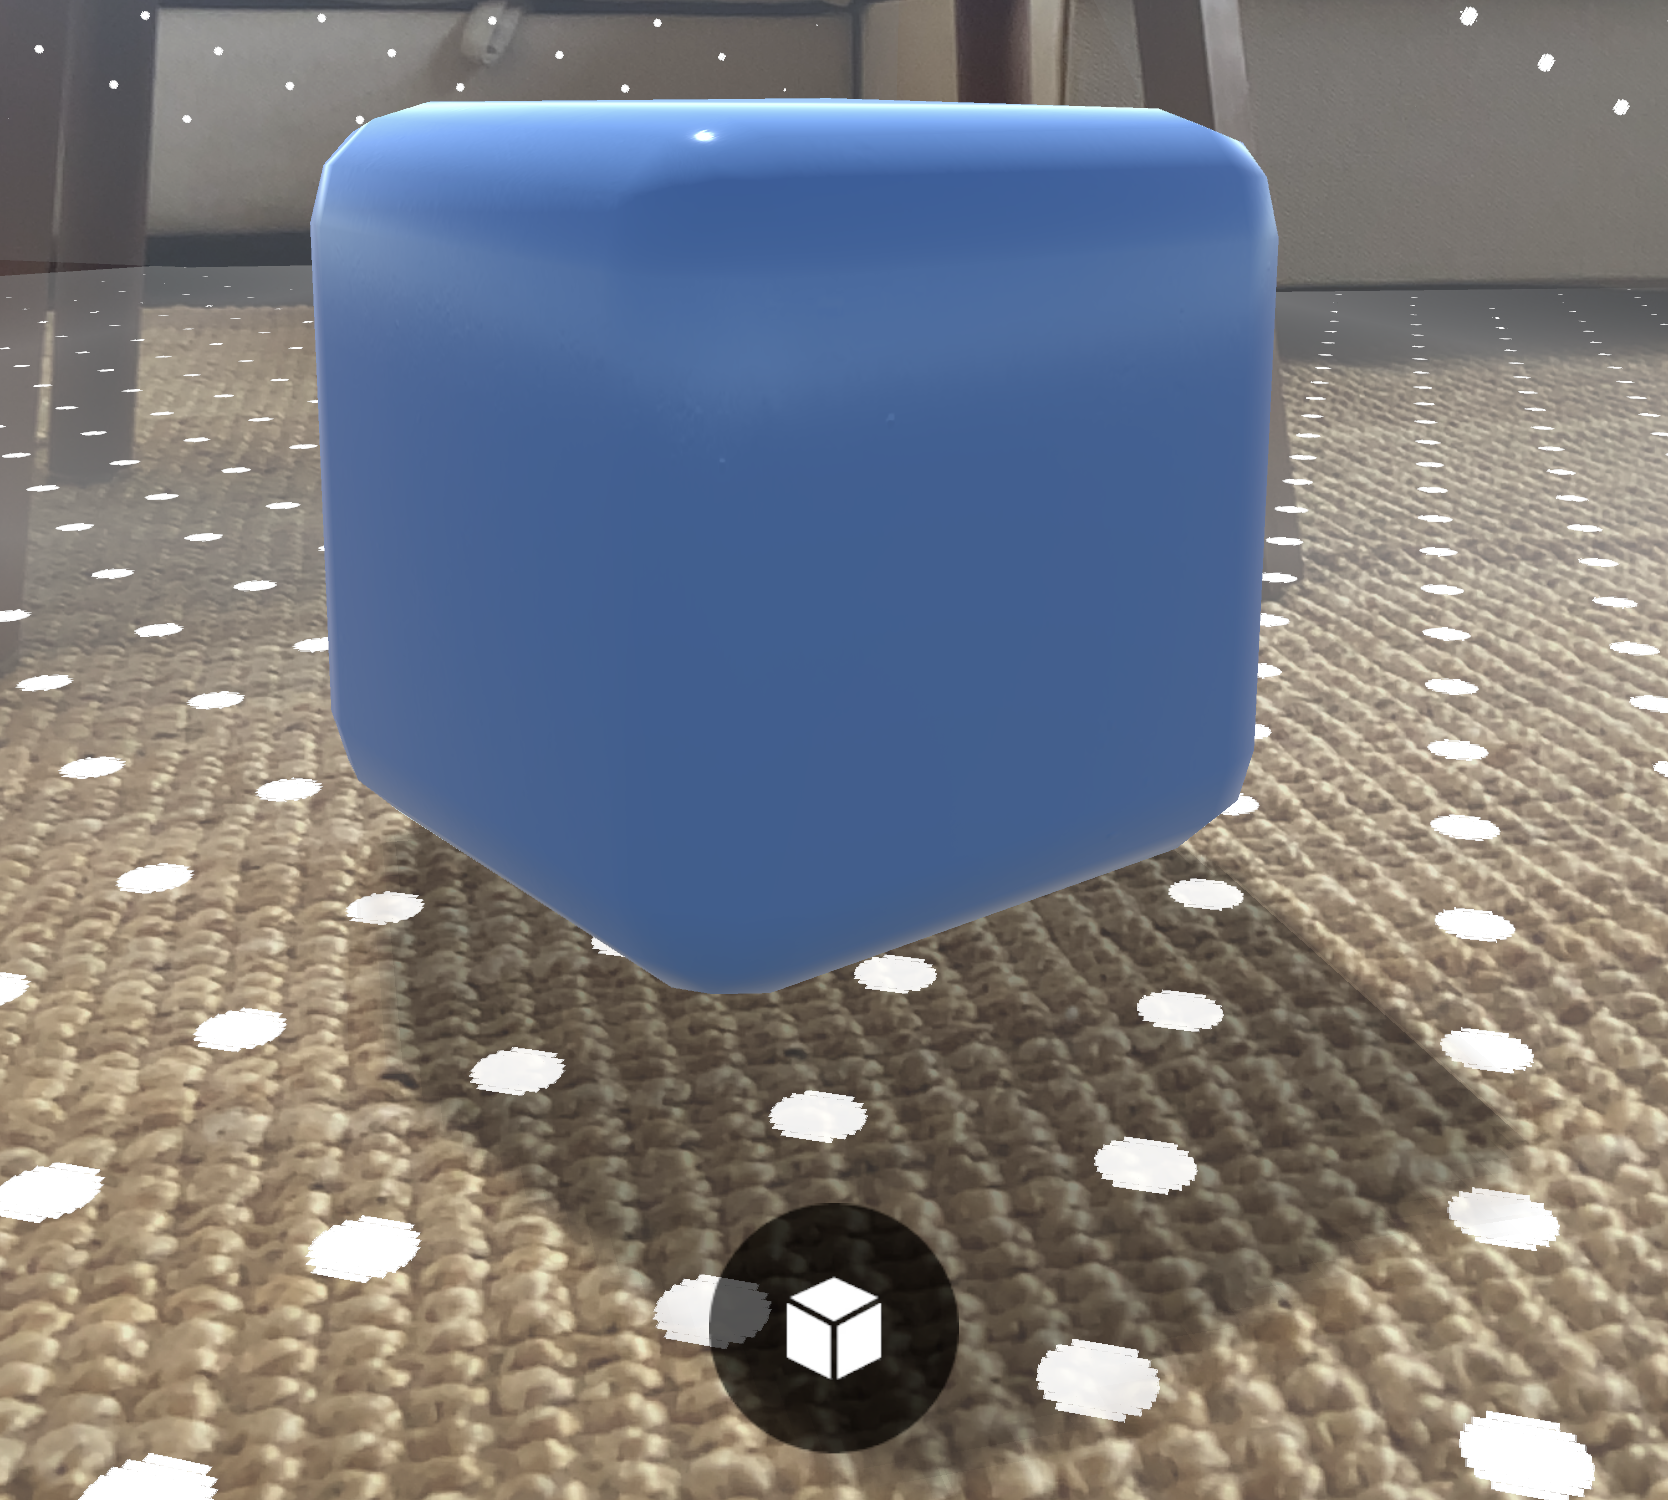
An object by default is unselected.
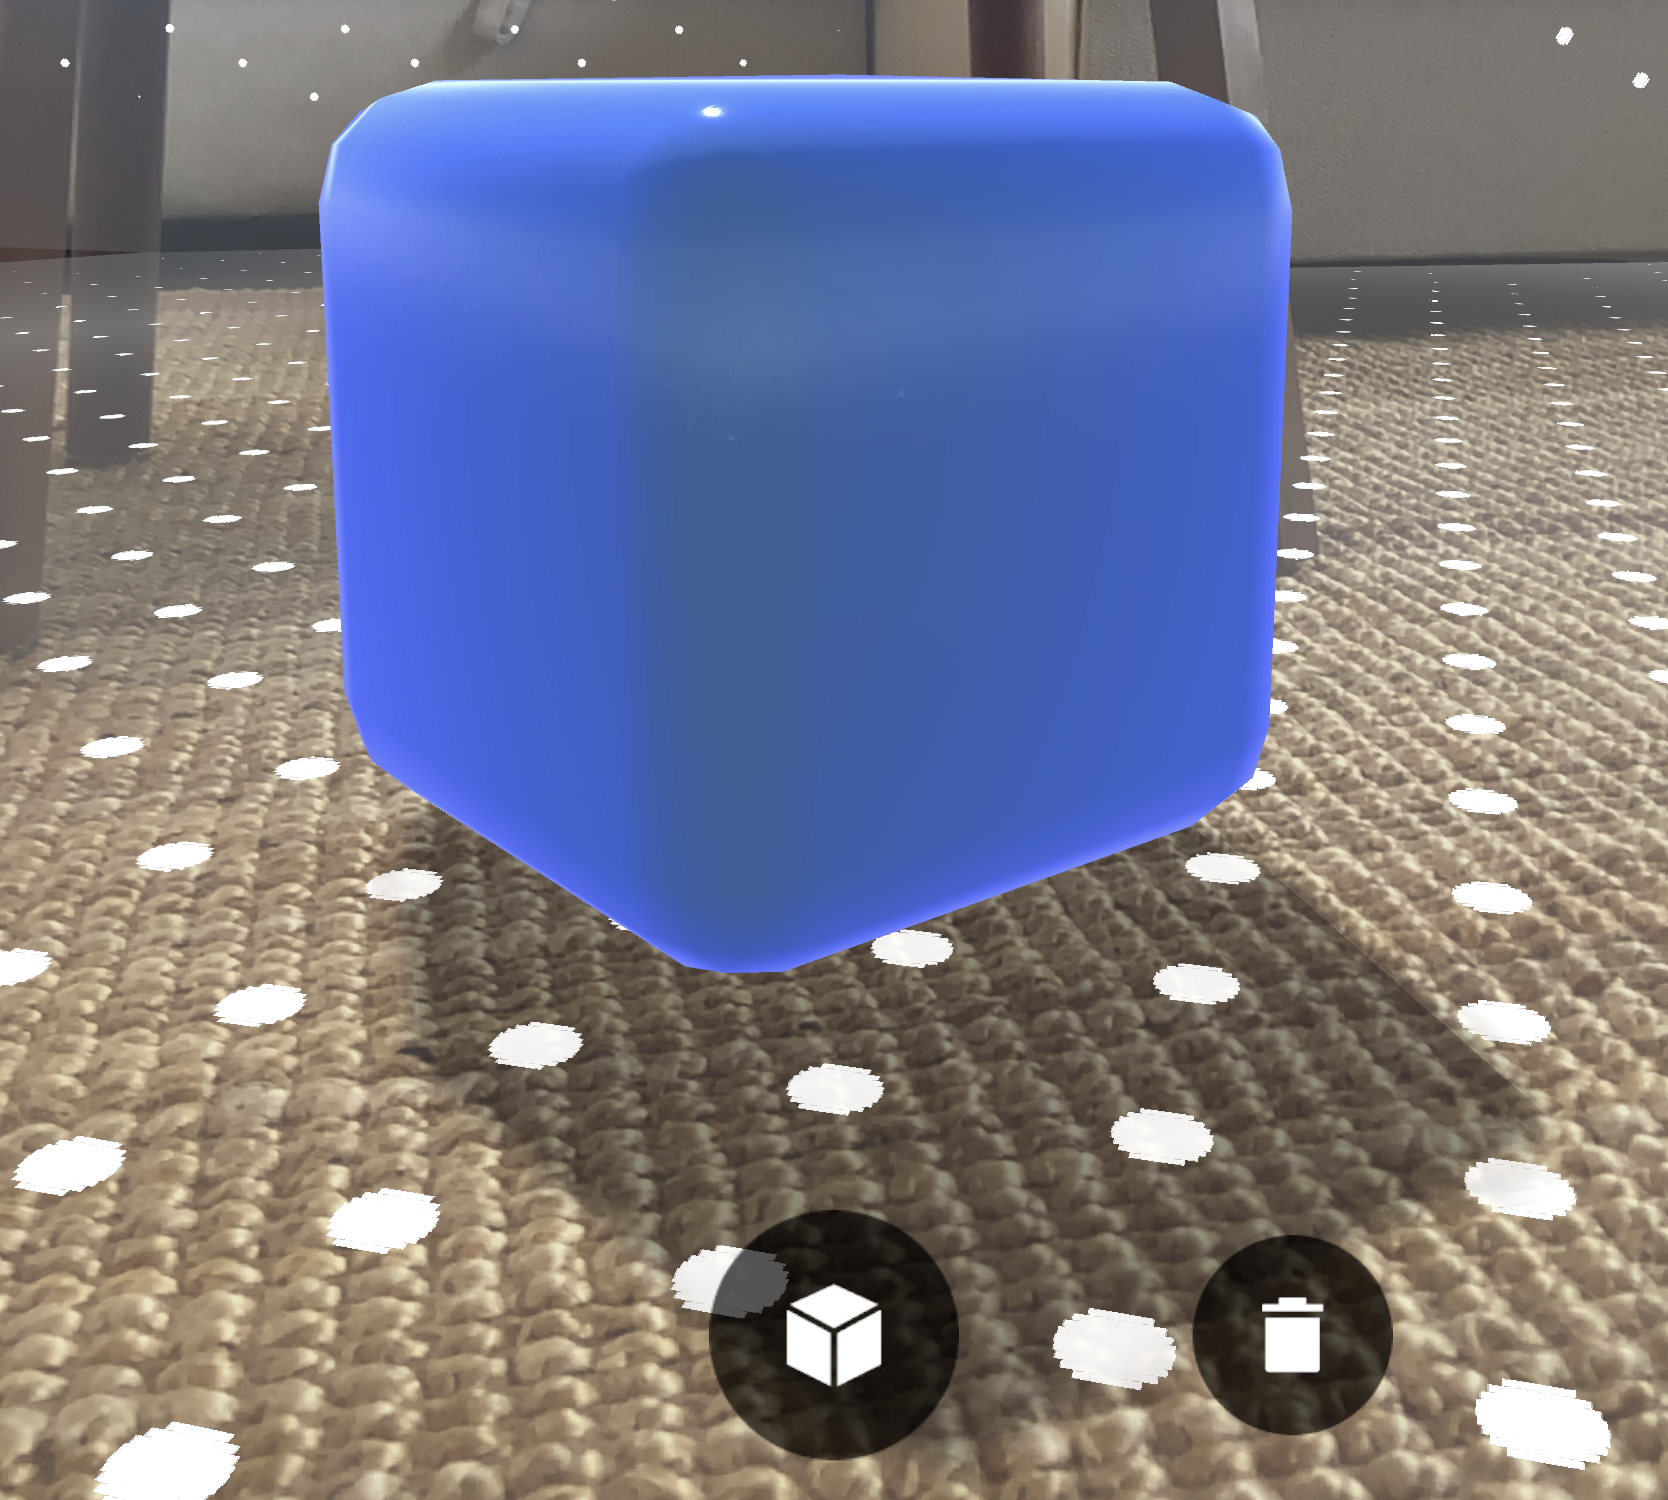
Once selected, the delete button appears at the bottom right. Pressing this will delete the currently selected object.
Options Modal
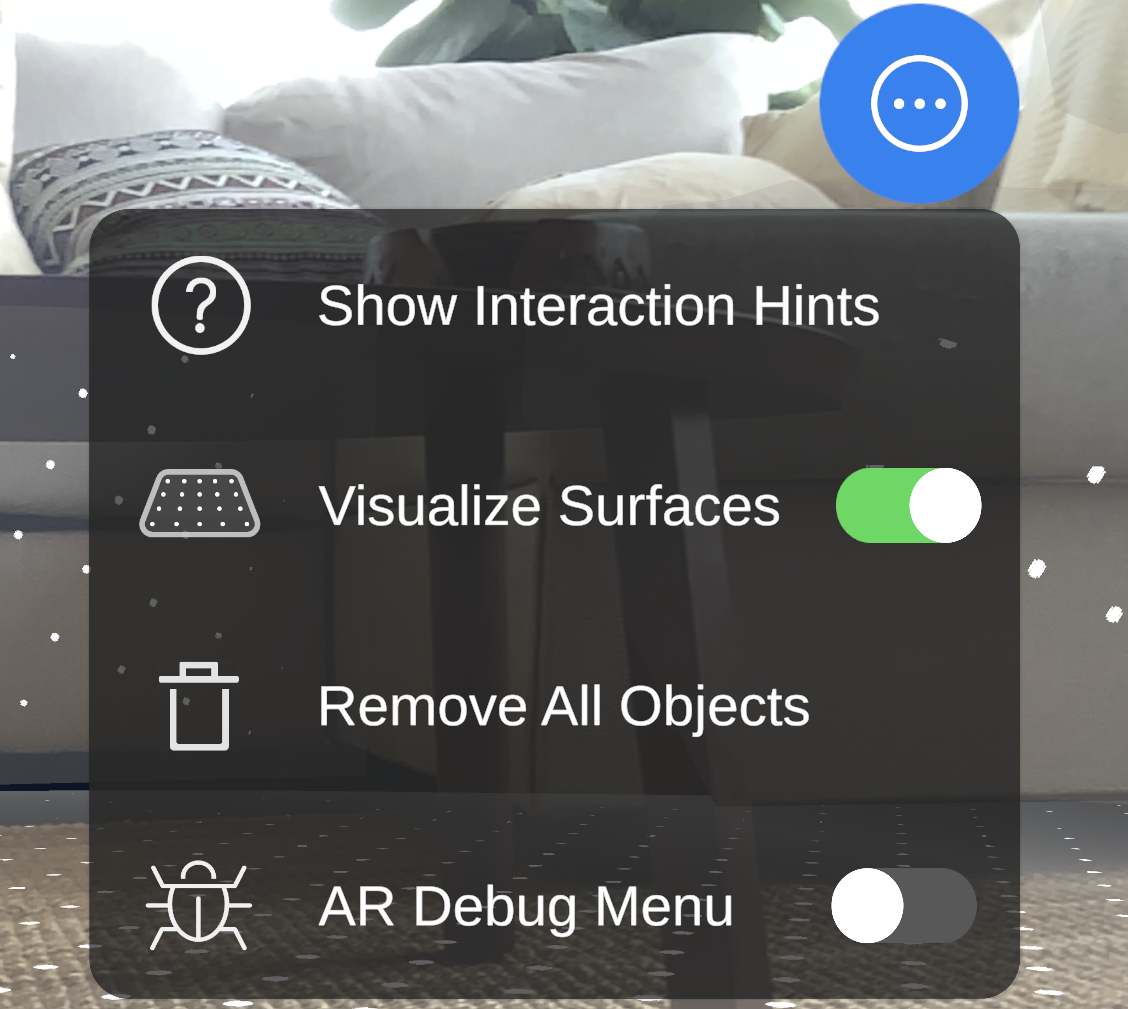
For more options, refer to the button on the top right corner of the screen which is the options modal menu. If you want to replay the gesture coaching hints, press Show Interaction Hints. If you want to turn off the surface visuals, toggle Visualize Surfaces off. To clear the scene of all spawned objects, press Remove All Objects.
The AR Debug Menu can be toggled by the AR Debug Menu toggle. The AR Debug Menu is a feature of AR Foundation that can provide debug data and visuals for an AR scene. To learn more about what the menu provides, see the AR Foundation documentation.
XR Simulation
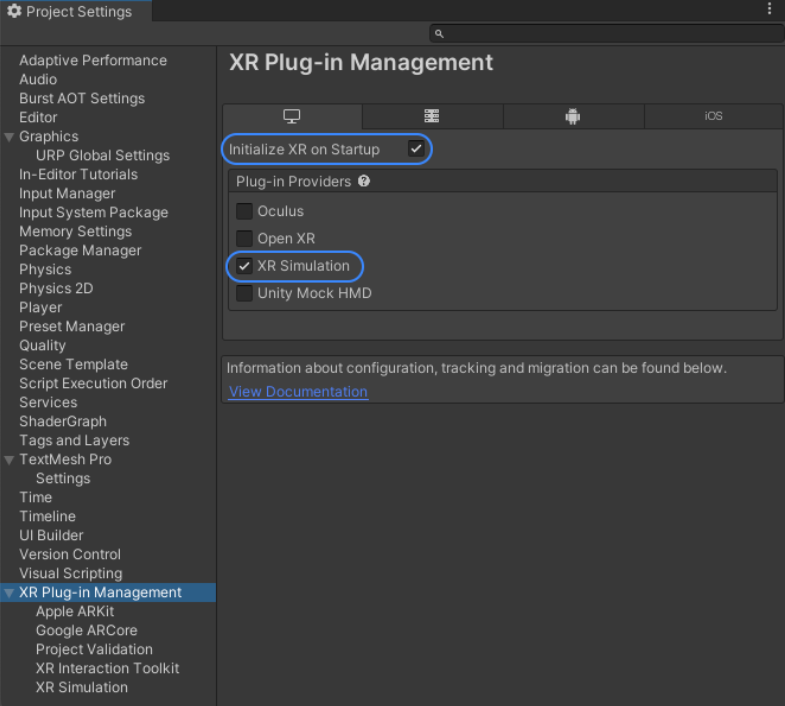
The XR Simulation allows users to simulate movement of a mobile device in-editor when Play mode is running. To activate it, navigate to Edit/ Project Settings…/ XR Plug-in Management, select XR Simulation as the Desktop Plug-in Provider, then select Initialize XR on Startup.
Once activated, users can simulate device movement from the Game window/tab when Play mode is active.
Rotate the camera view by pressing and holding the right mouse button, then move the mouse around.
Move the camera view by pressing and holding the right mouse button, then:
- Press and hold the ‘W’ key to move forward.
- Press and hold the ‘S’ key to** move backward.**
- Press and hold the ‘A’ key to move left.
- Press and hold the ‘D’ key to move right.
- Press and hold the ‘E’ key to** move up.**
- Press and hold the ‘Q’ key to move down.
Important
When using the XR Simulation for in-Editor testing, you may see an issue where the on-screen UI does not appear properly. To fix this, you will need to change the build target to either Android or iOS. To switch build targets, navigate to File > Build Settings, select your target in the Platform box then click the Switch Platform button in the bottom right. If Android or iOS are not installed, you will be prompted to Install with Unity Hub before allowed to switch to that platform.
Removing the example Assets from the Scene
If you want to completely remove the example Assets from your Project, it is easy to do so.
- In the Project window, open the Assets folder
- Right click the MobileARTemplateAssets folder
- Click Delete
- In the pop-up that appears, click Delete
- Be sure to remove the disconnected script from the ARSessionOrigin XROrigin object.
How to build to a specific platform
Additional documentation for building to each platform can be found here:
Known issues
Samsung S23 Ultra - When run on device, tap input and interactions do not work as expected. The symptom appears as though the previous object is continually selected after spawning a new object nearby.