Brushes
When you apply a tool such as Paint Texture or Smooth Height to the Terrain, Unity uses a Brush, which is a ScriptableObject in the Terrain system. The Brush defines the tool’s shape and strength of influence.
Built-in Brushes
Unity comes with a collection of built-in Brushes. They range from simple circles for quickly sketching designs, to more randomized scatter shapes that are good for creating detail and natural-looking features.
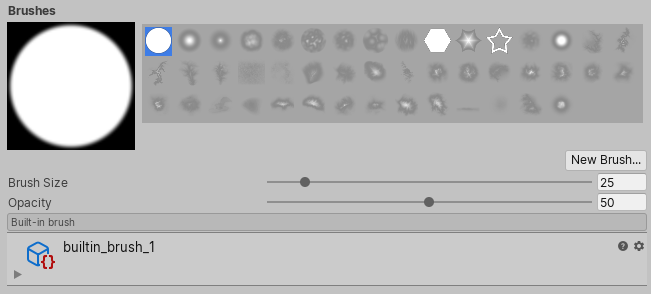
You can also select Brush Masks from the Terrain overlays. To see available Brush Masks from the Terrain overlays, select a Terrain tool that you can use to paint.
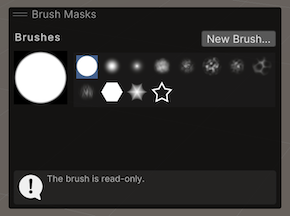
Custom Brushes
You can create your own custom Brushes with unique shapes or specific parameters for your needs. For example, use the heightmap Texture of a specific geological feature to define a Brush, then use the Stamp Terrain tool to place that feature on your Terrain.
To create a new Brush, click the New Brush button in the Terrain Inspector window.
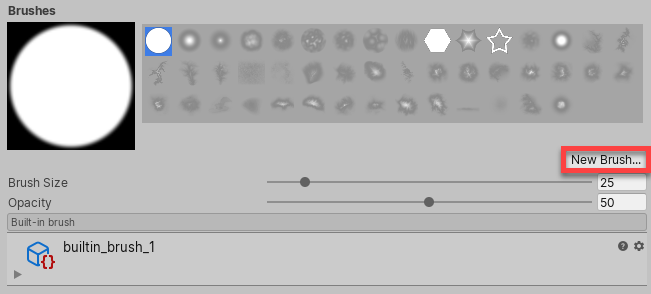
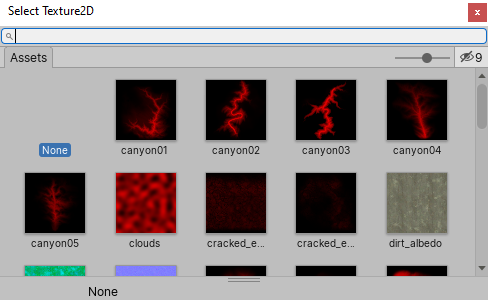
After you click New Brush, the Select Texture2D window appears. Choose a Texture to define the shape of your new Brush, then use the Brush Inspector to adjust the Falloff and Radius Scale values.
Alternatively, right-click in the ProjectIn Unity, you use a project to design and develop a game. A project stores all of the files that are related to a game, such as the asset and Scene files. More info
See in Glossary window, and choose Create > Brush to create a new Brush. The default Brush shows a simple circle defined by a white Mask Texture, a Falloff curve, and a Radius Scale of 1. Use the Brush Inspector to change these values, or set a Texture to define the shape of the Brush. You can also use the Remap slider and the Invert Remap Range option to further modify the grayscale values of the Brush Texture.
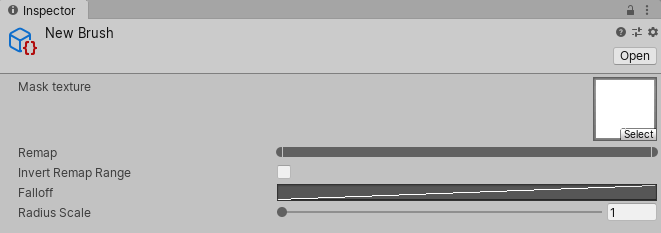
Brush settings
| Property | Function |
|---|---|
| Mask Texture | Defines the shape and strength of the Brush. Select a Texture in your project, and the system creates a grayscale mask from the Texture. If the selected Texture has multiple color channels, the Brush uses the Red channel as its source. |
| Remap | Remaps the grayscale values of the Brush mask, after applying the Falloff curve. The Editor remaps black values in the Brush mask to the value you select using the left side of the slider, and remaps white values in the Brush mask to the value you select using the right side of the slider. |
| Invert Remap Range | Inverts the left and right sides of the Remap slider, which basically inverts the values of the entire mask. |
| Falloff | Defines a curve that affects the strength of the Brush in a circular fashion. Click the Falloff curve to open the Unity Curve Editor, where you can edit the curve to create effects ranging from smooth fades to sharp edges. |
| Radius Scale | Affects the scale of the falloff curve. Use this option to increase or decrease the radius of the curve. |