Lightmap seam stitching
Seam stitching is a feature that smooths unwanted hard edges in GameObjectsThe fundamental object in Unity scenes, which can represent characters, props, scenery, cameras, waypoints, and more. A GameObject’s functionality is defined by the Components attached to it. More info
See in Glossary rendered with baked lightmapsA pre-rendered texture that contains the effects of light sources on static objects in the scene. Lightmaps are overlaid on top of scene geometry to create the effect of lighting. Glossary rendered with baked lightmapsA pre-rendered texture that contains the effects of light sources on static objects in the scene. Lightmaps are overlaid on top of scene geometry to create the effect of lighting. More info
See in Glossary generated by the Progressive LightmapperA tool in Unity that bakes lightmaps according to the arrangement of lights and geometry in your scene. Glossary generated by the Progressive LightmapperA tool in Unity that bakes lightmaps according to the arrangement of lights and geometry in your scene. More info
See in Glossary.
When Unity bakes lightmaps, it identifies meshThe main graphics primitive of Unity. Meshes make up a large part of your 3D worlds. Unity supports triangulated or Quadrangulated polygon meshes. Nurbs, Nurms, Subdiv surfaces must be converted to polygons. More info
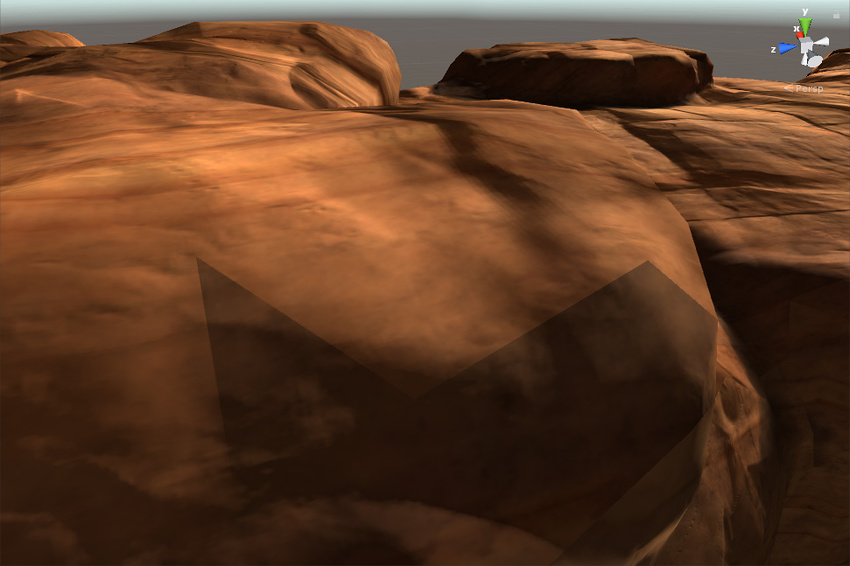
See in Glossary faces that are close together but separate from each other as being separate in lightmap space; the edges of these meshes are called “seams”. Ideally, seams are invisible; however, they can sometimes appear to have hard edges. This is because the GPU cannot blend texel values between charts that are separated in the lightmap.
Seam stitching fixes this issue. When you enable seam stitching, Unity does extra computations to amend the lightmap to improve each seam’s appearance. Stitching is not perfect, but it often improves the final result substantially. Seam stitching takes extra time during baking due to extra calculations Unity makes, so Unity disables it by default.
When you enable seam stitching, the lightmapper identifies the pair of edges that it should stitch together, and produces illumination which is as smooth as possible across the seam. This applies only to straight edges which run horizontally or vertically along chart boundaries in the atlas, and is designed to work with rectangles which are axis-aligned in UV space.
Limitations of seam stiching
Seam stitching works with the Progressive Lightmapper. Seam stitching only works on single GameObjects; multiple GameObjects cannot be smoothly stitched together.
Using seam stitching
You can enable seam stitching on any GameObject with a Mesh RendererA mesh component that takes the geometry from the Mesh Filter and renders it at the position defined by the object’s Transform component. More info
See in Glossary component. In the Mesh Renderer Inspector, navigate to the Lightmapping section and Stitch Seams.
Alternatively, you can use the MeshRenderer.stitchLightmapSeams API.