문제 해결
이 섹션에서는 Custom Pass 컴포넌트를 사용할 때 맞닥뜨릴 수 있는 일반 문제에 대한 예시와 이를 수정하는 방법을 제공합니다.
스케일링 문제 표시

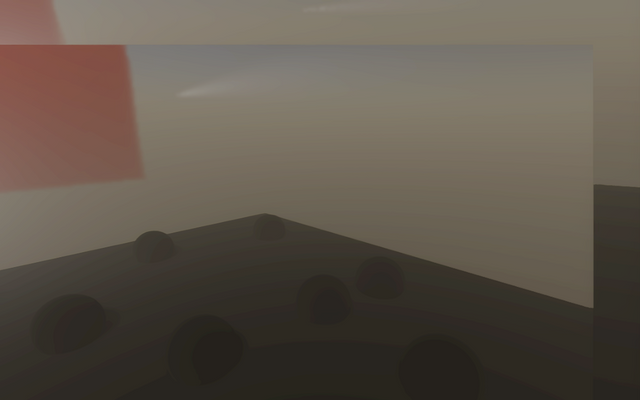
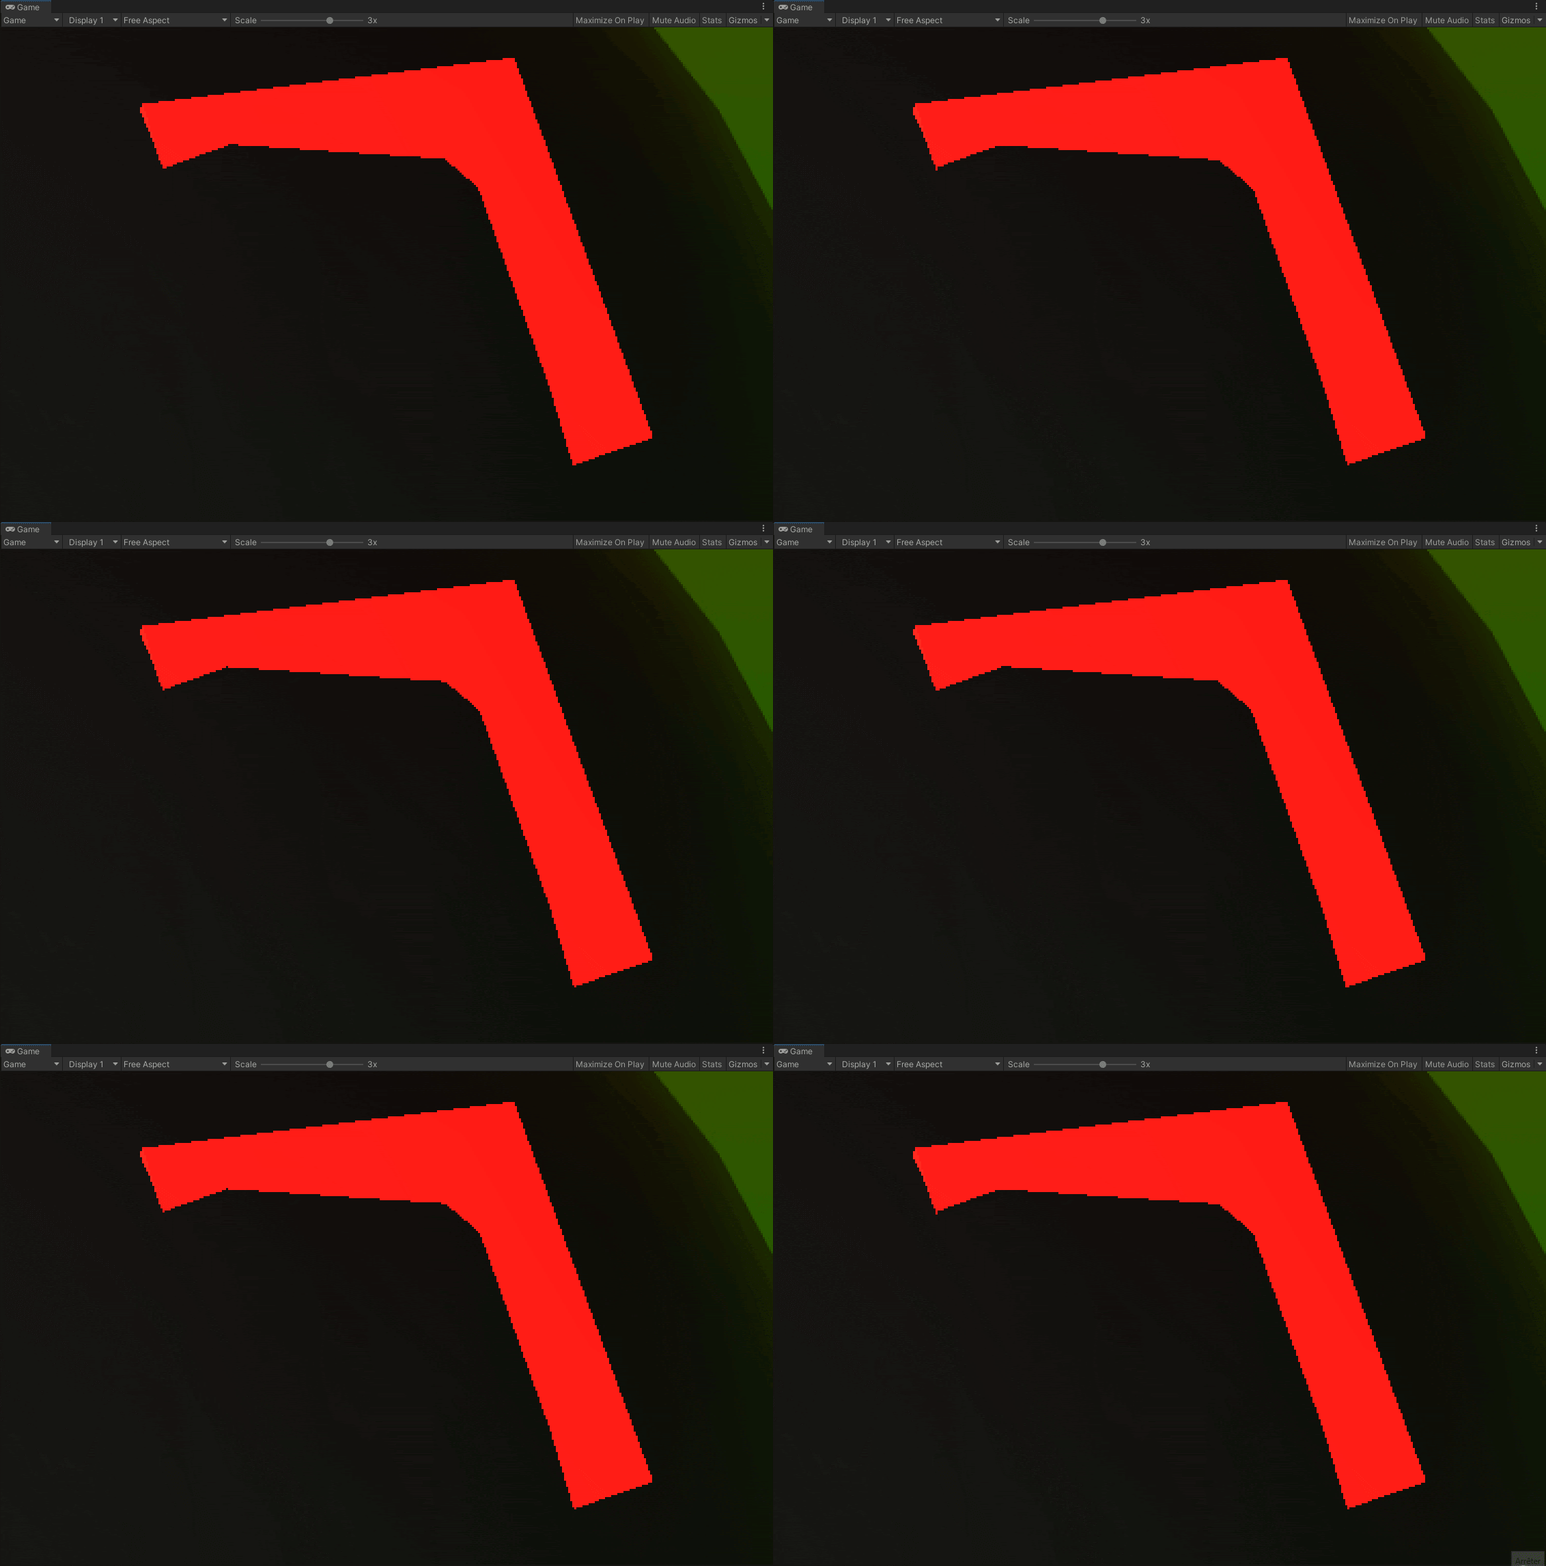
스케일링 문제는 동일한 해상도를 사용하지 않는 두 대의 카메라가 있는 경우 빌드 시 나타날 수 있습니다. 이는 게임 속의 뷰와 씬 뷰 사이에서 가장 일반적입니다. 이 문제는 다음 경우에 발생할 수 있습니다.
- 코드가 CommandBuffer.SetRenderTarget을 호출하고
CoreUtilsSetRenderTarget이 뷰포트를 설정하는 경우 RTHandle버퍼를 샘플링할 때 셰이더 코드에서 UV에 대해_RTHandleScale.xy를 곱하지 않은 경우
이러한 경우에 원인을 수정하려면 다음 단계를 따르십시오.
CommandBuffer.SetRenderTarget대신CoreUtils.SetRenderTarget을 사용합니다.RTHandle버퍼를 샘플링할 때 셰이더 코드에서_RTHandleScale.xy를 사용합니다.
빌드 시 불투명 오브젝트 사라짐
프로그램을 빌드할 때 씬에 불투명 머티리얼을 가진 게임 오브젝트가 사라지는 경우 HDRP 에셋 설정을 변경해야 할 수도 있습니다.
이를 수정하려면 다음 단계를 따르십시오.
- Project 창에서 HDRenderPipelineAsset으로 이동합니다(기본 HDRP 빌드를 사용하는 경우
Assets > Settings로 이동). - HDRP 에셋에서 Lit Shader Mode를 Both로 변경합니다.
TAA를 활성화한 경우 게임 오브젝트에 지터 발생
TAA(Temporal Anti-Aliasing)가 활성화된 경우 일부 게임 오브젝트에 지터가 나타납니다.

다음 조건이 모두 충족된 경우 지터가 발생할 수 있습니다.
- 오브젝트가 AfterPostProcess 주입 지점에서 렌더링이 됩니다. 이를 수정하려면 Custom Pass Volume 컴포넌트의 Injection Point를 수정합니다.
- 오브젝트에 Depth Test가 활성화되어 있습니다. 이를 수정하려면 셰이더 프로퍼티에서 Depth Test를 비활성화하거나 드로우 렌더러 Custom Pass 컴포넌트의 Depth Test 프로퍼티를 Disabled로 설정합니다.
잘못된 방향을 향한 슈리켄 파티클
다음 조건으로 인해 씬의 파티클이 잘못된 방향을 향할 수 있습니다.
- 파티클 시스템이 커스텀 패스에서만 나타납니다.
AggregateCullingParameters에 대해 구현된 오버라이드가 없습니다.
Unity는 컬링 단계에서 AggregateCullingParameters를 실행할 때 빌트인 파티클 시스템에서 파티클 방향을 계산합니다. 따라서 오버라이드가 없는 경우 HRDP가 이를 올바르게 렌더링하지 않습니다.
데칼이 보이지 않는 경우
다음 조건으로 인해 씬의 데칼이 보이지 않게 될 수 있습니다.
- 데칼이 Unity가 커스텀 패스에 렌더링한 게임 오브젝트에 적용됩니다.
- 데칼이 AfterOpaqueDepthAndNormal 주입 지점 전에 Unity가 렌더링한 투명 오브젝트 위에 있습니다.
이 문제를 수정하려면 게임 오브젝트의 주입 지점을 AfterOpaqueDepthAndNormal 후의 주입 지점으로 변경합니다.
컬링 문제
Execute 메서드에서 수신하는 cullingResult에 HDRP가 커스텀 패스에서만 렌더링하는 오브젝트가 포함되지 않으면 씬의 일부 오브젝트가 보이지 않을 수 있습니다.
이는 카메라 컬링 마스크에서 오브젝트의 레이어를 비활성화한 경우 발생할 수 있습니다.
이는 기본적으로 이 cullingResult가 카메라 cullingResult이기 때문에 발생합니다. 이 문제를 수정하려면 CustomPass 클래스에서 이 메서드를 오버라이드합니다.
protected virtual void AggregateCullingParameters(ref ScriptableCullingParameters cullingParameters, HDCamera camera) {}
그런 다음 ScriptableCullingParameters를 사용하여 Execute 메서드에서 수신하는 cullingResult에 레이어나 커스텀 컬링 옵션을 추가할 수 있습니다.
Unity가 셰이더를 로드할 때 화면이 검게 변함
Unity가 셰이더를 로드할 때 화면이 검게 변하는 경우 이는 Unity가 씬에 레퍼런스되지 않은 셰이더를 렌더링하려고 하기 때문일 수 있습니다. 이는 다음의 경우에 발생할 수 있습니다.
- 셰이더를 찾는 데 커스텀 패스가
Shader.Find만 사용하는 경우 - Resources 폴더에 셰이더가 포함되어 있지 않은 경우
- 셰이더가 커스텀 패스에 레퍼런스되지 않은 경우
이를 수정하려면 다음 코드 줄을 추가하여 커스텀 패스에 셰이더를 레퍼런스할 수 있습니다.
   [SerializeField, HideInInspector]
      Shader shaderName;
예제:
using UnityEngine;
using UnityEngine.Rendering.HighDefinition;
using UnityEngine.Rendering;
using UnityEngine.Experimental.Rendering;

class Outline : CustomPass
{
    public LayerMask    outlineLayer = 0;
    [ColorUsage(false, true)]
    public Color        outlineColor = Color.black;
    public float        threshold = 1;

    // To make sure the shader ends up in the build, we keep a reference to it
    [SerializeField, HideInInspector]
    Shader                  outlineShader;

    Material                fullscreenOutline;
    RTHandle                outlineBuffer;

    protected override void Setup(ScriptableRenderContext renderContext, CommandBuffer cmd)
    {
        outlineShader = Shader.Find("Hidden/Outline");
        fullscreenOutline = CoreUtils.CreateEngineMaterial(outlineShader);

        // Define the outline buffer
        outlineBuffer = RTHandles.Alloc(
            Vector2.one, TextureXR.slices, dimension: TextureXR.dimension,
            colorFormat: GraphicsFormat.B10G11R11_UFloatPack32,
// We don't need alpha for this effect
            useDynamicScale: true, name: "Outline Buffer"
        );
    }

    protected override void Execute(CustomPassContext ctx)
    {
        // Render meshes we want to apply the outline effect to in the outline buffer
        CoreUtils.SetRenderTarget(ctx.cmd, outlineBuffer, ClearFlag.Color);
        CustomPassUtils.DrawRenderers(ctx, outlineLayer);

        // Set up outline effect properties
        ctx.propertyBlock.SetColor("_OutlineColor", outlineColor);
        ctx.propertyBlock.SetTexture("_OutlineBuffer", outlineBuffer);
        ctx.propertyBlock.SetFloat("_Threshold", threshold);

        // Render the outline buffer fullscreen
        CoreUtils.SetRenderTarget(ctx.cmd, ctx.cameraColorBuffer, ClearFlag.None);
        CoreUtils.DrawFullScreen(ctx.cmd, fullscreenOutline, ctx.propertyBlock, shaderPassId: 0);
    }

    protected override void Cleanup()
    {
        CoreUtils.Destroy(fullscreenOutline);
        outlineBuffer.Release();
    }
}