Warning
Warning: Unity Simulation is deprecated as of December 2023, and is no longer available.
Quickstart Guide for Sensors
The following guide shows how to quickly get started with distributed rendering with sensors. It is assumed that Distributed Rendering has been installed; see the installation instructions here.
In the Unity Editor, open Window > Distributed Rendering. Modify the following fields:
- Check Enable Distribution
- Check Enable Distributable Methods
- Check Enable Physics (required for sensors)
- Set Sync Mode to Lock Step and check Wait For Clients To Connect.
- Create a GameObject called "Scheduler", and add the Scheduler (from Simulation Sensors package) component.
- To each sensor that should be rendered on a node, add a DistributionAffinity component. Specify an affinity ID greater than 0.
- To each sensor that should be rendered in the server, or any other object that should be rendered in the server, add a IncludeInDistributedRendering component. To do this quickly, select the objects, then open Window > Distributed Rendering and click Tag Object Tree.
- In the Hierarchy, right click and select Create Empty. Rename it to Distributed Rendering Util. In the Inspector, add the following components
- Distributed Rendering Events
- Distributed Rendering Scene Data. For sensors, set the Expected Number of Render Nodes to the total number of different affinity IDs.
- In Window > Distributed Rendering, click Validate Scene Ojects. This will look for any duplicate IDs in the scene hierarchy and attempt to fix it by regenerating the ID if required.
- In the Editor, go to File > Build Settings > Player Settings > Resolution and Presentation and select Visible In Background and Resizeable Window. Go back to File > Build Settings and select your desired platform. Ensure your scene is included, then click 'Build'. This may take several minutes if it is the first time.
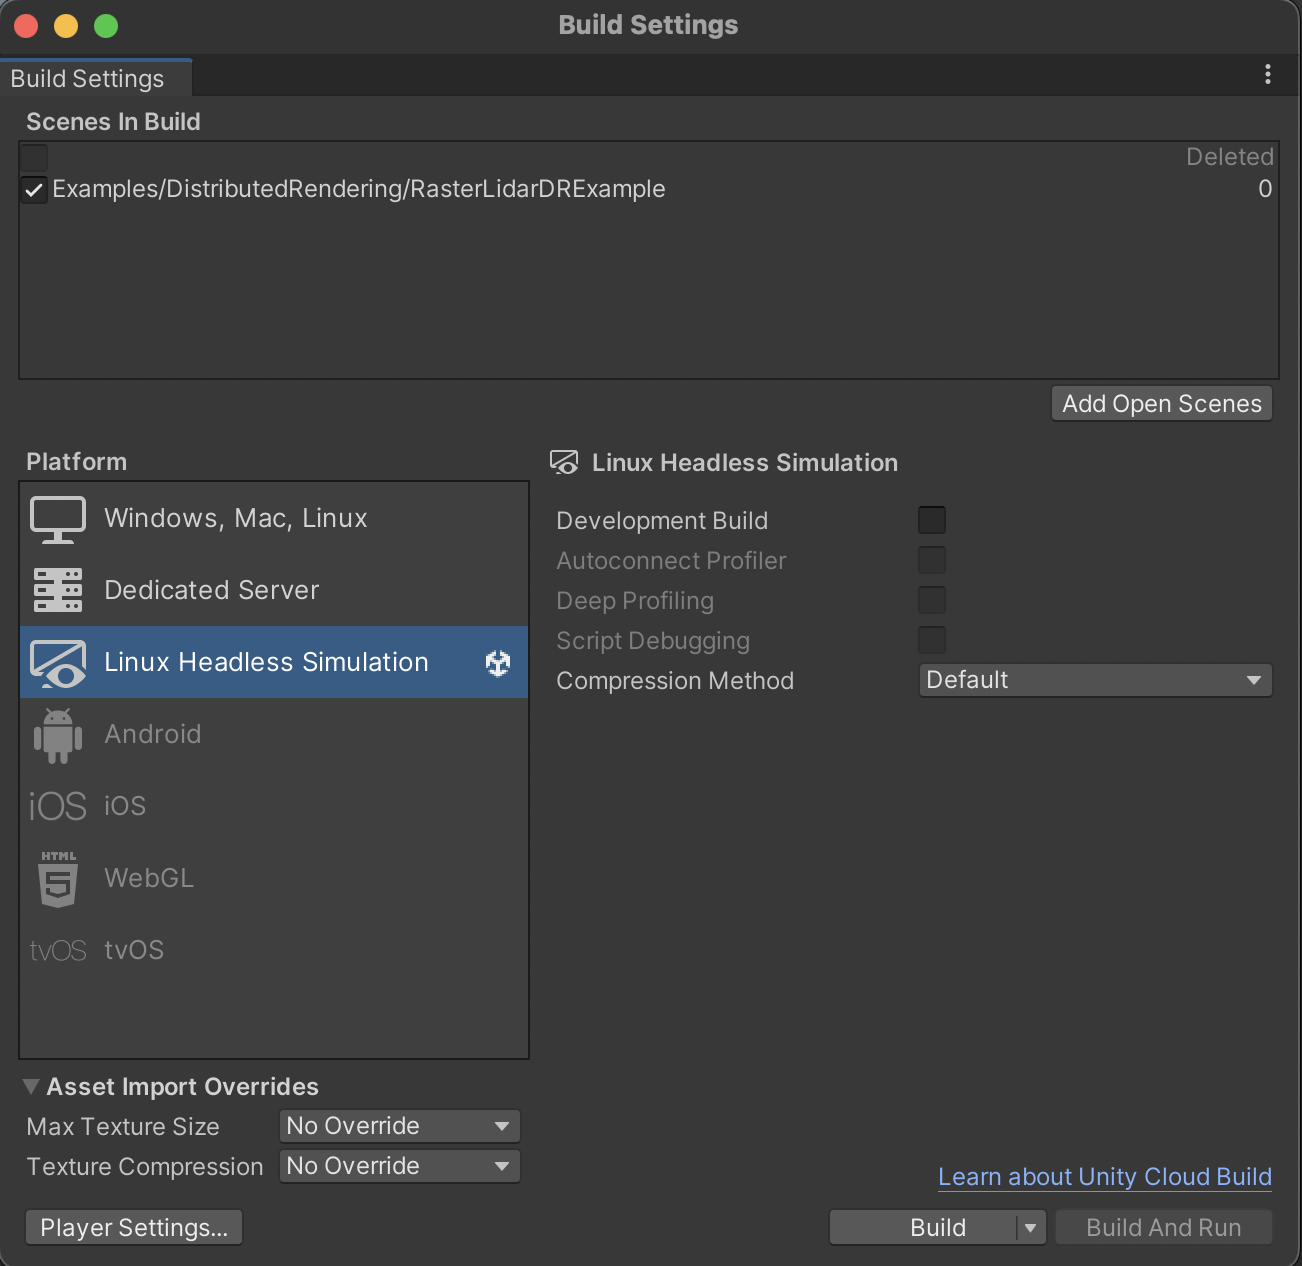
Linux Headless Simulation Build target - Launch the instances using the command line. Alternatively, to any GameObject in the scene, add the ClientLauncher component. Do the following:
- Click Browse for client executable... and find the build you just created. Alternatively, click Select last build. This will set the Client Executable field.
- Change the Number of Clients field to the appropriate number. For sensors, this should be the number of different affinity IDs.
- To Per Node Parameters, add the same number of elements as clients. Add "--group-id N --render" (where N matches the Distribution Affinity IDs) to each element. There are more parameters that can be enabled. Learn more here.
- Click Run.
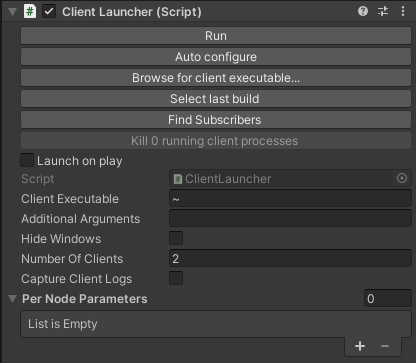
The ClientLauncher component
If using VMs, include the--ip <server's internal IP address>parameter.
- The appropriate number of clients will appear. Select topics to visualize.