Warning
Warning: Unity Simulation is deprecated as of December 2023, and is no longer available.
Creating a player build for your project with Linux Headless Simulation(LHS)
After you have installed the required modules by following instructions in the previous pages here and here, you are ready to build the binary with your simulation to run on servers. In this page we will walk you through those steps.
Building using the Build Settings Window
Select
File>Build Settings...from the menu.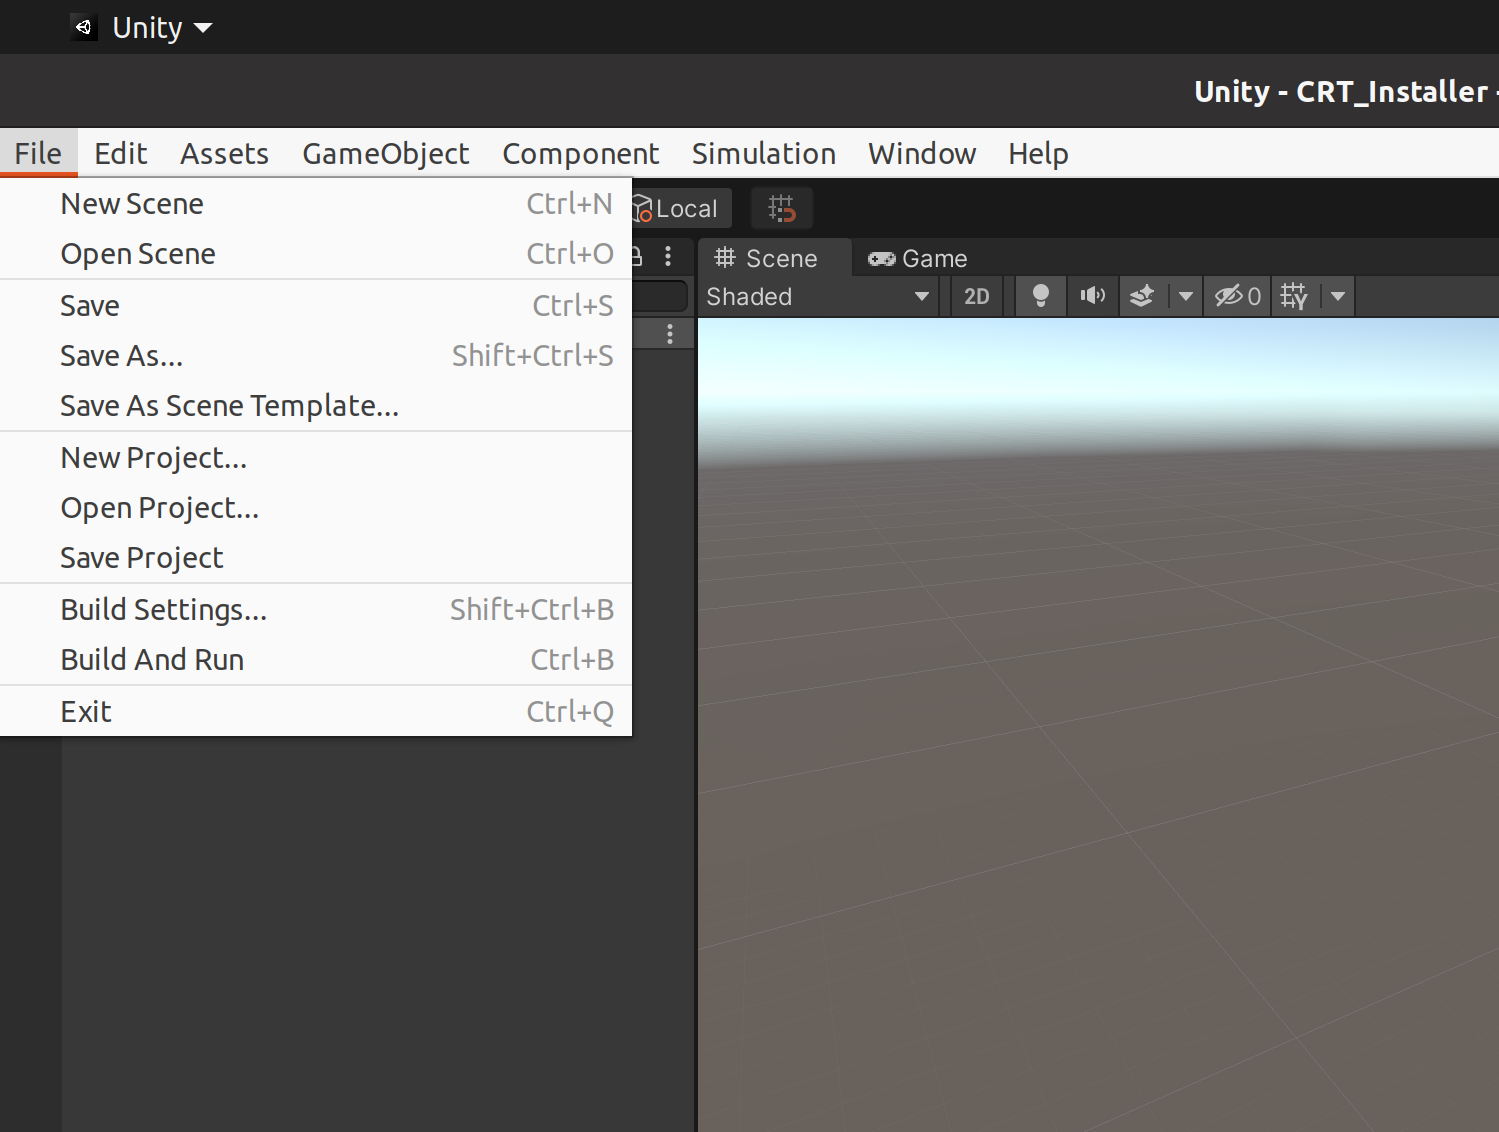
Add scenes to build by clicking the
Add Open Scenesbutton under theScenes in Buildsection and select the scene you want to build.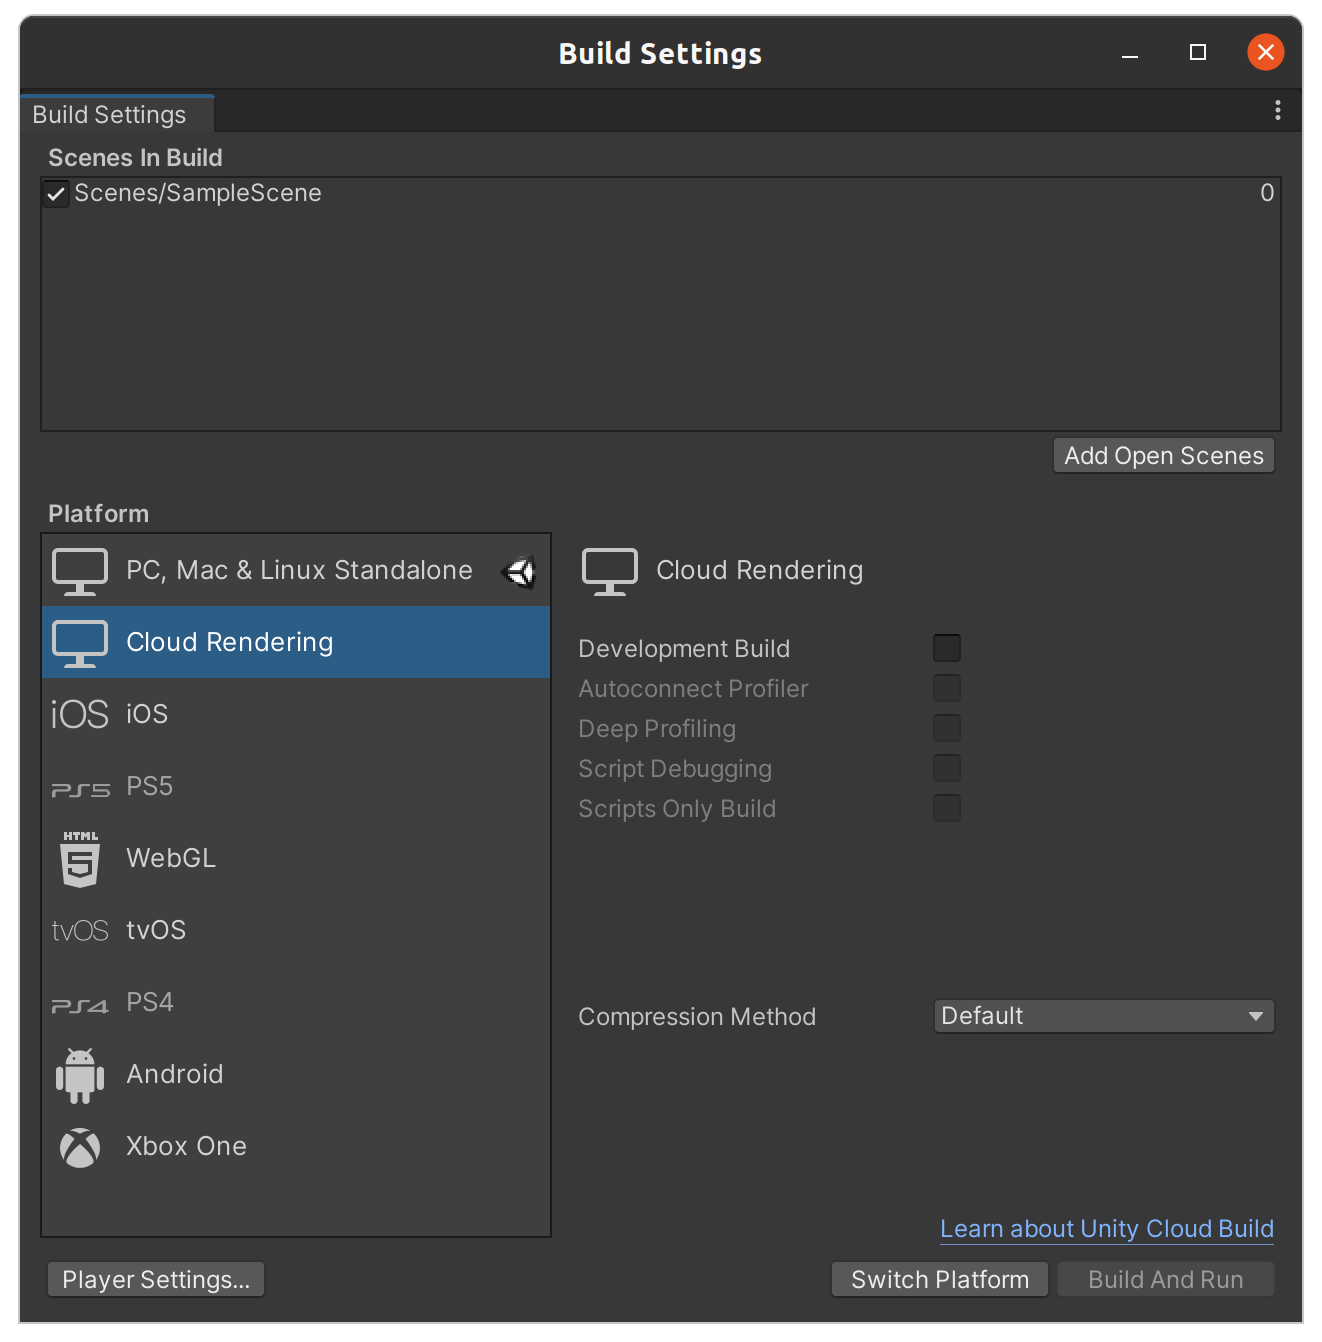
Select
Cloud RenderingunderPlatformand clickSwitch Platform. This will change theSwitch PlatformtoBuild.Select the
Buildbutton and navigate to the location you want to store the build at in theFileswindow that opens up.Click the
Savebutton to start your build.
Building using command line arguments
Select
File>Build Settings...from the menu.Add scenes to build by clicking the
Add Open Scenesbutton under theScenes in Buildsection and select the scene you want to build.Close the Unity Editor.
Open Terminal and enter the following command:
path/to/Unity/Editor -projectPath path/to/project -buildLinuxHeadlessSimulation path/to/save/build-projectPathis used to direct the Unity Editor to the location of the project, as explained here.-buildLinuxHeadlessSimulationis used to launch the Unity Editor, set the build location and then exit the Unity Editor once the build is done.NOTE: Since this command shuts down the Editor by default, make sure not to add the
-quitcommand as that can override it. Also,make sure to set the path to save the build to, as not setting it might lead to erroneous behaviour.-batchmode -nographicscan be used to suppress the Unity Editor launch.-accept-apiupdatecan be used to specify that APIUpdater should run when Unity is launched in batch mode.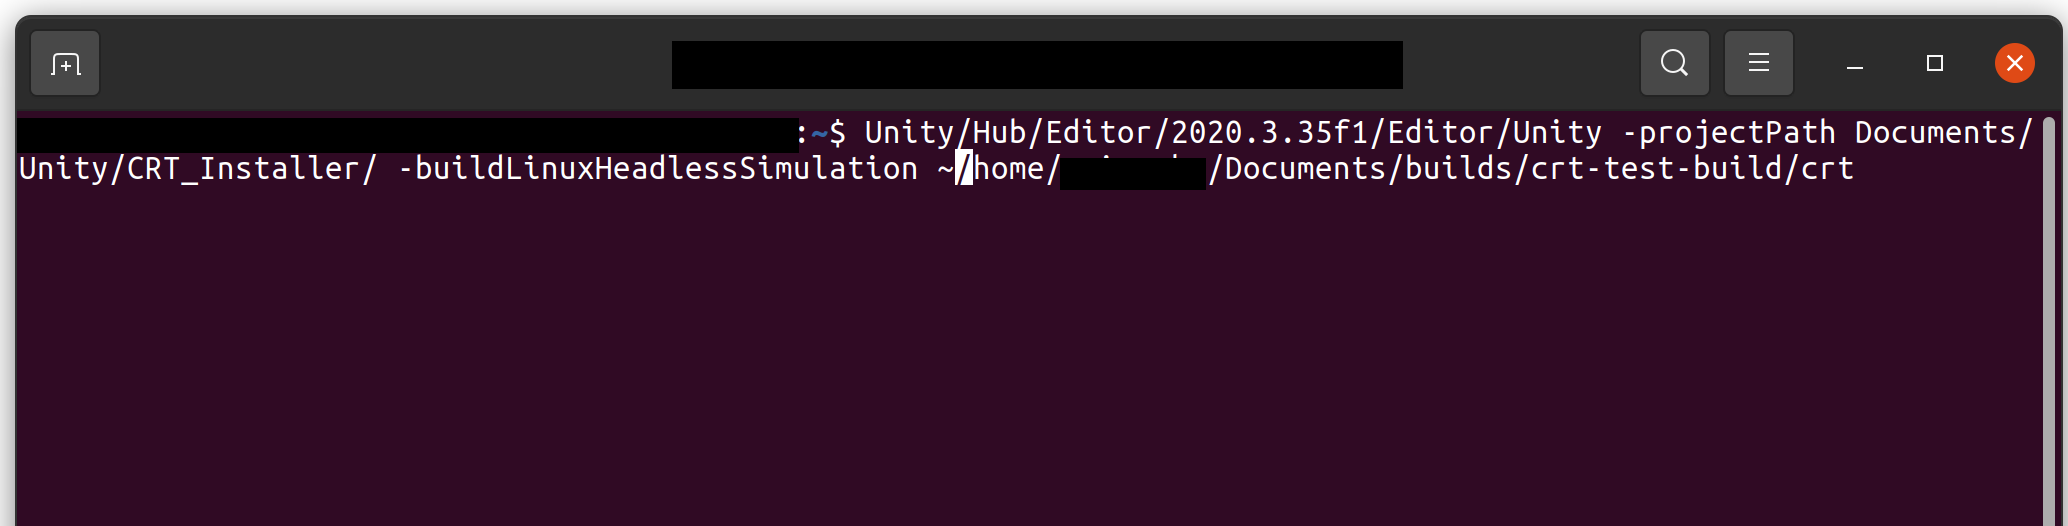
Once you have the binary built, you are now ready to deploy either locally or in your servers! Click here for further instructions.
How to get access?
If you have landed here without visiting our product page here, we recommend heading over there, and reaching out to our product team to get access first. Once thats completed, for any further engineering support please reach out to unitysimulationpro@unity3d.com so we can get you set up and provide the required help.