Configure UI Input Actions
The default project-wide actions asset comes with a built-in action map named UI, which contains all the actions required for UI interaction. To configure the bindings for these actions, use the Actions Editor.
To open the UI action map:
- Go to Project Settings > Input System Package
- In the Action Maps column, select UI.
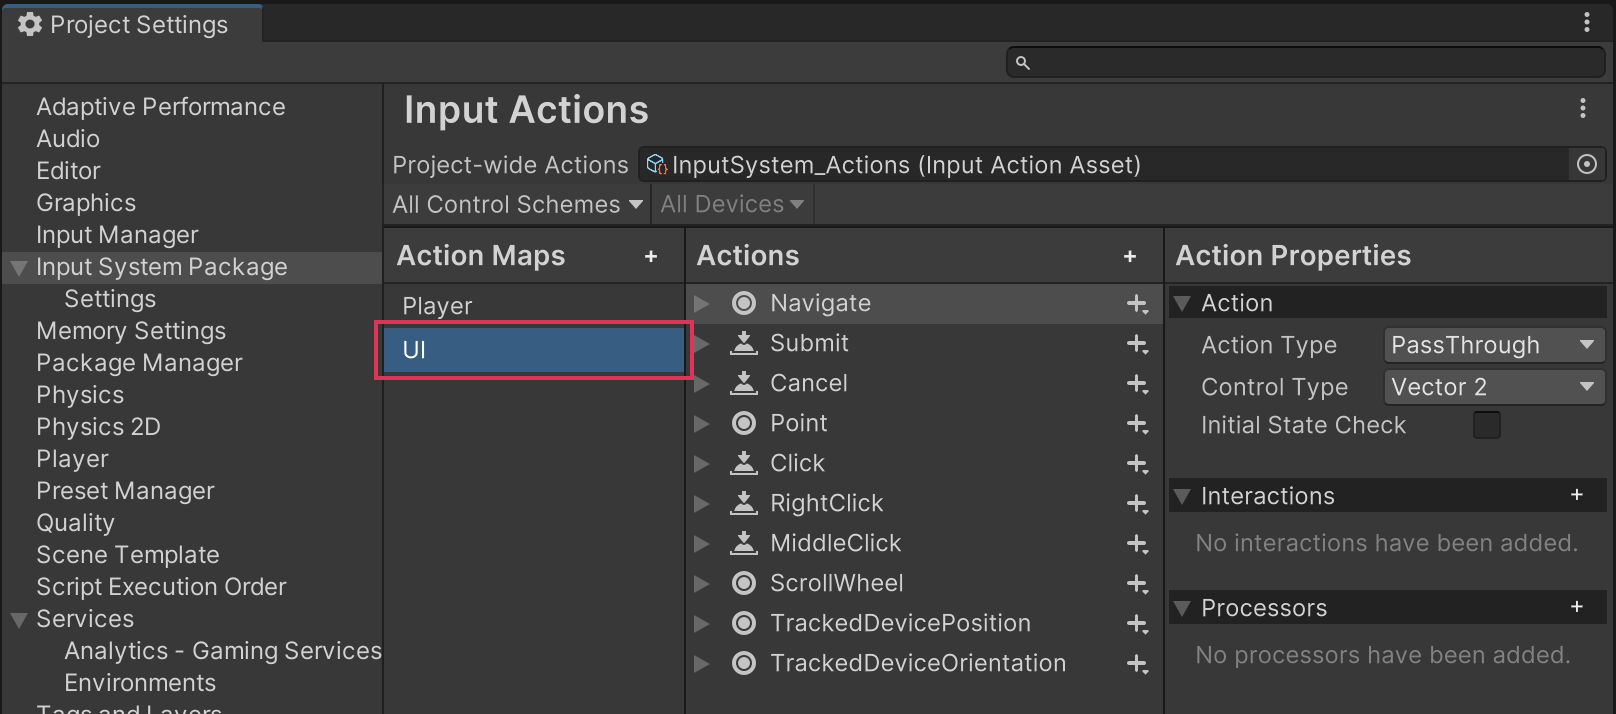
The default project-wide actions asset comes with all the required actions to be compatible with UI Toolkit and Unity UI.
Modify UI input actions
You can modify, add, or remove bindings to the named actions in the UI action map to suit your project. However, to remain compatible with UI Toolkit, you must not change:
- The name of the action map (UI)
- The names of the actions it contains
- Their respective Action Types.
To see the specific actions and types that the UI Input Module class expects, refer to the UI action map reference.
Reset the UI action map
Important
These instructions reset both the UI action map and the Player action map to their default bindings.
To reset the UI action map to its default bindings:
- Open the More (⋮) menu, at the top-right of the Input Actions Editor window.
- Select Reset.
To restore functionality to runtime OnGUI methods, you can change the Active Input Handling setting to Both. Doing this means that Unity processes the input twice, which could introduce a small performance impact.
This only affects runtime (play mode) OnGUI methods. Editor GUI code is unaffected and continues to receive input events.