Attach files and spatial markers
Use attachments to add context to your comments. You can add them to any comment, whether it starts a thread or replies to one, using the three buttons under the input field. This page covers how to manage image files and spatial markers. Sketches have their own page: Draw sketches.
Attach an image file
- In any comment field, select Attach file.
- In the file dialog (Path to attachment file), select an image and confirm.
A chip for the attachment appears above the input field. - Write your comment and select Send.
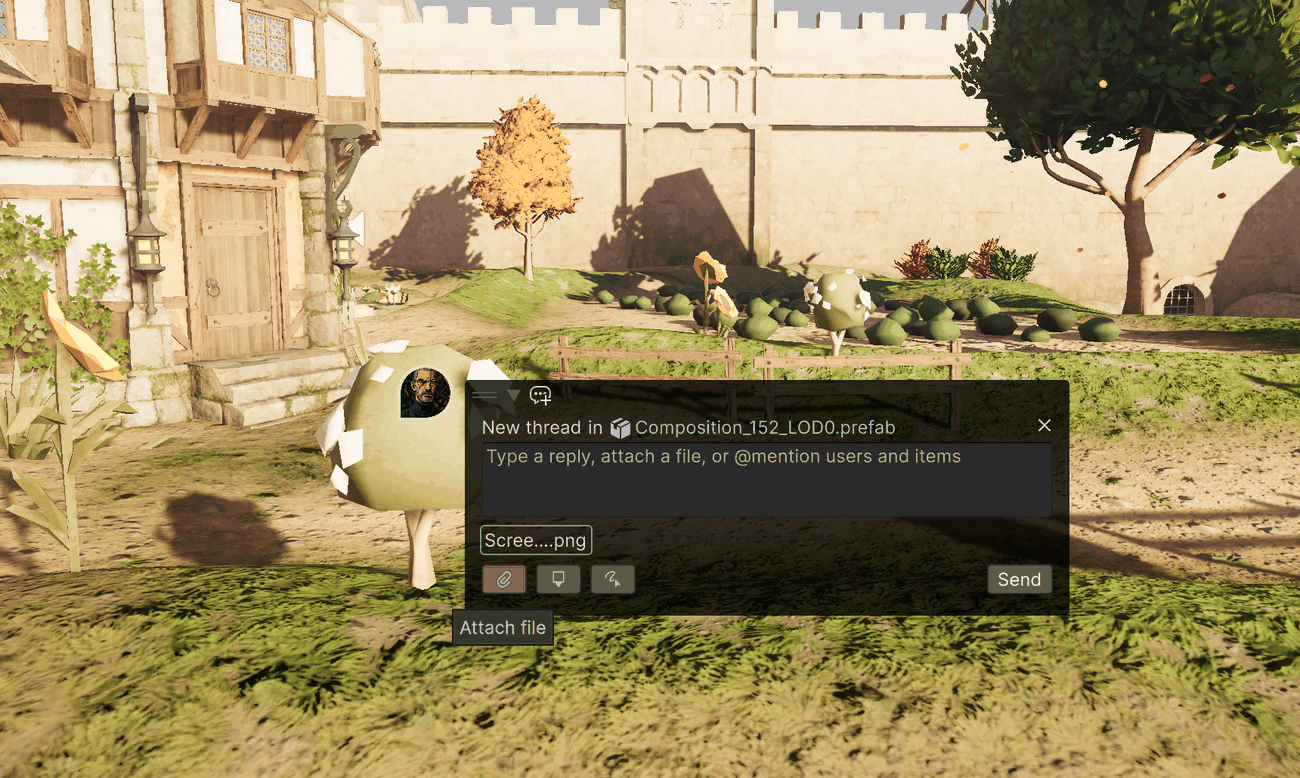
You can attach the following image formats: PNG, JPG/JPEG (including the JFIF, PJP, and PJPEG variants), GIF, BMP, WEBP, SVG, AVIF, APNG, ICO, and CUR.
To remove an attachment before sending, use its chip's remove control. Attachments on a sent comment appear as chips on that comment for everyone reading the thread.
Place a spatial marker
You can use a spatial marker to pinpoint an exact 3D position in the scene. Use it to show the spot you're talking about ("add a new object here").
- In a comment field on a scene thread, select Add spatial marker.
- Select the position in the Scene View you want to mark.
A marker appears at that point, and the Editor adds it to your comment. - Select Send.
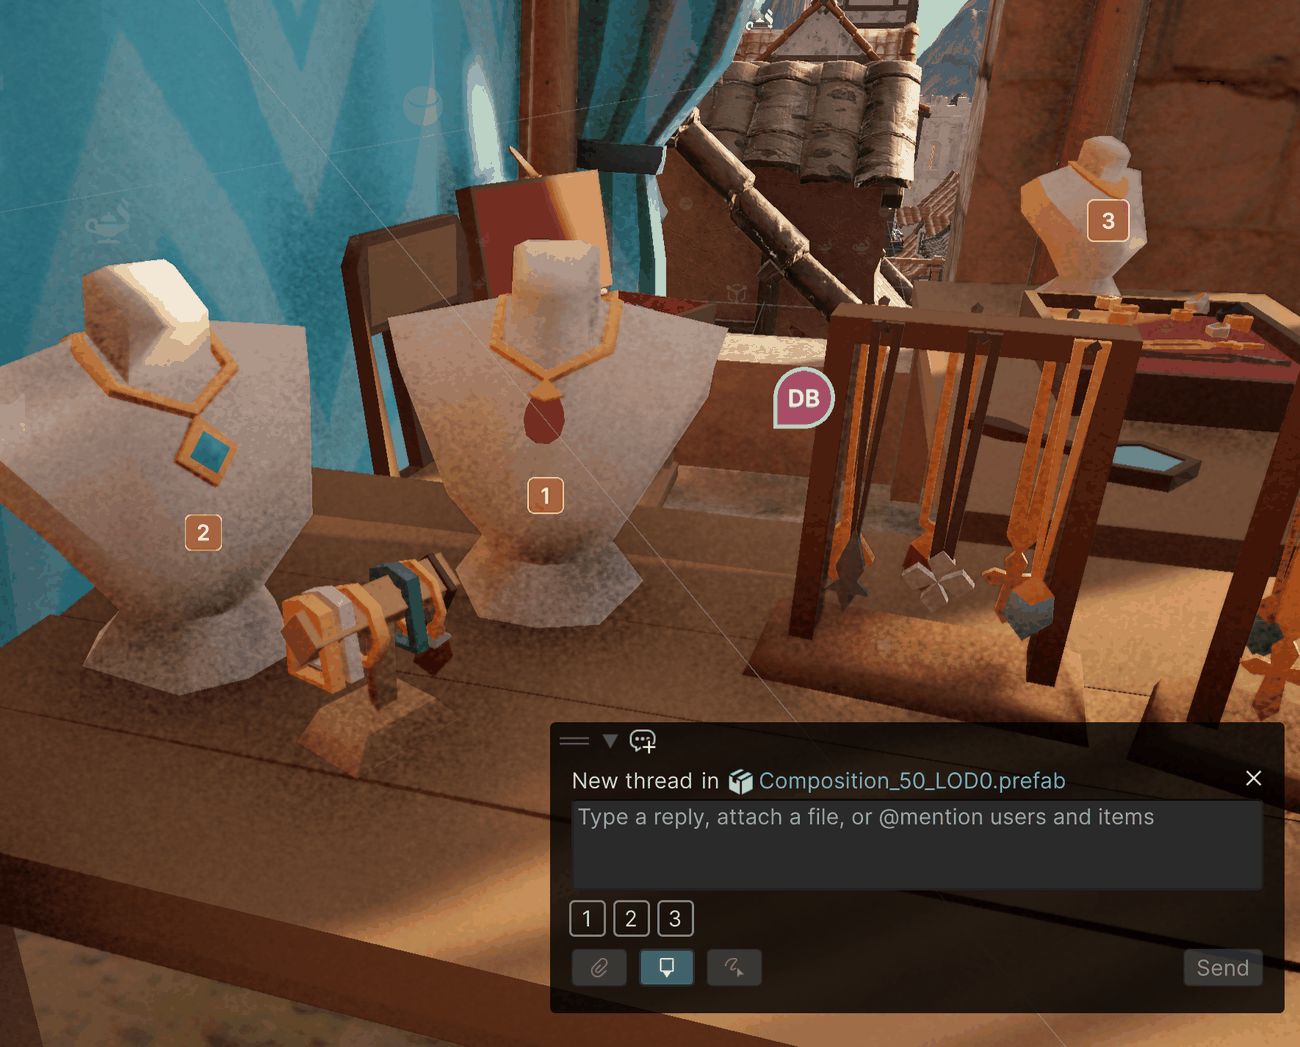
Collaborators see the marker in the Scene View when they view your comment. When they select the marker's chip on the comment, the camera returns to the position it had when you placed the marker, so they see the context of your comment.
Note
Spatial markers need a 3D position. On asset threads, they're available only for prefab and model assets, where you place them over the asset's preview the same way as sketches. Other asset types, like materials and textures, can carry image files instead.