Getting started with 2D Rendering
Package requirements
For the package installation and build requirements, please refer to Project Tiny’s System Requirements for more details.
Quick start
To get started quickly, download the 2D Entities Starter template Project. This Project has everything setup for you to get started with the 2D Entities package.
Setting up your Project from scratch
- From the Unity Hub, create a new Project by selecting the 2D Project Template.
- Use the Unity Package Manager (menu: Window > Package Manager) to find and install the 2D Entities preview package. If the package is not visible, select Show preview packages from the Advanced drop-down menu.
- Ensure that Live Link Mode is enabled by going to DOTS > Live Link Mode > Live Conversion In Edit Mode
- Ensure that the Project is using Asset Pipeline version 2 by going to Edit > Project Settings > Editor > Asset Pipeline > Mode > Version 2
Rendering your Sprite with the DOTS pipeline
Open
SampleScene.unitylocated in theAssets/Scenesfolder.Add a Sprite to your Project, then drag and drop it into the Scene. Ensure it is a root GameObject and not the child of an existing GameObject.
Right-click on the Main Camera, and select New SubScene From Selection.
- This will create a SubScene named ‘Main Camera’ and move the Main Camera into it.
Right-click the Sprite, and select New SubScene From Selection.
This will create a SubScene named after the Sprite GameObject, and move the Sprite GameObject into it.
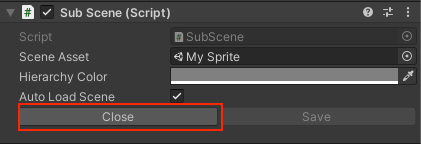
Close the SubScene containing your Sprite GameObject.
Nothing changes visually, but doing this destroys the GameObject and only the DOTS object is left behind.
If the SubScene does not continue to render, please retry the steps.
Note: To allow the Game view Camera to render using the DOTS pipeline, keep the Main Camera SubScene open in Edit mode at all times by selecting the __Edit button __in its Inspector window.
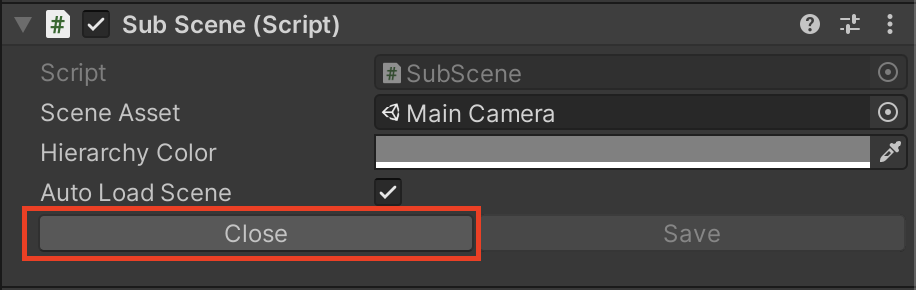
If the Close button is visible when selecting the SubScene, you are currently in Edit Mode.
Author data into the DOTS world
For information about how to author data into the DOTS world, see the Authoring and Editor-only Code section in the Project Tiny docs.
Building a DOTS Runtime package
To learn about what is an Assembly Definition and why it is required, see Project Tiny’s Root Assembly Definition documentation for more information.
Creating the root assembly definition
Create a new folder for runtime scripts, and call it for instance Runtime.
In the new Runtime folder, create a new Assembly Definition by going Right-click > Create > Assembly Definition, and call it MyGame.
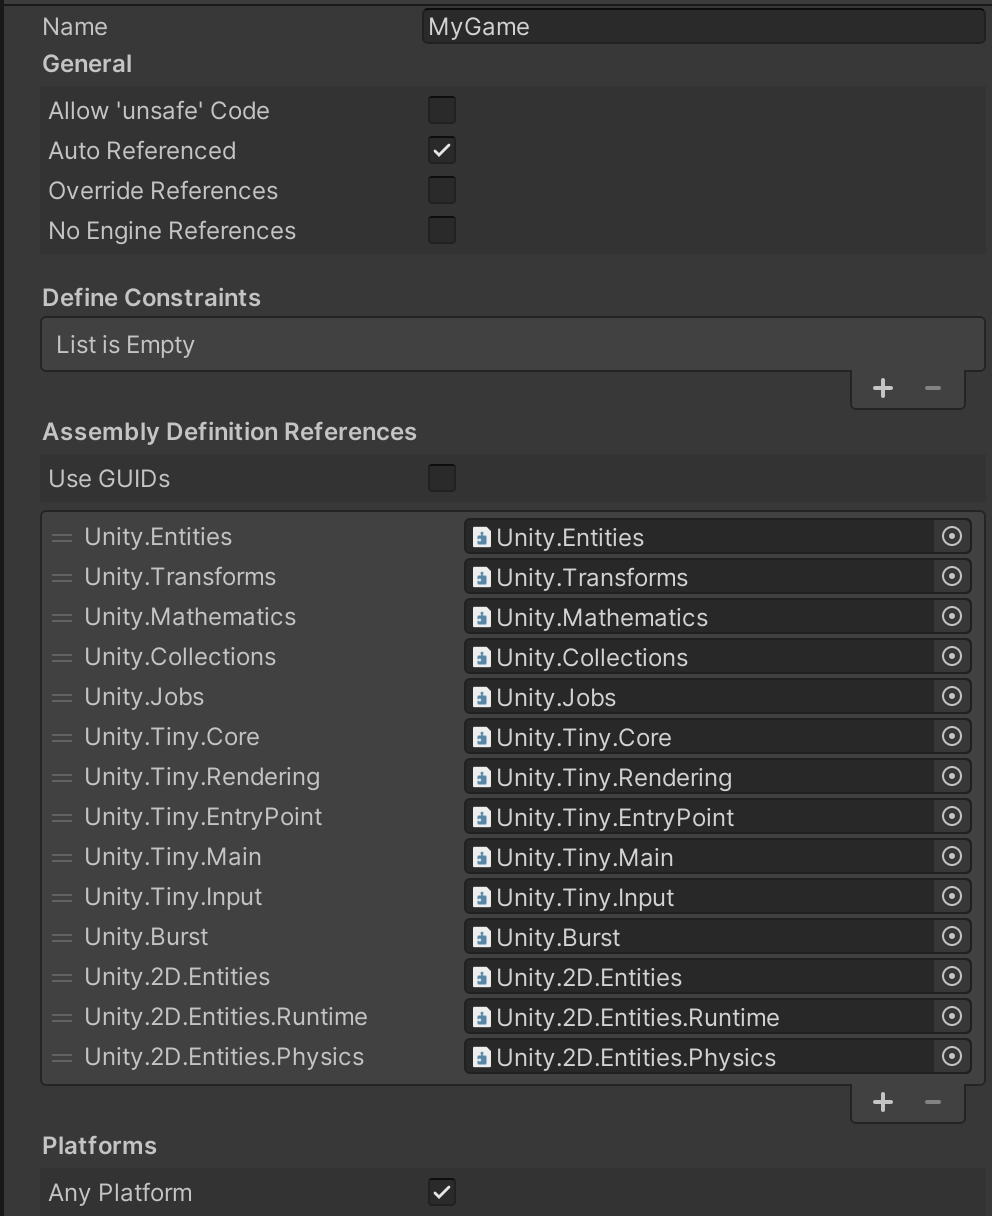
Select the MyGame Assembly Definition created in step 2, and input the same name in the Name field as the .asmdef name, which is ‘MyGame’ in this case.
Clear Use GUIDs checkbox.
Add (+) the following Assembly Definition References from the list of available assemblies:
- Unity.Entities
- Unity.Transforms
- Unity.Mathematics
- Unity.Collections
- Unity.Jobs
- Unity.Tiny.Core
- Unity.Tiny.Rendering
- Unity.Tiny.EntryPoint
- Unity.Tiny.Main
- Unity.Tiny.Input
- Unity.Burst
- Unity.2D.Entities
- Unity.2D.Entities.Runtime
- Unity.2D.Entities.Physics
Press the Apply button.
Additional platform support
Open the package manifest.json located in Root/Packages, and add the packages for the platforms you want your Project to support to the dependency list:
"com.unity.platforms.android": "0.1.8-preview.3",
"com.unity.platforms.desktop": "0.1.8-preview",
"com.unity.platforms.ios": "0.1.8-preview.3",
"com.unity.platforms.linux": "0.1.8-preview",
"com.unity.platforms.macos": "0.1.8-preview",
"com.unity.platforms.web": "0.1.8-preview.1",
"com.unity.platforms.windows": "0.1.8-preview",
Creating a Build Setting
- Create a new folder for the Build Settings of the DOTS Runtime, and call it for instance BuildSettings
- In the new BuildSettings folder, create the Build Settings by going Right-click > Create > Build > BuildSettings for DOTS Runtime.
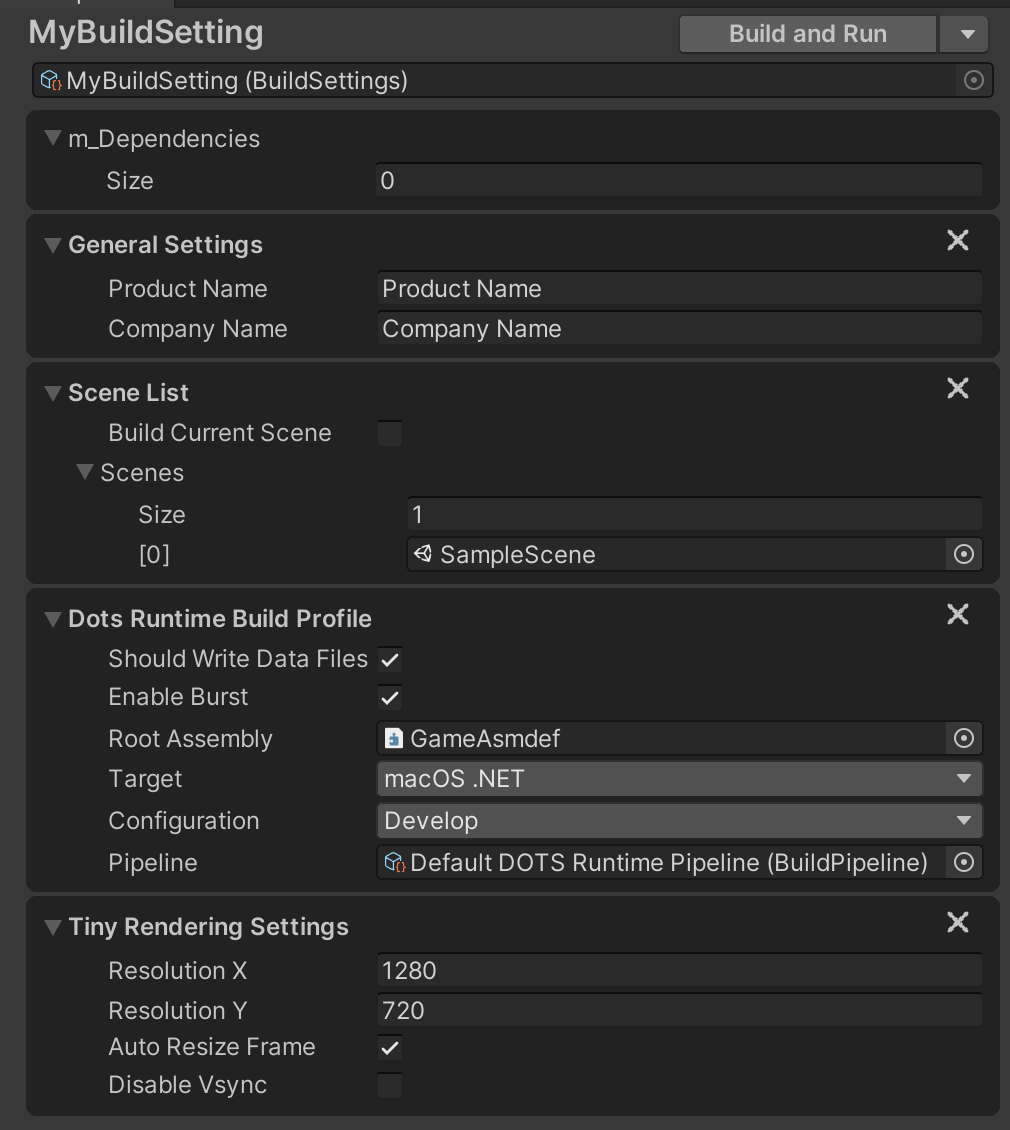
Select the Build Setting and do the following updates:
- In the Scene List, set the size of the Scenes’ array to 1; then drag in SampleScene.unity.
- In Dots Runtime Build Profile, drag the Assembly Definition created in step 2 onto the Root Assembly box.
- In Dots Runtime Build Profile, select the intended target in the Target box.
- Press the (+) in the lower right corner and select Tiny Rendering Settings
- Note, if you are targeting Web, there is one last step
- Press the (+) in the lower right corner and select Emscripten Settings.
- In the Emscripten Settings, set the size of the EmccArgs’ array to 1; then add TOTAL_MEMORY=256MB
- Press the Apply button
- Select Build and Run at the top of the build target window.
For additional information about the Build Settings, see the Build Settings section in the Project Tiny’s docs.
Debugging a build
For information about debugging a build, see Project Tiny’s Dots C# Project documentation.
If you have any issues or questions about the 2D Entities package and its features, please visit the Project Tiny forum and First batch of 2D Features for Project Tiny is now available thread for more information and discussions with the development team.