Key manipulation in Curves mode
Use Box Selection to select multiple keys while viewing the Animation window in Curves mode. Use Box Selection to select and manipulate many keys at once.
Perform the following actions to select multiple keys
- Hold Shift and click to add individual keys to your selection.
- Drag a rectangle with the mouse to select a group of keys.
- Hold Shift and drag a rectangle to add or remove keys from the Box Selection.
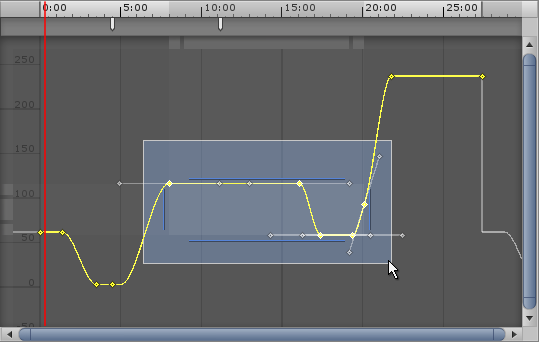
As you add keys to the selection, Box Selection handles appear on either side, to the left, and to the right of the selected keys. If you add keys or remove keys, the Box Selection handles automatically adjust their position and size to surround the selected keys.
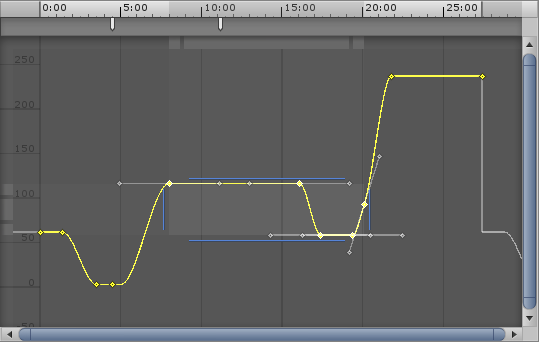
Use the Box Selection handles to move, scale, and ripple edit the selected keys (consult Ripple edit, below).
Move selected keys
Click and drag anywhere within the Box Selection to move the selected keys. You do not need to click directly on a key; you can click any empty space between the Box Selection handles.
As you drag the selection of keys, the time of the first and last key displays to help you position the Box Selection. If you drag the selection of keys to the left, keys that are in negative time (to the left of 0) are deleted when you release the mouse button.
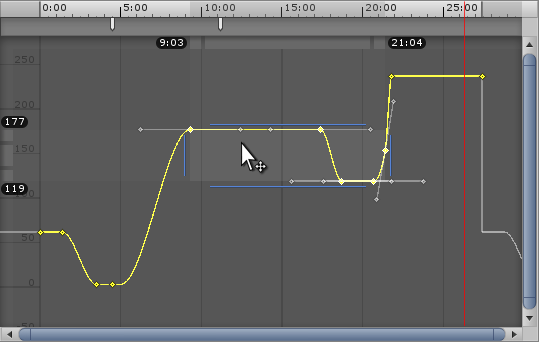
Scale selected keys
In Curves mode, when you have multiple selected keys, you can scale keys horizontally to change the time of the keys, or vertically to change the value of the keys.
Scale horizontally
Use the Box Selection handles to the left and right of the selected keys to scale the selection horizontally. This changes the time of the keys without modifying their values. To scale horizontally, click the left or right Box Selection handle and drag left or right.
When you drag a handle, you can move the handles farther apart to increase the distance between the selected keys. This slows down the animation. You can also move the handles closer together to decrease the distance between the selected keys which speeds up the animation.
As you scale the selected keys horizontally, the time of the first and last key displays to help you scale your animation. While scaling, some keys might end up on the same frame as each other. If this happens, the extra keys that occupy the same frame are discarded when you release the mouse button. In this case, the last key is kept.
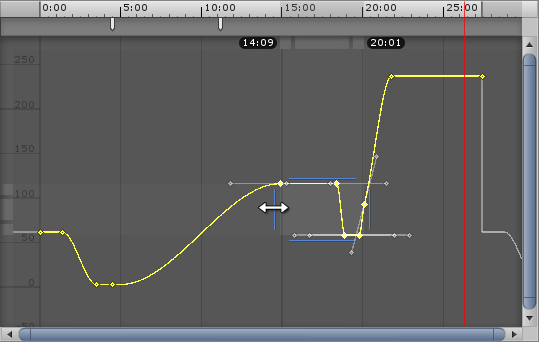
Scale vertically
Use the Box Selection handles on the top and bottom of the selected keys to scale the selection vertically. This changes the value of the keys without modifying their time. To scale vertically, click the top or bottom Box Selection handle and drag up or down.
As you scale the selected keys vertically, the value of the top and bottom key displays to help you adjust your animation.
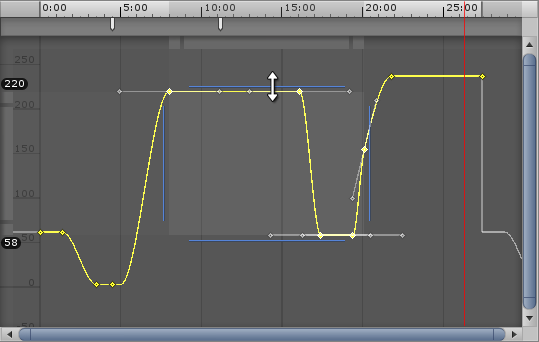
Manipulation bars
In addition to the Box Selection handles, grey manipulation bars appear near the top and left of the Curves window. These grey manipulation bars provide an additional method of manipulating the selected keys.
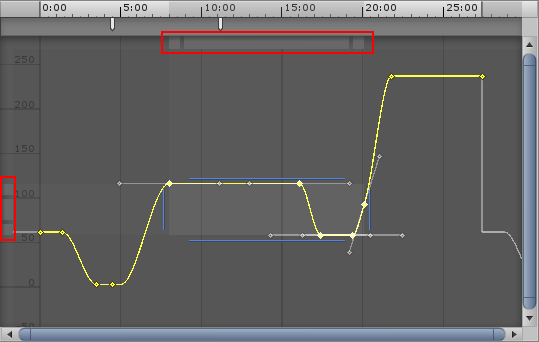
Use the top manipulation bar to modify the time of each selected key while preserving its value. Use the left manipulation bar to modify the values of each selected key while preserving its time.
If you have multiple keys selected, the manipulation bars include a square box at each end. Drag a square box to scale the selected keys. Drag the centre of the manipulation bar to move the selected keys.
When you move or scale the selected keys with the manipulation bars, the values or times display depending on the bar. For example, if you move or scale the top manipulation bar, the times of the first and last keys display. If you move or scale the left manipulation bar, the values of the top and bottom keys display.
Note: The square scale boxes are only visible if you have multiple keys selected. In addition, the view must be sufficiently zoomed out to display either or both ends of the manipulation bar.
Ripple edit
A ripple edit is a method of either moving or scaling the keys in a Box Selection. A ripple edit also affects the unselected keys for the same properties as the selected keys. How the unselected keys are affected depends on whether the ripple edit is a ripple move or a ripple scale:
- To perform a ripple move, press and hold the 2 key, then drag inside the Box Selection. This moves the Box Selection and pushes unselected keys either left or right depending on the direction you drag. Ripple move preserves the distance between unselected keys.
- To perform a ripple scale, press and hold the 2 key, then drag one of the Box Selection handles. This scales the distance between the selected keys based on the direction in which you drag. This also pushes unselected keys either left or right while preserving the distance between the unselected keys and the Box Selection.