Installing from a registry
Note: When you install a package through the Package Manager window, the Package Manager evaluates other packages and their dependencies
See in Glossary to see if there are any version conflicts with the version you selected. If it detects any conflicts or restrictions, it installs whatever version resolves these issues. For more information, see Dependency and resolution.
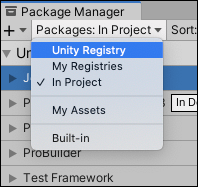
Use the same process for installing a package from either the Unity registry or any scoped registry defined in your project. The only difference is what you choose from the Packages drop-down menu:
-
Open the Package Manager window and select Unity Registry from the PackagesPackages are collections of assets to be shared and re-used in Unity. The Unity Package Manager (UPM) can display, add, and remove packages from your project. These packages are native to the Unity Package Manager and provide a fundamental method of delivering Unity functionality. However, the Unity Package Manager can also display Asset packages that you downloaded from the Asset Store. More info
See in Glossary drop-down menu. If you want to install a package from a scoped registry, choose My Registries instead.
Change the scope to Unity Registry Note: If you haven’t defined any scoped registries for this project, My Registries does not appear in the drop-down menu.
-
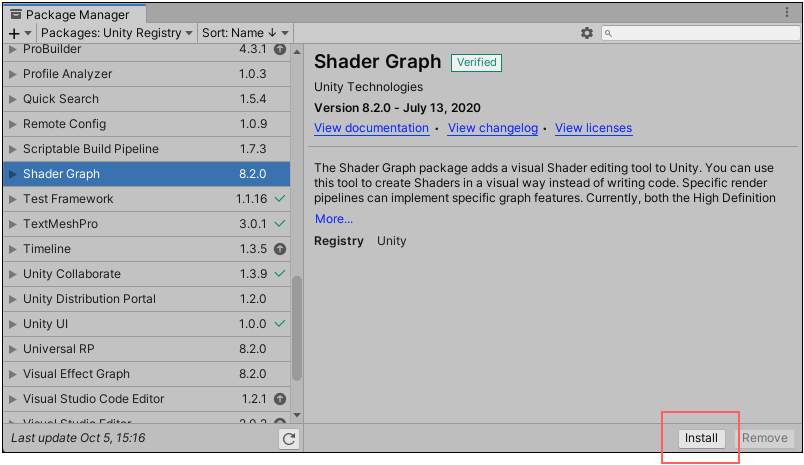
Select the package you want to install from the list of packages. The package information appears in the details view.
Note: By default, the Package Manager does not display preview packages. If you don’t see the package in the list of packages, it may be a preview packageA preview package is in development and not yet ready for production. A package in preview might be at any stage of development, from the initial stages to near completion.
See in Glossary. Open the Package Manager project settingsA broad collection of settings which allow you to configure how Physics, Audio, Networking, Graphics, Input and many other areas of your project behave. More info
See in Glossary and make sure the Enable Preview Packages project setting is enabled. Select the version to install. For more information on available versions, see Finding a specific version.
Click the Install button.

When the progress bar finishes, the new package is ready to use.