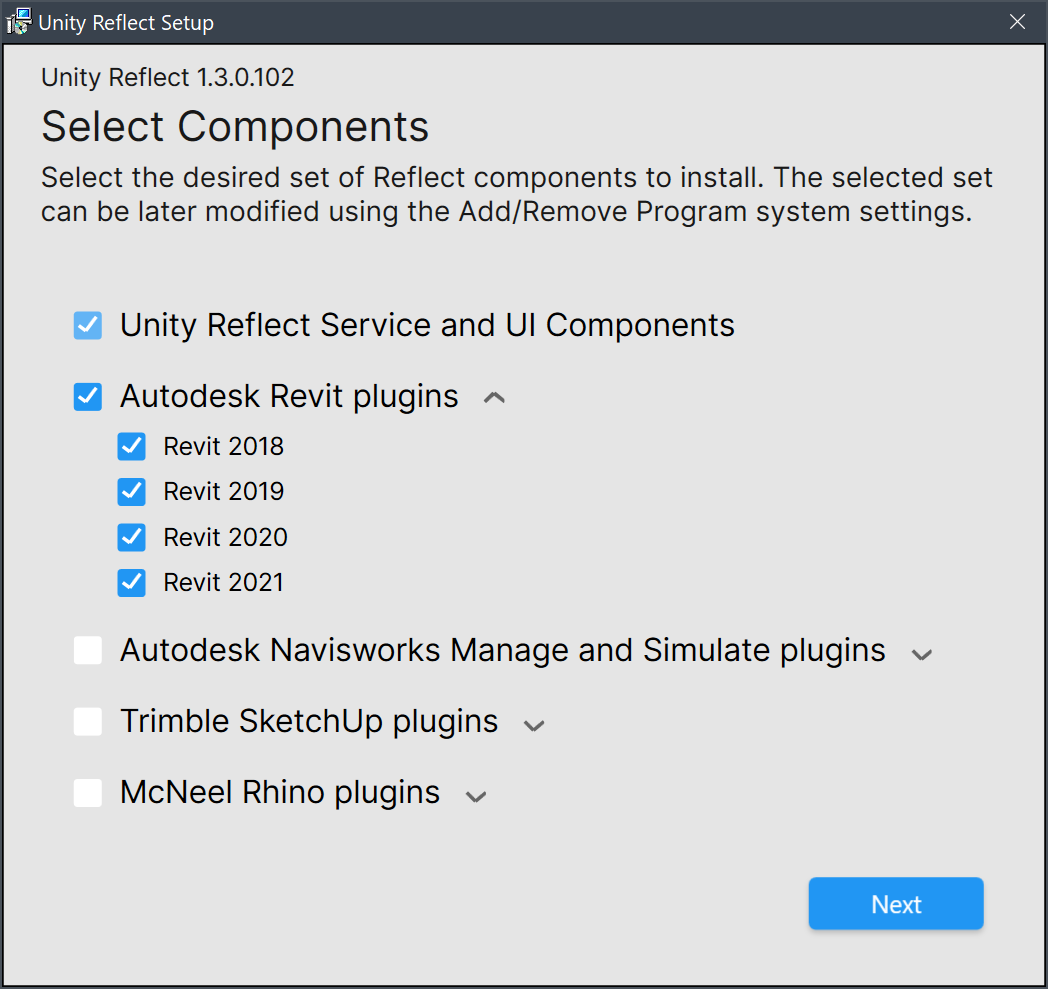
The Reflect plugin for Revit
The Reflect plugin is available for the following versions of Revit:
- 2018*
- 2019
- 2020
- 2021
Revit 2018 is still supported but is not maintained due to Autodesk’s policy of supporting only the most recent three versions.
Installation
To install the plugin, run the Reflect installer and select your version or versions of Revit.
Once the Revit plugin is installed on your computer, you can start the Reflect service from inside Revit to begin real-time syncing.
Syncing
To start syncing Revit data with the Unity Editor:
Open Revit. If prompted to grant permissions to the Unity plugin, select Load Once (or Always Load to avoid future prompts).
Open the Revit project you want to sync with Reflect. If the Reflect plugin is installed, the ribbon includes a Unity tab:

Select a 3D view to publish with Reflect, either in the project browser or the default Revit 3D view.
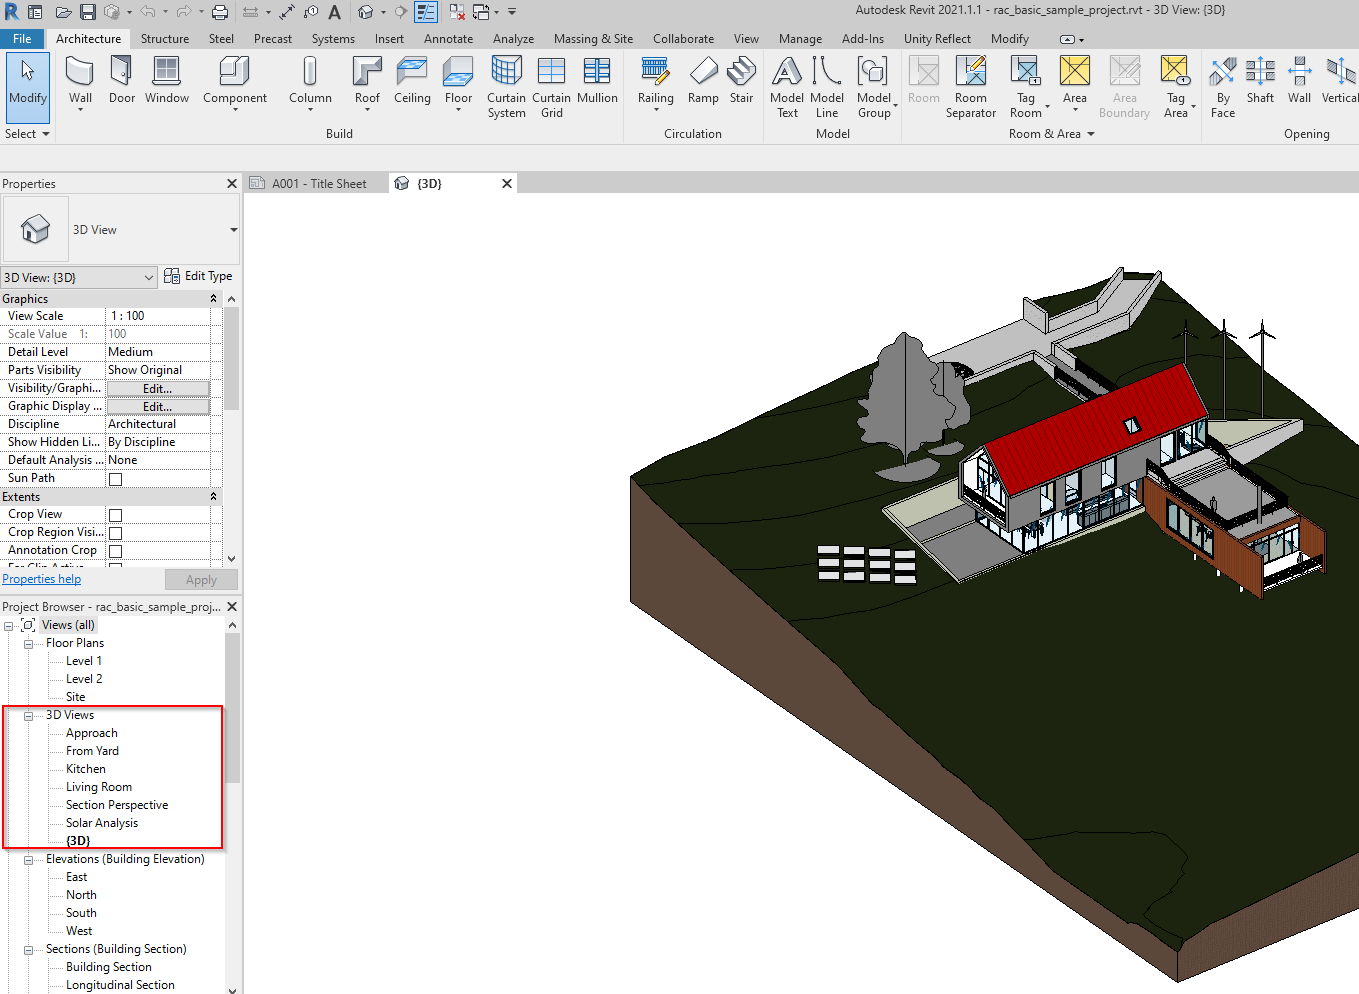 Selecting a view in the project browser
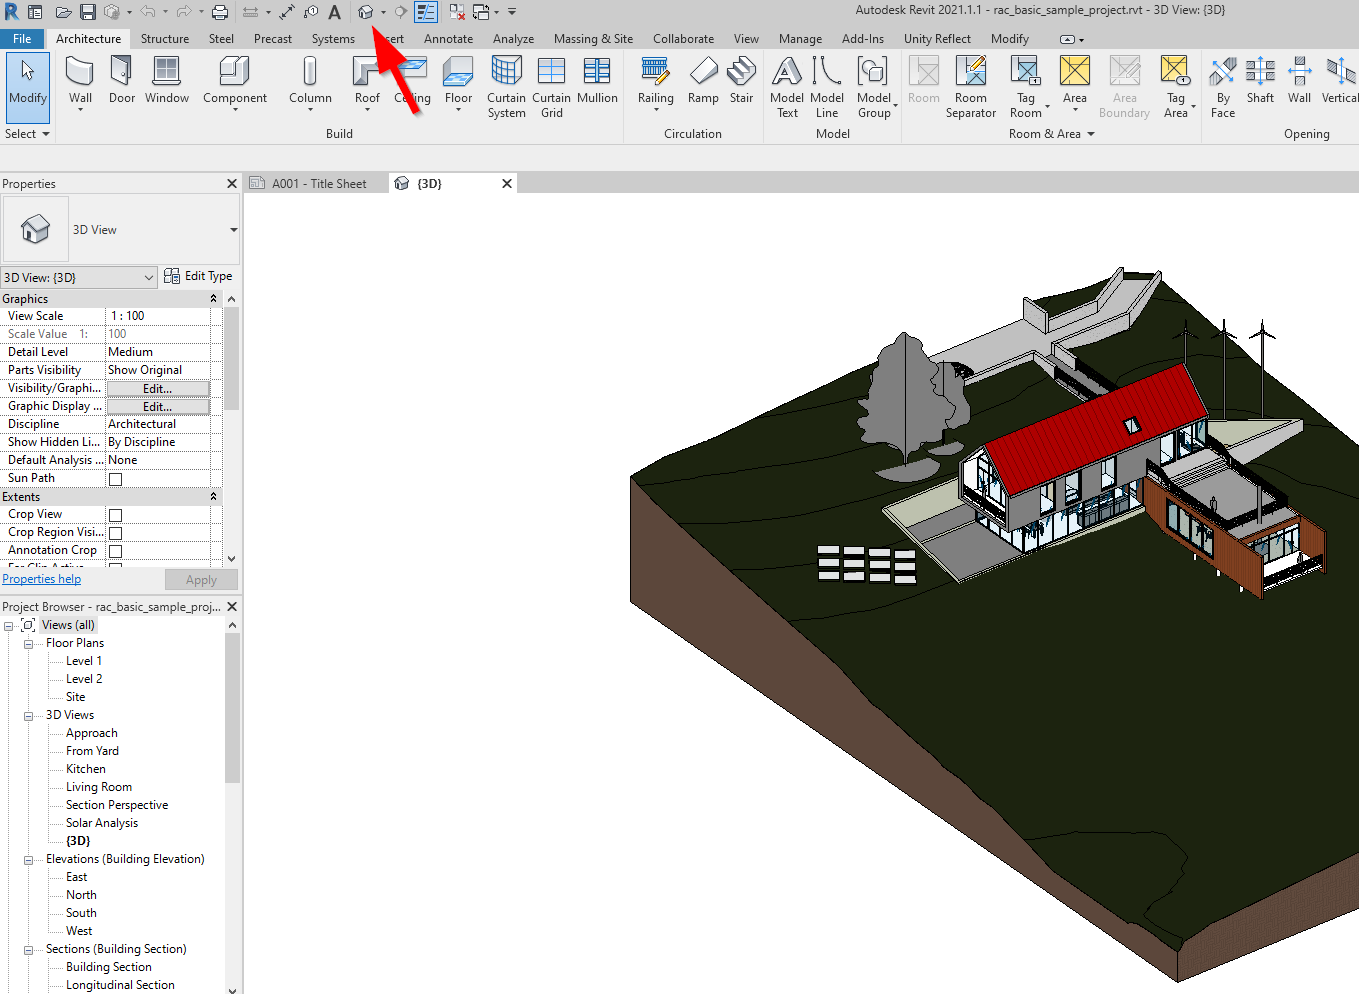 Selecting the default view
Click Start to launch the Reflect service.
Syncing and exporting
Reflect offers multiple storage locations for your projects.
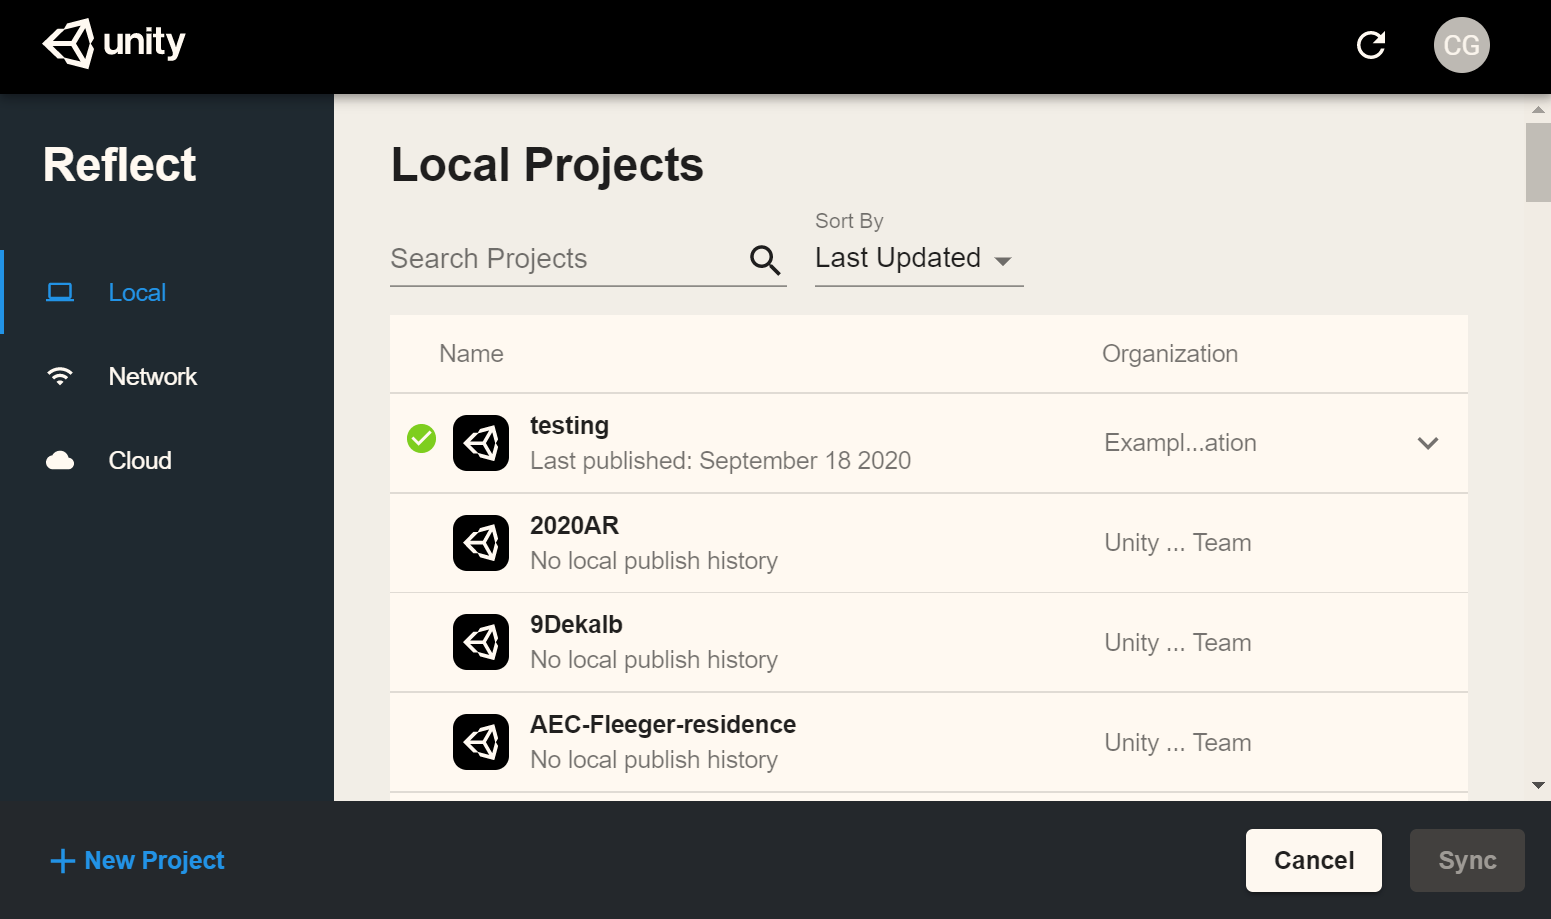
To create a new Reflect project, click New Project in the bottom left corner of the window.
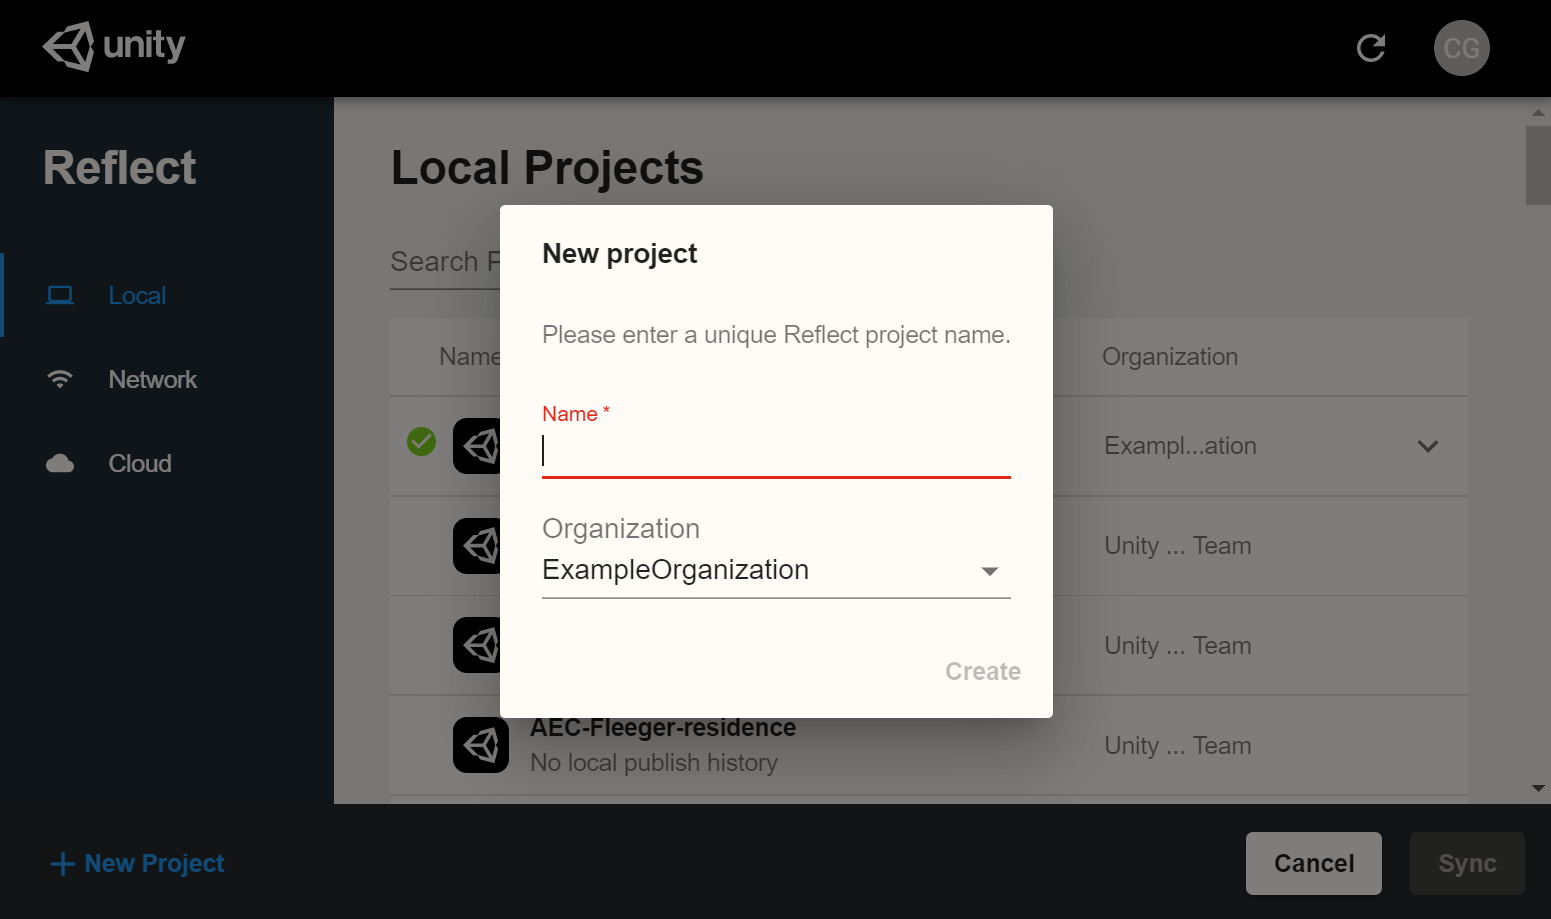
Local
You can publish data to a project on your local computer:
Network
You can publish data to a local network:
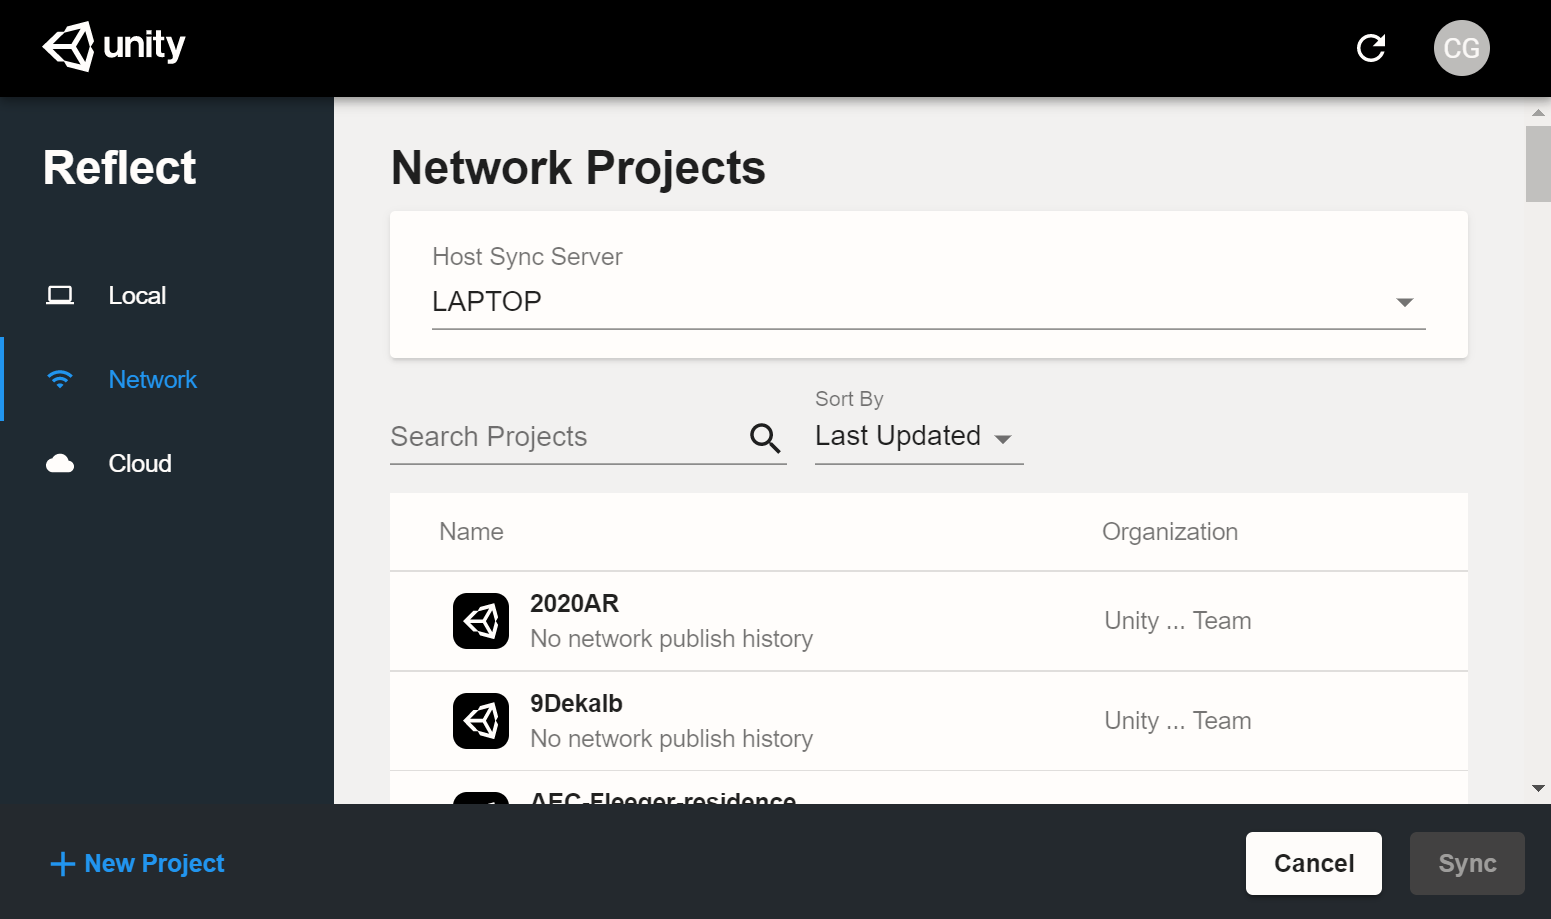
Click the drop-down menu to select your desired sync server.
For more information about configuring a local network, see Network Configuration.
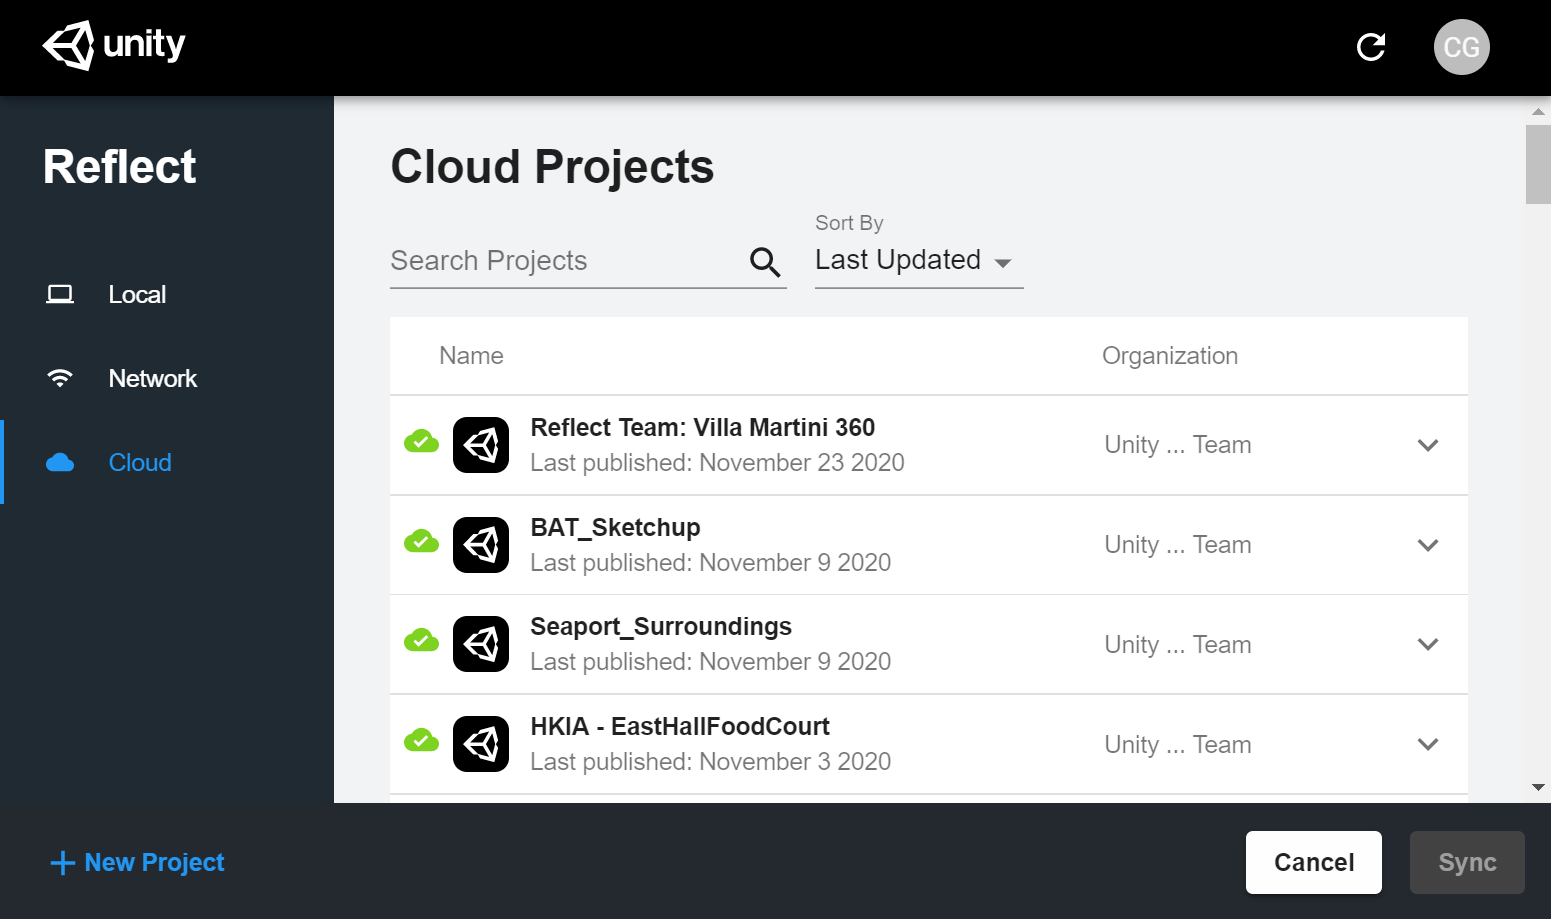
Cloud
Reflect also gives you the option to host your projects in the cloud, letting you push data to your mobile devices even when you're on a different network.
What data is sent to the cloud when doing an export?
If you export to a local or network server, no model data is sent over the internet.
If you export to the cloud, then the input file is processed locally and derivative model data (geometry, materials, etc.) is sent to Unity.
Project names are always sent over the internet to Unity.
