Manage projects
The Projects window in the Unity Hub lets you add, open, and remove Unity projects. To create a new project from a template, refer to Creating a new project.
Add an existing project from disk
If you have an existing Unity project that isn't listed in the Hub:
- Select the Add dropdown in the top right of the Projects window.
- Select Add project from disk.
- In the file browser, navigate to and select the folder that contains your project.
The project appears in your Projects list.
Add a remote project
Remote projects are Unity projects hosted in the cloud through Unity Version Control.
Note: Projects previously set up with Collaborate now appear as remote projects hosted in Unity Version Control.
To add a remote project to the Hub:
- Select the Add dropdown.
- Select Add from repository.
This opens a window that displays projects from all organizations associated with your account.

Locate the project you want and select Add. The Hub adds the project to your list and opens it in the Unity Editor.
Remote projects with the locally added label are already in your local Projects list. If there is a warning that the seats are full, the maximum number of users are already working on that project.
Open a project
To open a project, select the project in the Projects list. The project opens in the Unity Editor.
If the Editor version that the project was saved with isn't installed, Unity Hub opens a window where you can select one of the installed Editor versions, or select Install other Editor version to download and install it.
Open with a different Editor version
To open a project with a different version of the Unity Editor than the version it was saved with:
- In the Projects list, select the Editor version displayed for the project.
- In the menu that opens, select the Editor version you want to use.
- Select Change version to confirm.
Note: When you change the Editor version of a project, Unity might need to update scripts and rebuild the project library. The time this operation takes depends on the size of your project.
Add command line arguments
To add command line arguments to a project:
- Select the contextual menu icon (three horizontal dots) next to the project, or right-click the project.
- Select Add command line arguments.
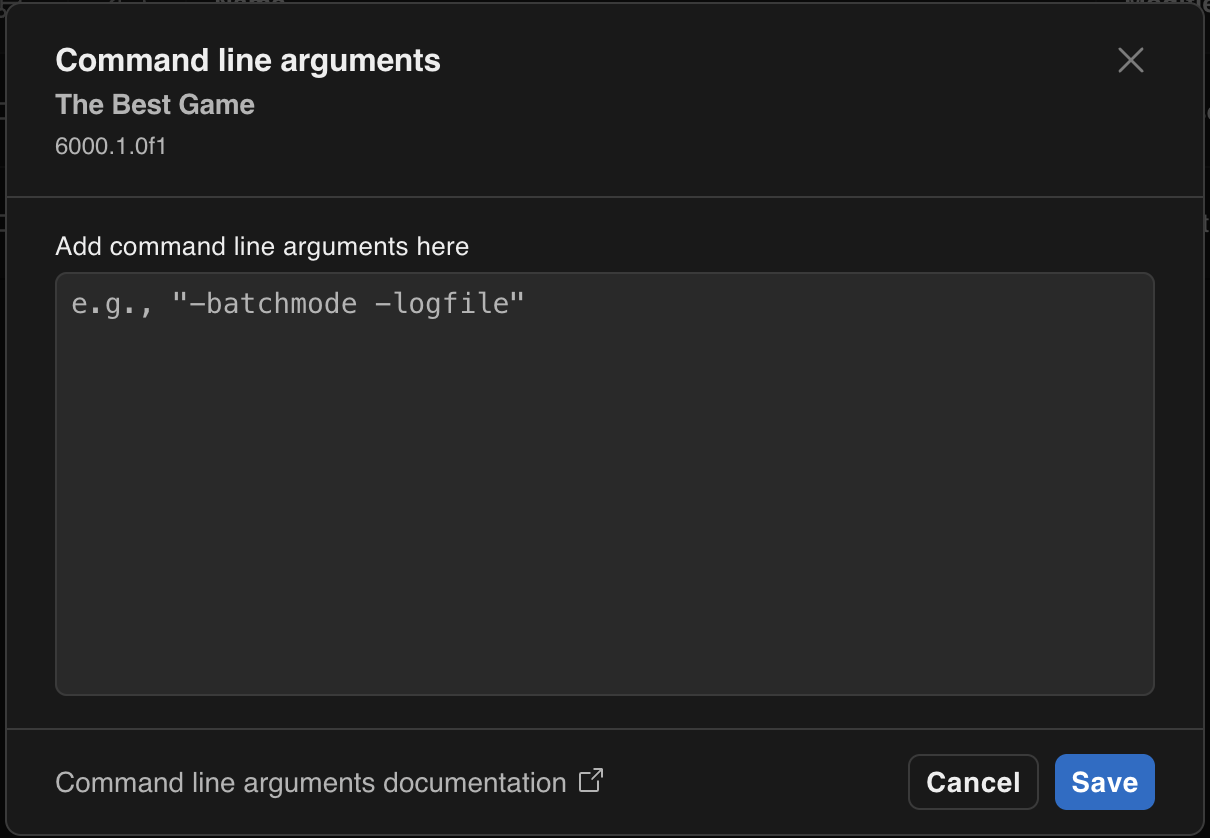
Enter command line arguments in the text area and select Save.
For a list of available arguments, refer to the Unity Editor command line arguments documentation. For more information about using the Unity Hub from the command line, refer to the Hub command line interface page.
Remove a project
To remove a project from the Hub:
- Select the contextual menu icon (three horizontal dots) next to the project, or right-click the project.
- Select Remove project from list.
- Select Remove project to confirm.
This removes the project from the Hub's list only. The project files remain on your machine. To delete the files, navigate to the project folder and delete it manually.