The Visual Compositor Window
- Introduction
- Node Manipulation
- Edge Manipulation
- Navigation
- The Pinned Nodes Window
- Snapshots
- Special Nodes
- Performance Profiling
- Additional Options
Introduction
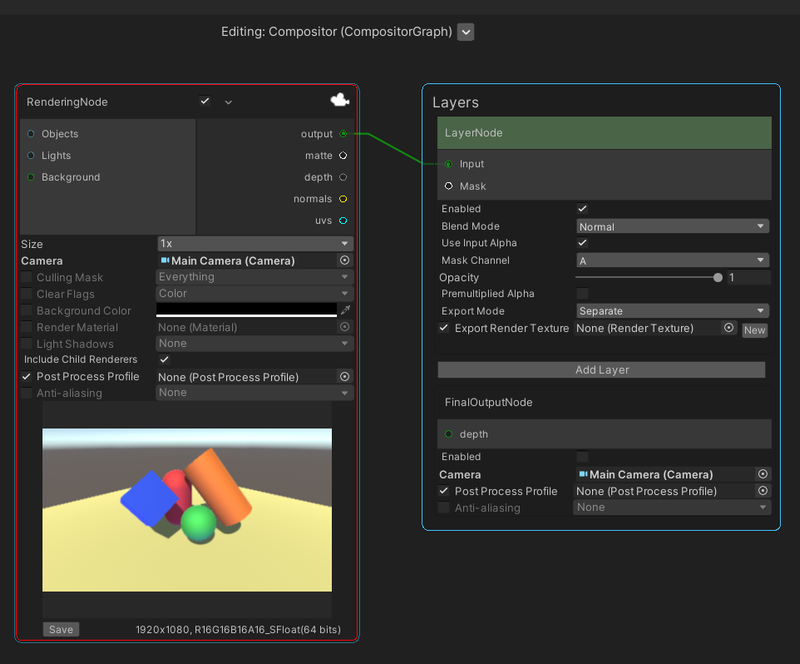
The Visual Compositor window shows the Compositor Graph assigned to the Visual Compositor component of the selected GameObject, as indicated by the GameObject name located at the top, and the selector button on the right of the name can be used to select other GameObjects in the scene which have Visual Compositor components.
When we create a new Compositor Graph , three connected nodes (Render, Layer, Final Output) will be automatically created as shown in the figure above.
Ports
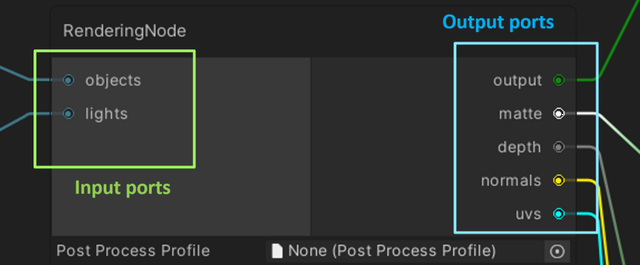
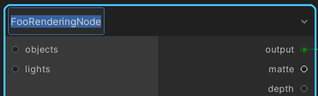
The small circles on the left and right sides of the nodes are called input and output ports.
They can be connected to ports in other nodes to form edges.
Edges
Edges connect output ports to input ports in order to create the functionality of the graph.
Click and drag an output port to a compatible input port of another node to connect them.
Node Manipulation
Creating and Deleting Nodes
To create a node:
- Show the search box by:
- Right clicking in an empty area and choose Create Node, or
- Pressing the spacebar key.
- Select the node to create in the search box.
We can filter nodes by name in the search box.
The types of supported nodes can be seen in the nodes documentation.

To delete a node, select it, and then press the delete key.
Enabling and Disabling Nodes
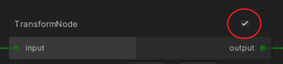
Some nodes have a checkbox at the top right corner which can be used to enable or disable the nodes.
If a node is disabled, then the node is grayed out and the input goes straight to become the output directly.
Renaming Nodes
We can rename the title of a node by double-clicking on the title and typing a new name.
Folding Nodes
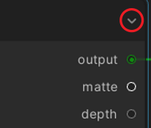
A node can be folded to save window space by clicking on the its top right arrow button,
which becomes visible when hovering the mouse cursor on the node.
Click on it again to unfold the node.
Node Output Viewer

Double clicking on the output preview of a node will open a resizable and dockable image viewer window, which we can use to inspect the output of the node in more detail.
We can also use the Save button under the output preview of a node to save the output as a PNG file, and then open it in another external application.
Node Context Menu
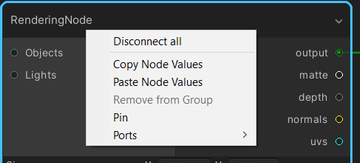
Right clicking on a node will open a context menu with the following items.
| Items | Description |
|---|---|
| Disconnect All | Disconnect all edges of the node. |
| Copy Node Values | Copy node values to internal clipboard. |
| Paste Node Values | Paste node values which has previously been copied to internal clipboard. |
| Remove from Group | Remove the node from the group that it belongs to, if applicable. |
| Pin | Pin the node to the Pinned Nodes window. |
| Ports | Add a property as an input port. |
Adding a Property as an Input Port
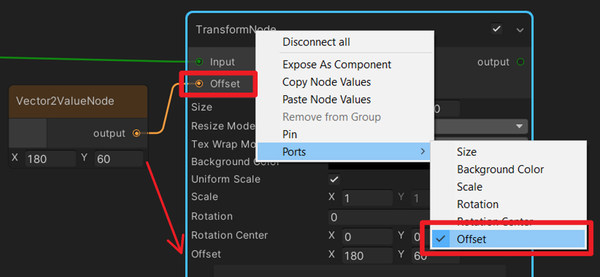
If we add a property of a node as an input port,
we can then create a Value Node to assign a value directly to the property.
This allows the same Value Node to assign the same value to properties of multiple nodes,
allowing us to organize our graph easier.
Edge Manipulation
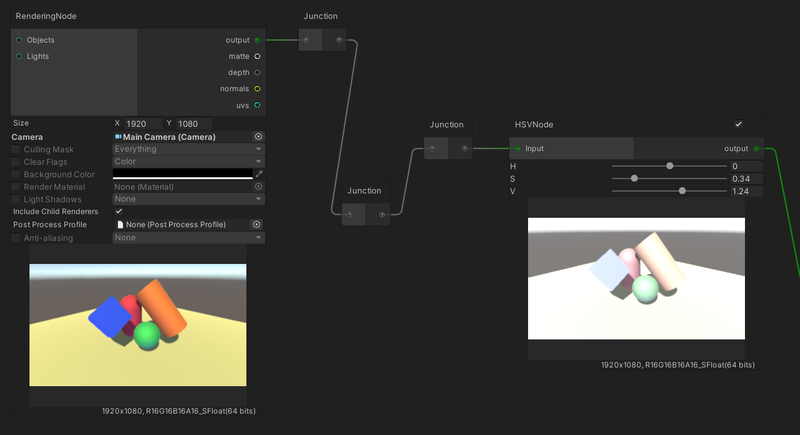
Double-clicking or pressing alt while clicking an edge will create a Junction node
that can be used to break edges for organizing the graph.
Navigation
Selecting
Selecting nodes is done with the left mouse button. We can also select multiple nodes by left clicking an empty area, and dragging to draw a rectangle around the nodes we want to select. We can then reposition all selected nodes by left clicking on a selected node and dragging to the new position.
Zooming
We can zoom the view in and out, using the scroll wheel on the mouse.
Panning

We can pan the view by middle-clicking in an empty space, and dragging in the appropriate direction.
Minimap
As we pan the view, some nodes will disappear off the edge of the window.
We can find them using the minimap, which will grow and shrink in scale
so that it can display the entire graph.
Right-clicking on the minimap will open a context menu which allows us to anchor the minimap to a certain position or to make the minimap floating so that we can drag it around.
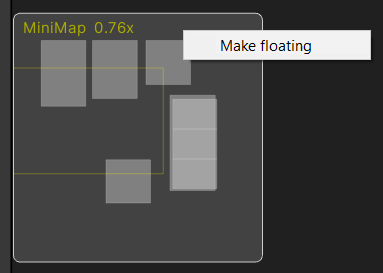
The minimap can also be hidden.
Please refer to additional options to hide the minimap.
Searching
We can use the search box at the top right of the window to
focus on a node with a particular title.
If there are multiple nodes with the same title as the input,
then the window will zoom the view out to make all the applicable nodes visible.

Bookmarks

Right clicking in an empty area will open a context menu with a bookmark section containing the following items:
| Items | Function |
|---|---|
| Add Bookmark | Save the current window position into a named bookmark. |
| Bookmarks | Return to the window position stored in the chosen bookmark. |
| Manage Bookmarks | Remove existing bookmarks. |
The Pinned Nodes Window
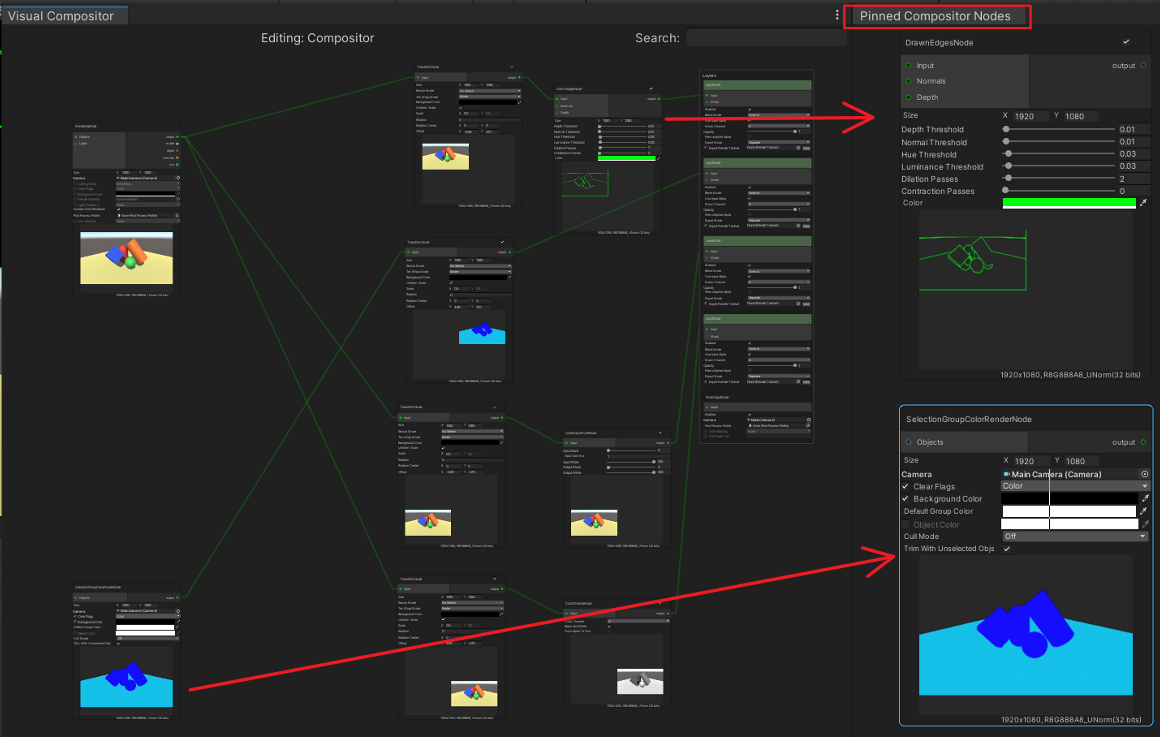
The Pinned Nodes Window contains nodes which have been pinned
using the context menu of a node inside
the Visual Compositor window.
By pinning, we can select a few nodes from a complex graph,
and arrange them close to each other in the window,
and therefore allowing us to edit these selected nodes and view the edit results much easier.
Snapshots
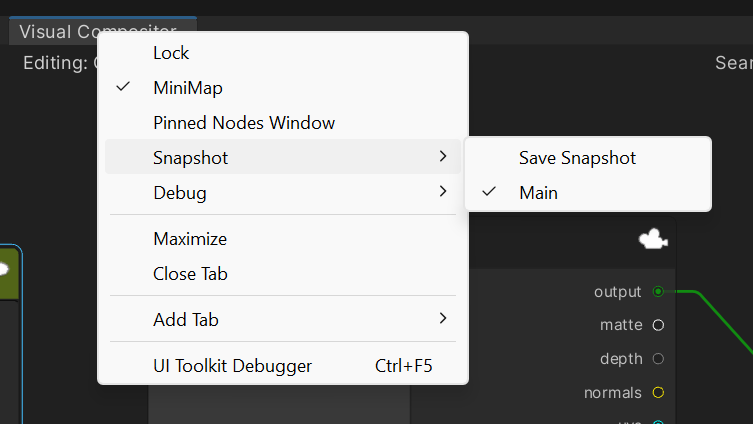
A snapshot is a saved copy of your compositor graph. To save a snapshot, activate the context menu on the window tab and choose Snapshot → Save Snapshot. This will create a copy of your graph, and add a menu item to the same context menu which will load the graph.
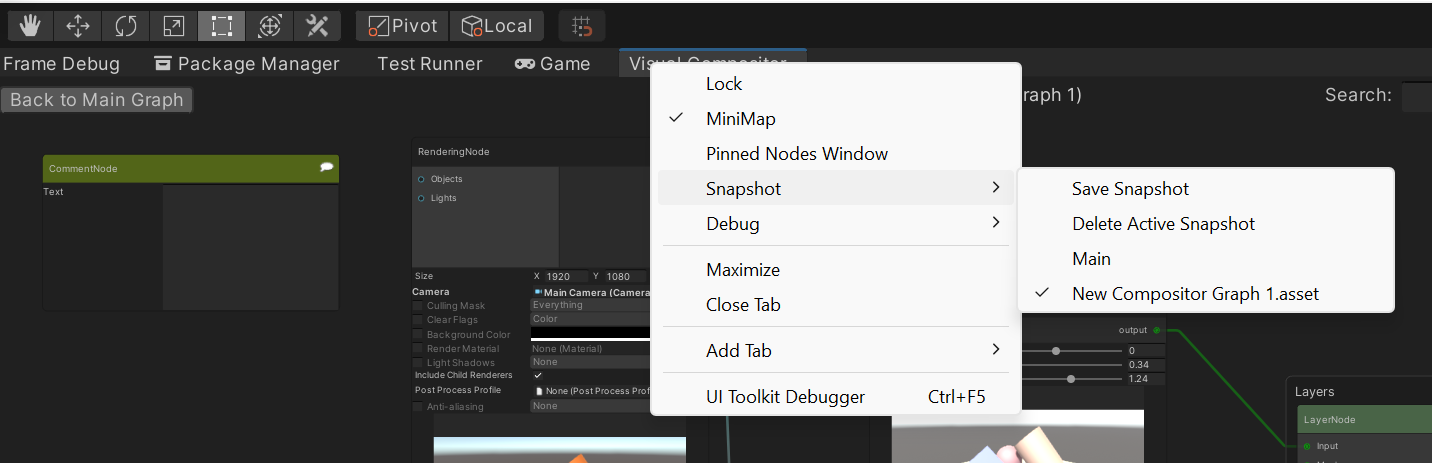
After loading the snapshot, you can go back to the original graph by clicking the 'Back to Main Graph' button, and you can delete the snapshot using the context menu and choosing Snapshot → Delete Active Snapshot.
Special Nodes
Group
Group is a special node which can contain other nodes and
has no other functionality other than helping organize our graph.
We can drag nodes into the group node, which will add them to the group.
To remove a node from a group:
- press
shiftwhile dragging the node outside of the group, or - open the context menu and select Remove from Group.
Layer
Layer is a special node, which represents a part of the composition final output.
Multiple layers are arranged in a stack, and we can re-order individual layer nodes as required.
If a layer is detached from the stack, it is no longer used in the composition, and
it can be dragged back into the stack when needed.
The layer stack also contains a Final Output which will apply post-processing to generate the final output.
Performance Profiling
We can view the performance of each node in the Profiler window during Play Mode.
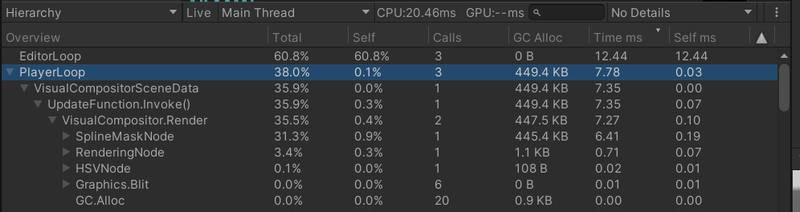
Additionally, the border of a node will turn redder as it requires more time to render the frame relatively compared to other nodes.

Additional Options
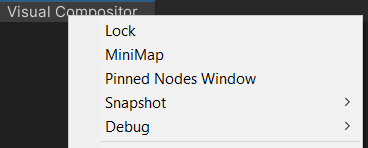
The Visual Compositor window has additional options which can be accessed by right-clicking on the window title.
| Options | Description |
|---|---|
| Lock | Lock the Visual Compositor window to the current Compositor Graph asset. |
| Minimap | Show/hide the minimap. |
| SnapShot | Save a snapshot of the current graph, or load previously saved snapshots. |
| Pinned Nodes Window | Open the Pinned Nodes window. |
| Debug | (For developers) Outputs debug info in the console window. |