Adding Jetpack Stats and HUD
In this section, we will implement a fuel system for a Jetpack ability using the Stats system. This involves creating a new Stat Definition, adding it to the player's configuration, and updating the HUD to display the fuel level.
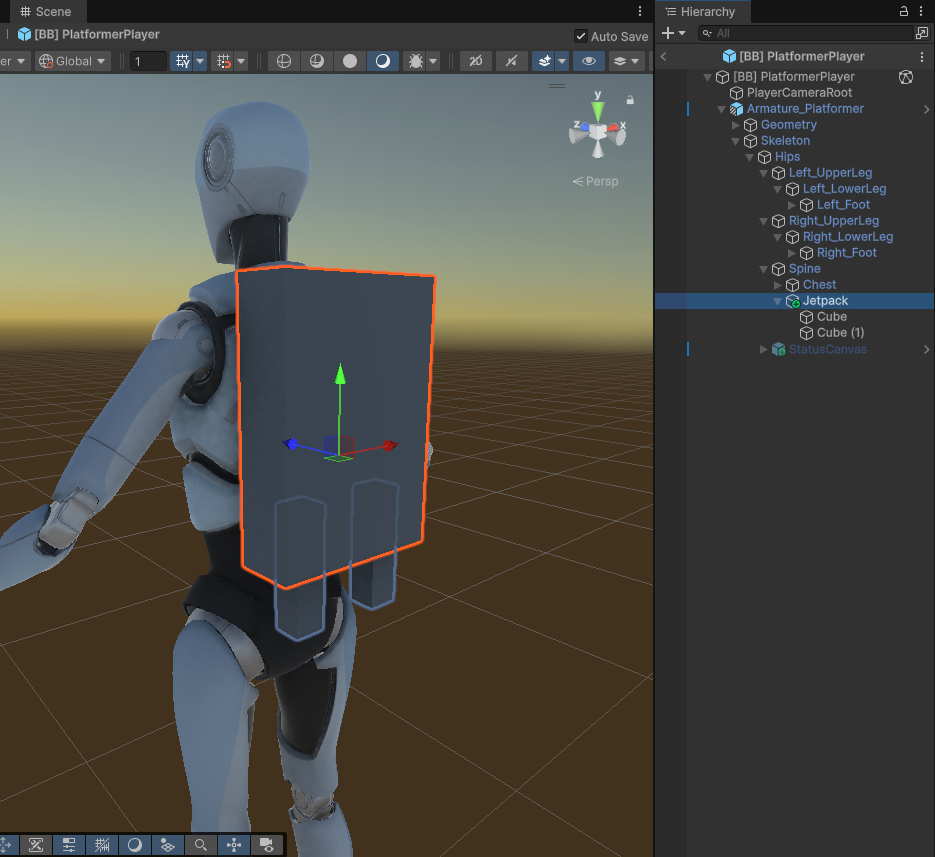
1. Prototype Jetpack Visuals
First, create a placeholder visual for the jetpack:
- Create a simple object (e.g., using 3 cubes) to represent the jetpack on the player character.
- This will help visualize the feedback when we implement the ability logic later.
2. Define the Jetpack Fuel Stat
We need to define a new stat called "JetpackFuel".
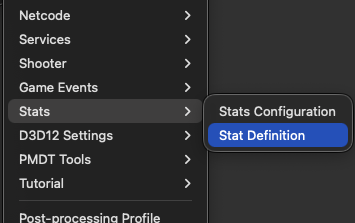
- In the Project window, navigate to a suitable folder (e.g.,
Assets/Platformer/Data/). - Right-click and select Create > Stats > Stat Definition.
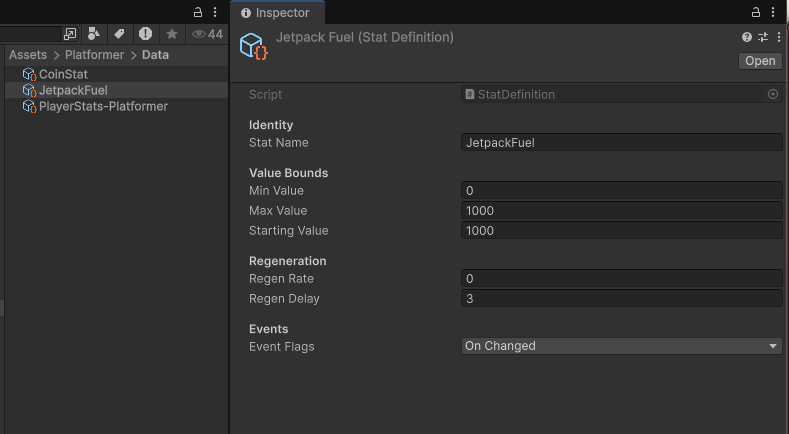
- Name the new asset
JetpackFuel. - Configure the stat properties in the Inspector as shown below:
- Stat Name:
JetpackFuel - Max Value:
1000(or your desired capacity) - Regen Rate: Set a positive value (e.g.,
10) if you want it to recharge automatically, or0if you don't want it to recharge. - Regen Delay: Delay before recharging starts.
- Event Flags: Set it to "OnChanged" or "Everything". We don't really need to sync the OnDepleted event for Fuel. That is more useful for something like Health.
- Stat Name:
3. Register the Stat
Add the new stat to the player's stat configuration so the system knows about it.
- Locate the PlayerStats-Platformer asset (typically in
Assets/Platformer/Data/). - Add your new
JetpackFuelstat definition to the list of stats.- Note: This config asset is assigned to the
CoreStatsHandlercomponent on the Player prefab, which manages all gameplay stats.
- Note: This config asset is assigned to the
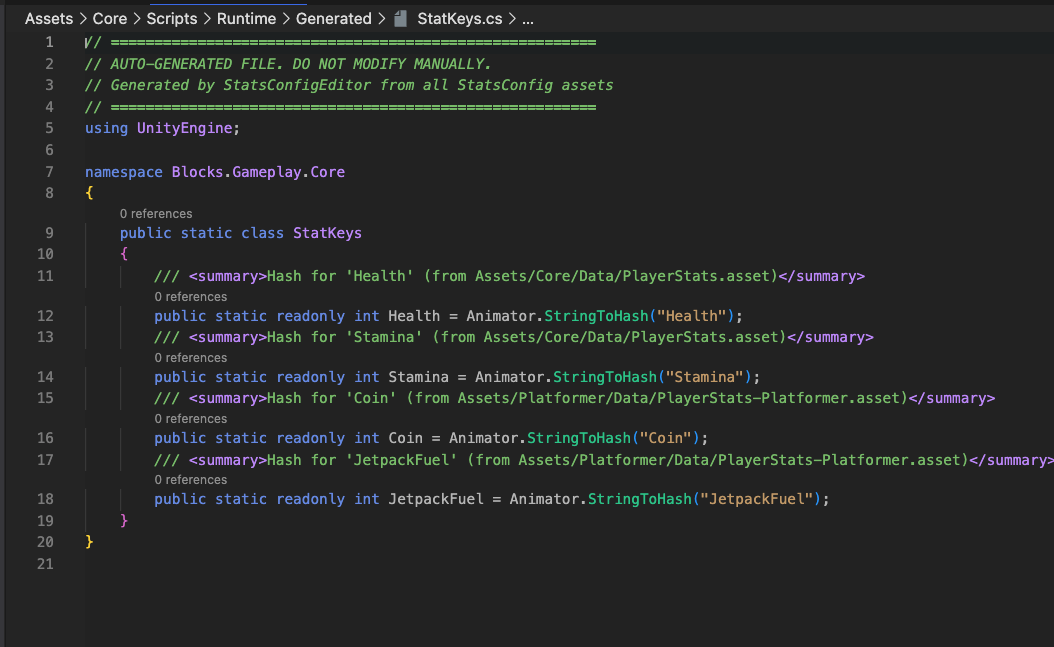
- Important: Click the Generate Stat Keys button (if available in the inspector) to update the
StatKeys.csfile. This allows us to reference the stat safely in code.

4. Update the HUD
Now that the stat exists, let's add a UI bar to display it.
Modify the UXML
Open Assets/Platformer/Scripts/Framework/PlatformerHUD.uxml. Add a progress bar for the jetpack fuel, preferably inside the health-info-container so it aligns with the other bars:
<ui:ProgressBar name="player-jetpack-fuel-bar" low-value="0" high-value="100" value="100" class="blocks-progress-bar"/>
Modify the Script
Open Assets/Platformer/Scripts/Components/PlatformerHUD.cs and update it to control the new fuel bar.
- Add Fields: Define references for the bar and its fill color.
// In Fields & Properties
private ProgressBar m_PlayerJetpackFuelBar;
private VisualElement m_PlayerJetpackFuelBarFill;

// You can pick any color you like. Here we use Orange. (You will need to import using.UnityEngine;)
private static readonly Color k_JetpackFuelBarColor = new Color(1.0f, 0.647f, 0.0f, 0.75f);
- Query Elements: Locate the bar in the UI.
// In QueryHUDElements(VisualElement root)
// Add this after: m_CoinsLabel = root.Q<Label>("coins-label");

m_PlayerJetpackFuelBar = root.Q<ProgressBar>("player-jetpack-fuel-bar");
if (m_PlayerJetpackFuelBar != null)
{
    // Optional: Set specific color for the fill
    m_PlayerJetpackFuelBarFill = m_PlayerJetpackFuelBar.Q<VisualElement>(null, "unity-progress-bar__progress");
    if (m_PlayerJetpackFuelBarFill != null)
    {
        m_PlayerJetpackFuelBarFill.style.backgroundColor = k_JetpackFuelBarColor;
    }
}
- Handle Updates: Update the bar when the stat changes.
// In HandleStatChangedLocal(StatChangePayload payload)
// Add a new case to the switch statement:

case "JetpackFuel":
    if (m_PlayerJetpackFuelBar != null)
    {
        m_PlayerJetpackFuelBar.highValue = payload.maxValue;
        m_PlayerJetpackFuelBar.value = payload.currentValue;
    }
    break;
Next Steps
You now have a working stat system for Jetpack Fuel! In the next section, we will implement the JetpackLocomotionAbility and JetpackAddon to consume this fuel during gameplay.