Color Modes
Description
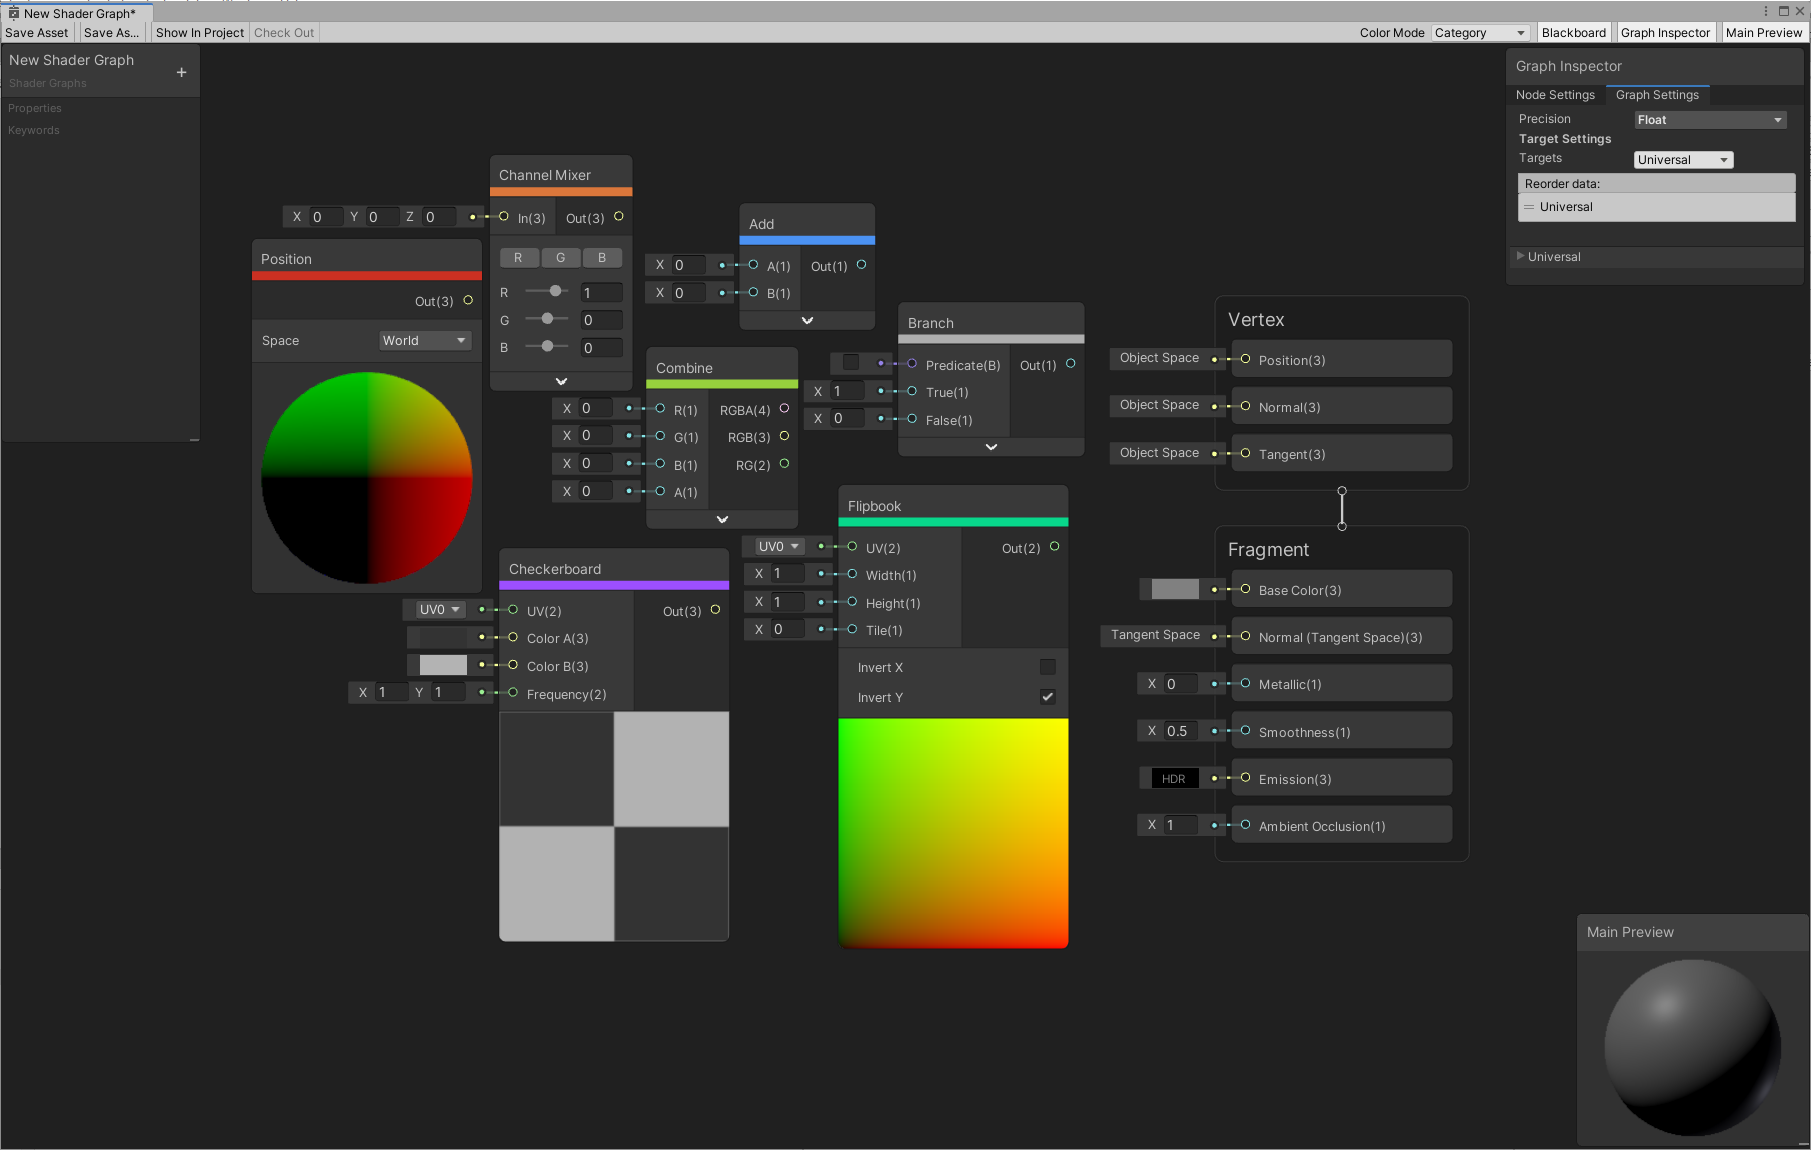
Shader Graph can display colors on nodes in your graph to improve readability. This feature uses Color Modes to change which colors to display in the graph. Use the Color Mode: drop-down menu in the top right corner of the Shader Graph Window to change the Color Modes.
Modes
| Name | Description |
|---|---|
| None | Does not display colors on the nodes. All nodes use the default gray. |
| Category | Displays colors on the nodes based on their assigned category. Refer to Category colors. |
| Heatmap | Displays colors on the nodes based on the nodes relative performance cost. By default, dark colored nodes contribute very little to the overall GPU performance cost of the shader and brighter colored nodes require more GPU computation to run. Refer to Heatmap colors. |
| Precision | Displays colors on the nodes based on the current Precision Mode in use. Refer to Precision colors. |
| User Defined | Lets you set the display colors on a per-node basis. These are custom colors for your graph. Refer to User Defined colors. |
Category colors
This mode displays colors on the nodes based on their category. See the Node Library to learn about the different categories available.
The table below lists current categories and their corresponding colors.
| Name | Color Hex Value |
|---|---|
| Artistic | #DB773B |
| Channel | #97D13D |
| Input | #CB3022 |
| Math | #4B92F3 |
| Procedural | #9C4FFF |
| Utility | #AEAEAE |
| UV | #08D78B |
Sub Graph nodes in a main Shader Graph fall in the Utility category. If you select Category mode, all Sub Graphs use the Utility color.
Note: You can override the Category colors according to your needs.
Heatmap colors
This mode displays colors on the nodes based on their relative performance cost:
- Darker colored nodes (black to purple-red) have a lower impact on the overall GPU performance of the shader.
- Brighter colored nodes (red to yellow) require more GPU computation to run.
- Nodes colored in light blue have an unknown impact on the GPU performance.
You can use this color mode to identify and adjust the most expensive parts of the shader graph if your shader's overall performance is low.
Note: Platforms and hardware profiles may introduce variations in the costs of specific nodes and operations. You should consider the Heatmap color mode as an indication to help start the shader optimization process rather than a precise and exact measurement of final results. The best way to measure shader performance is still to run the shader on the target platform in the context of your project.
The default Heatmap colors
The default Heatmap color set includes 10 colors.

Each color corresponds to a range of GPU cycle numbers that would be required to run the node's code once compiled, and the scale is exponential. For example, black corresponds to 0-3 GPU cycles, red corresponds to 64-127 cycles, and yellow corresponds to 1024 cycles and more.
An additional color, light blue by default, is reserved for the unknown impact.
A few considerations to better understand the default node color assignment in the Heatmap color mode:
Many nodes have no performance cost. This includes nodes that bring in data from outside the shader without performing any math, or straightforward math nodes such as Absolute and Saturate.
The node color assignments are broad estimates, as some nodes produce a variable number of cycles depending on the input data type or the various parameters you've set up.
The unknown impact color is for nodes that do texture samples or whose results can vary widely. Texture samples take a long time and some factors such as filtering settings and texture resolution can also change their performance cost a lot.
Precision colors
This mode displays colors on the nodes based on their current precision.
If you set a node to Inherit Precision, the display color reflects the currently active precision. See Precision Modes for more information about inheritance.
Note: You can override the Precision colors according to your needs.
User-defined colors
This mode displays colors on the nodes based on user preferences. In this mode, the user defines colors for each node. If a custom color is not set, the node displays in the default gray.
To set a custom color for a node, right-click on the target node to bring up the the context menu, and select Color.
| Option | Description |
|---|---|
| Change... | Brings up a color picker menu and lets you set your own custom color on the node. |
| Reset | Removes the currently selected color and sets it to the default gray. |
Customize the predefined color modes
For each project, you can customize the predefined color modes according to your needs.
Override the Category and Precision default colors
You can override preset colors in the Category and Precision modes. Unity uses a .uss style sheet and Hex color codes to set colors. The default style sheet in your project is Packages/com.unity.shadergraph/Editor/Resources/Styles/ColorMode.uss.
The best practice is to create a copy of this file to override the presets. Under your project's Assets folder, create a new Editor/Resources/Styles folder structure, and place a copy of ColorMode.uss in the Styles folder. Change the Hex color codes in this .uss file to override the presets and use your own custom colors for the Category and Precision modes.
Customize the Heatmap color mode
You can customize the whole Heatmap color mode, which includes the number of available colors, the color assignment for all available nodes and sub graphs, and the colors themselves. For this, you have to create a custom Shader Graph Heatmap Values asset and then reference it in the Project Settings.
To create and apply a custom Shader Graph Heatmap Values asset in your project, follow these steps:
- In the Project window, right-click in any folder, select Create > Shader Graph > Custom Heatmap Values.
- Choose between Heatmap with Default Values or Empty Heatmap depending on your needs.
- Give your new asset a name and select it.
- In the inspector:
- In the Categories section, define the colors and the number of colors you need in your custom color set. Use + (plus) or - (minus) at the bottom of the list to add or remove colors.
- In the Subgraphs and Nodes sections, assign each listed sub graph and node a color based on the category indexes listed in the Categories section.
- In the Subgraphs section, you can add sub graphs of your project that aren't listed and also assign them a color.
- From the Editor's main menu, select Edit > Project Settings, and select Shader Graph.
- Under Heatmap Color Mode Settings, in Custom Values, select the Shader Graph Heatmap Values asset you just configured.
Note: When you assign color category values to Nodes and Subgraphs in the Shader Graph Heatmap Values asset, make sure to only use values that correspond to category indexes that exist in the Category list.
Beyond the configuration
If you need to roll back to the default Heatmap color mode setup, in the Project Settings, under Heatmap Color Mode Settings, in Custom Values, select None.
You can create multiple custom Shader Graph Heatmap Values assets and alternatively use them based on the current needs of the project. You can only select one Custom Heatmap Values asset at a time in the Project Settings.
When you set up a custom Shader Graph Heatmap Values asset, you can completely change the purpose of the Heatmap color mode and define a color set that represents a totally different kind of information. For example, a technical director could decide to use only two colors, green and red, and inform the team that green nodes are available to use while red nodes are off limits.