Troubleshooting
This section provides examples of common issues you might encounter when using a Custom Pass component, and how to fix them.
Display scaling issues

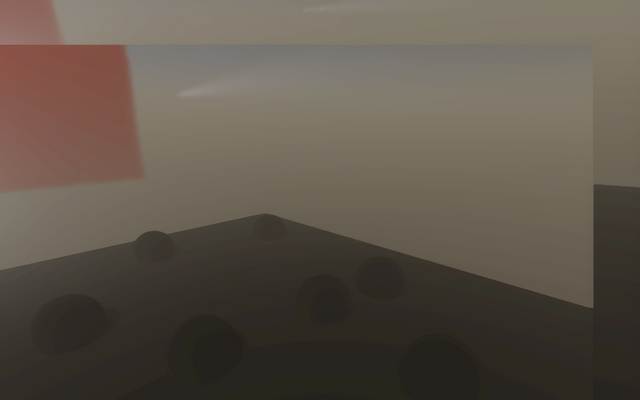
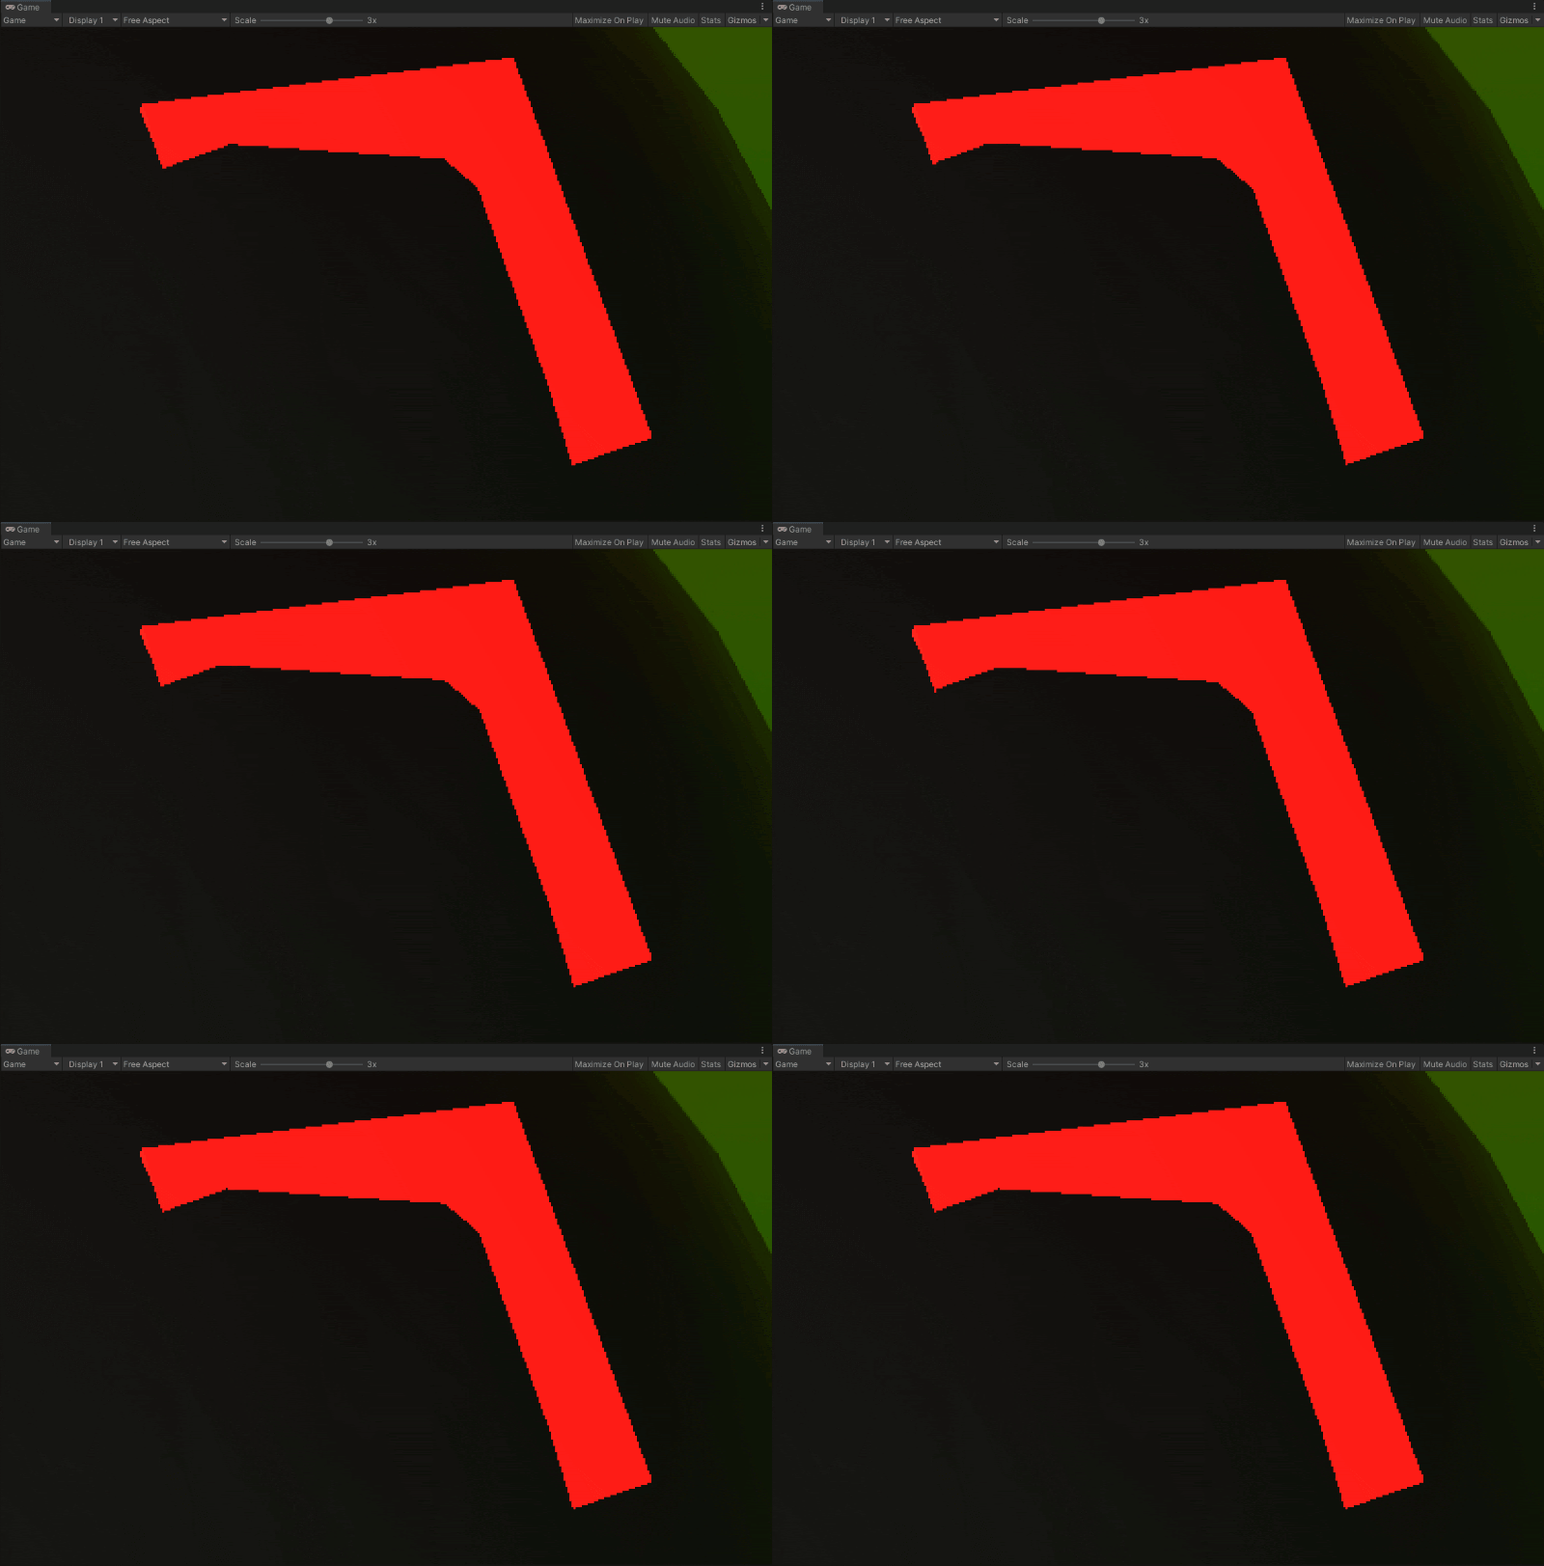
A scaling issue can appear in your built scene when you have two cameras that don't use the same resolution. This is most common between Game and Scene views. This can happen when:
- Your code calls CommandBuffer.SetRenderTarget, and
CoreUtilsSetRenderTargetsets the viewport. - You haven't multiplied by
_RTHandleScale.xyin your shader code for UVs when sampling anRTHandlebuffer.
To fix the causes in these cases:
- Use
CoreUtils.SetRenderTargetinstead ofCommandBuffer.SetRenderTargetto set the viewport. - Use
_RTHandleScale.xyin your shader code when sampling anRTHandlebuffer.
History buffer scaling issues
Scaling issues can happen when you write a custom pass that uses or modifies a history buffer. This is because history buffers use different scale properties from RTHandles (_RTHandleScale.xy). To avoid scaling issues, use RTHandleScaleHistory.xy to sample a history buffer.
If you bind another buffer instead of a history buffer, make sure you allocate the buffer using the correct render texture size. The render texture size can be different for every camera. To get the correct size of the render texture to use for a history buffer, use HDCamera.historyRTHandleProperties.currentRenderTargetSize.
Opaque objects disappear during build
If GameObjects with an opaque material in your scene disappear when you build your application, you might need to reconfigure your HDRP Asset settings.
To fix this:
- In the Project window, navigate to your HDRenderPipelineAsset (if you are using the default HDRP build, go to
Assets > Settings). - In the HDRP asset, change the Lit Shader Mode to Both.
Jittering GameObjects
Sometimes when you enable Temporal antialiasing (TAA), some GameObjects appear to jitter.

Jittering can happen when both of the following conditions are met:
- The object is rendered in the AfterPostProcess Injection Point . To fix this, change the Injection Point in the Custom Pass Volume component.
- The object has Depth Test enabled. To fix this, disable Depth Test in the shader properties, or set the Depth Test property in the draw renders Custom Pass component to Disabled.
Particles face the wrong direction
The following conditions can cause particles in the scene to face the wrong direction:
- The particle system is only visible in a Custom Pass.
- There is no override implemented for
AggregateCullingParameters.
Unity calculates the orientation of the particles in the Built-in Particle System when it executes AggregateCullingParameters during the culling step. This means if there is no override, HDRP doesn't render it properly.
Decals aren't visible
The following conditions can make a decal in your scene invisible:
- You applied the decal to a GameObject that Unity renders in a Custom Pass
- The decal is on a transparent object that Unity renders before the AfterOpaqueDepthAndNormal Injection point
To fix this issue, change the Injection point of the GameObject to any Injection Point after AfterOpaqueDepthAndNormal
Culling issues
If you can’t see some objects in your scene, this might be because the cullingResult you receive in the Execute method doesn’t contain objects that HDRP only renders in a Custom Pass.
This can happen if you disable the layer of your objects in the Camera Culling mask.
This happens because this cullingResult you receive in the Execute method is the camera cullingResult. To fix this issue, override this method in the CustomPass class:
protected virtual void AggregateCullingParameters(ref ScriptableCullingParameters cullingParameters, HDCamera camera) {}
You can then add more layers or custom culling options to the cullingResult you receive in the Execute method using ScriptableCullingParameters .
Screen turns black when Unity loads shaders
If your screen turns black when Unity loads shaders, this could be because Unity is trying to render a shader that's not referenced in the scene. This can happen when:
- The Custom Pass only uses
Shader.Findto look for your shader. - Your shader isn't in your project’s Resources folder.
- Your shader isn't referenced in the Custom Pass.
To fix this, you can add the following lines of code to reference your shader in the Custom Pass:
   [SerializeField, HideInInspector]
   Shader shaderName;
For example:
using UnityEngine;
using UnityEngine.Rendering.HighDefinition;
using UnityEngine.Rendering;
using UnityEngine.Experimental.Rendering;

class Outline : CustomPass
{
    public LayerMask    outlineLayer = 0;
    [ColorUsage(false, true)]
    public Color        outlineColor = Color.black;
    public float        threshold = 1;

    // To make sure the shader ends up in the build, we keep a reference to it
    [SerializeField, HideInInspector]
    Shader                  outlineShader;

    Material                fullscreenOutline;
    RTHandle                outlineBuffer;

    protected override void Setup(ScriptableRenderContext renderContext, CommandBuffer cmd)
    {
        outlineShader = Shader.Find("Hidden/Outline");
        fullscreenOutline = CoreUtils.CreateEngineMaterial(outlineShader);

        // Define the outline buffer
        outlineBuffer = RTHandles.Alloc(
            Vector2.one, TextureXR.slices, dimension: TextureXR.dimension,
            colorFormat: GraphicsFormat.B10G11R11_UFloatPack32,
// We don't need alpha for this effect
            useDynamicScale: true, name: "Outline Buffer"
        );
    }

    protected override void Execute(CustomPassContext ctx)
    {
        // Render meshes we want to apply the outline effect to in the outline buffer
        CoreUtils.SetRenderTarget(ctx.cmd, outlineBuffer, ClearFlag.Color);
        CustomPassUtils.DrawRenderers(ctx, outlineLayer);

        // Set up outline effect properties
        ctx.propertyBlock.SetColor("_OutlineColor", outlineColor);
        ctx.propertyBlock.SetTexture("_OutlineBuffer", outlineBuffer);
        ctx.propertyBlock.SetFloat("_Threshold", threshold);

        // Render the outline buffer fullscreen
        CoreUtils.SetRenderTarget(ctx.cmd, ctx.cameraColorBuffer, ClearFlag.None);
        CoreUtils.DrawFullScreen(ctx.cmd, fullscreenOutline, ctx.propertyBlock, shaderPassId: 0);
    }

    protected override void Cleanup()
    {
        CoreUtils.Destroy(fullscreenOutline);
        outlineBuffer.Release();
    }
}
My effect is not rendered when MSAA is enabled
When enabling MSAA on your camera, make sure that the color buffer and depth buffer format matches. This can be done by ensuring that you use both "Camera" buffers or "Custom" buffers at the same time.
The graphics API doesn't support mixing MSAA buffers and non-MSAA buffers when binding render targets, doing so can result in undefined behavior or the API will just discard your draw call.