My Games
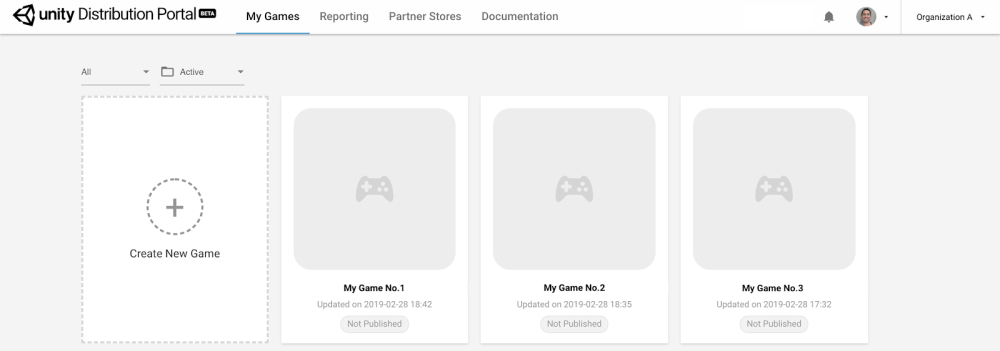
Access your UDP projects from the My Games section of the top navigation bar. This is where you can:
- switch between UDP projects
- create a new game
- archive and restore games
Switch between UDP projects
Select the card of the game you want to work on. This will send you to the game’s corresponding Game Info page where you can edit your game information, and from there publish your game and view its status.
A game card has a status “Published” if it has been submitted to and accepted by at least one partner store.
Create a new game
You can create a game placeholder on the UDP console, and later link it to an actual UDP project.
Click on the blank card to create a new game.
This will send you to your new game’s Game Info page where you can edit your game information.
Important note: you will need to link your Unity project with your UDP client in the Unity Editor (refer to Generating a UDP client).
Why would I create my game from the UDP console? Using the Unity Organization system, this allows a user to create a game instance on the UDP console and prepare it for distribution (typically the Owner) and give a developer within the same Organization the UDP client ID so that he/she can carry out the UDP integration, build the game, and deploy it to the console.
Archive and restore your game
When you no longer need a game, the UDP console allows you to archive it. Note that you cannot delete the game on the UDP console.
To archive your game:
- Go to the My Games panel.
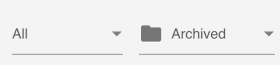
- Select your filters for the game. By default, you can see all active games.

- When you hover over the game, you can see the More affordance. Archive your game by choosing More > Archive.

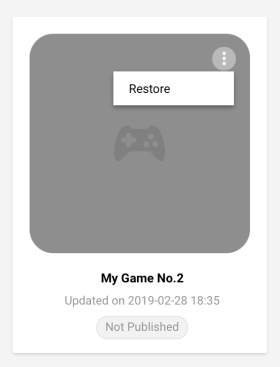
To restore your game:
Go to the My Games panel.
Select the Archived filter.
When you hover over the game, you can see the More affordance. Restore your game by choosing More > Restore.