Installation guide
This page describes how to install and activate the Input System package for your Unity Project.
Note
This version of the new Input System requires the .NET 4 runtime. It doesn't work in projects using the old .NET 3.5 runtime.
This package is only compatible with Unity Editor release versions 2021.3 and later. If you are working in a release version of the Editor prior to 2021.3, you need to use the package version that works with that version of the Editor, indicated by the Release tag in the Unity Package Manager window.
Install the package
To install the new Input System:
In the main menu of the Unity Editor, go to Window > Package Manager to open the Unity Package Manager.
Select Unity Registry from the navigation panel.
Select the Input System package from the list.
The Package Manager automatically selects that version to install by default.
Select Install, follow any prompts to enable the backends for the new Input System.
This package also provides several samples that demonstrate how to work with the new Input System, which are also available on the Unity Package Manager window. Refer to Install samples.
Enable the new input backends
By default, Unity's classic Input Manager (UnityEngine.Input) is active, and support for the new Input System is inactive. This allows existing Unity Projects to keep working as they are.
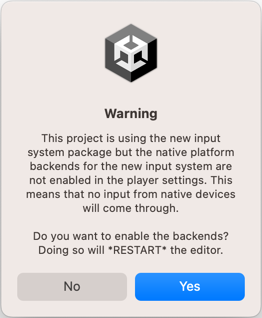
When you install the Input System package, Unity will ask whether you want to enable the new backends. Click Yes to enable the new backends and disable the old backends. The Editor restarts during this process.
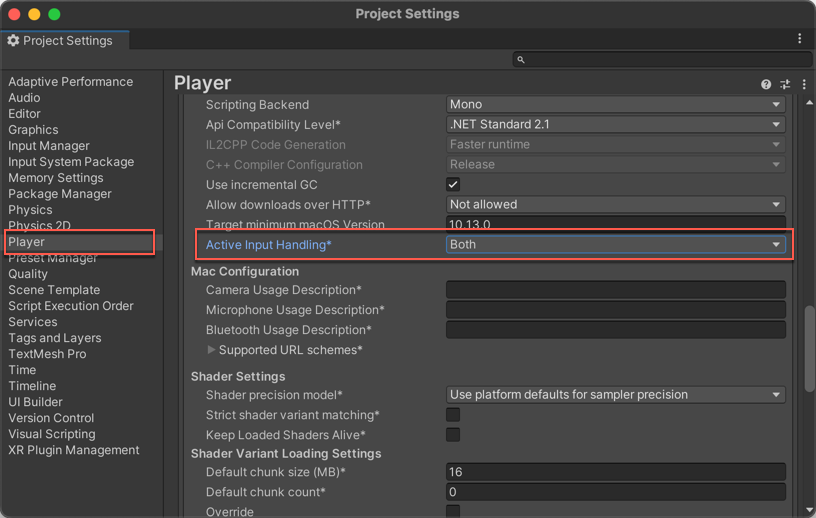
You can find the corresponding setting in Edit > Project Settings > Player > Other Settings > Active Input Handling. If you change this setting you must restart the Editor for it to take effect.
Note
You can enable both the old and the new system at the same time. To do so, set Active Input Handling to Both.
When the new input backends are enabled, the ENABLE_INPUT_SYSTEM=1 C# #define is added to builds. Similarly, when the old input backends are enabled, the ENABLE_LEGACY_INPUT_MANAGER=1 C# #define is added. Because both can be enabled at the same time, it is possible for both defines to be 1 at the same time.
Install samples
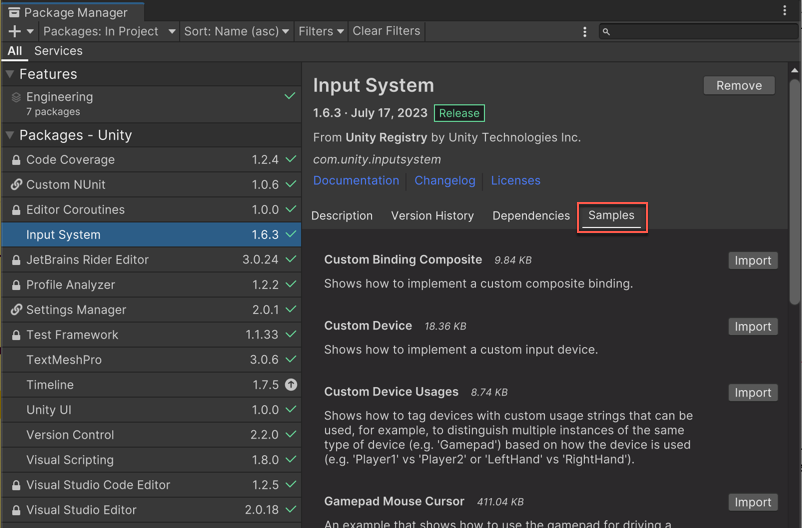
The Input System package comes with a number of samples. You can install these directly from the Package Manager window in Unity (Window > Package Manager). To see the list of samples, select the Input System package in the Package Manager window and click the Samples tab. Then click Import next to any sample name to import it into the current Project.
For a more comprehensive demo project for the Input System, see the InputSystem_Warriors GitHub repository.