Sample | Artifacts
You can use the Artifacts sample to manage the Unity Cloud workspaces, datasets, dataset versions and artifacts that you have access to.
Prerequisites
To use the Unity Cloud Storage sample, you require the following:
Note: While the Unity Cloud Storage package doesn't depend on the Unity Cloud Identity package, the Identity package is used in the sample to control the authentication flow.
Installation
To install the sample, follow these steps:
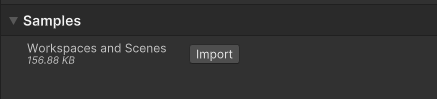
- In your Unity project, go to Window > Package Manager > Unity Cloud Storage.
- Expand Samples and select Import beside the Workspaces and Scenes sample.
After the import process completes, you can view the imported assets under the Assets/Samples/Unity Cloud Storage folder.
Run the sample
To run the sample, follow these steps:
- In your Unity project, go to File > Open Scene.
- Go to
Assets/Samples/Unity Cloud Storage/<package-version>/Storage/Scenes/Storage.unityand run the scene. - In the Game view, select Login if you are logged out.
Note: If you've previously logged in, the sample automatically logs you in so you can proceed to step 5.
- Log into the browser window that launches with your Unity ID account.
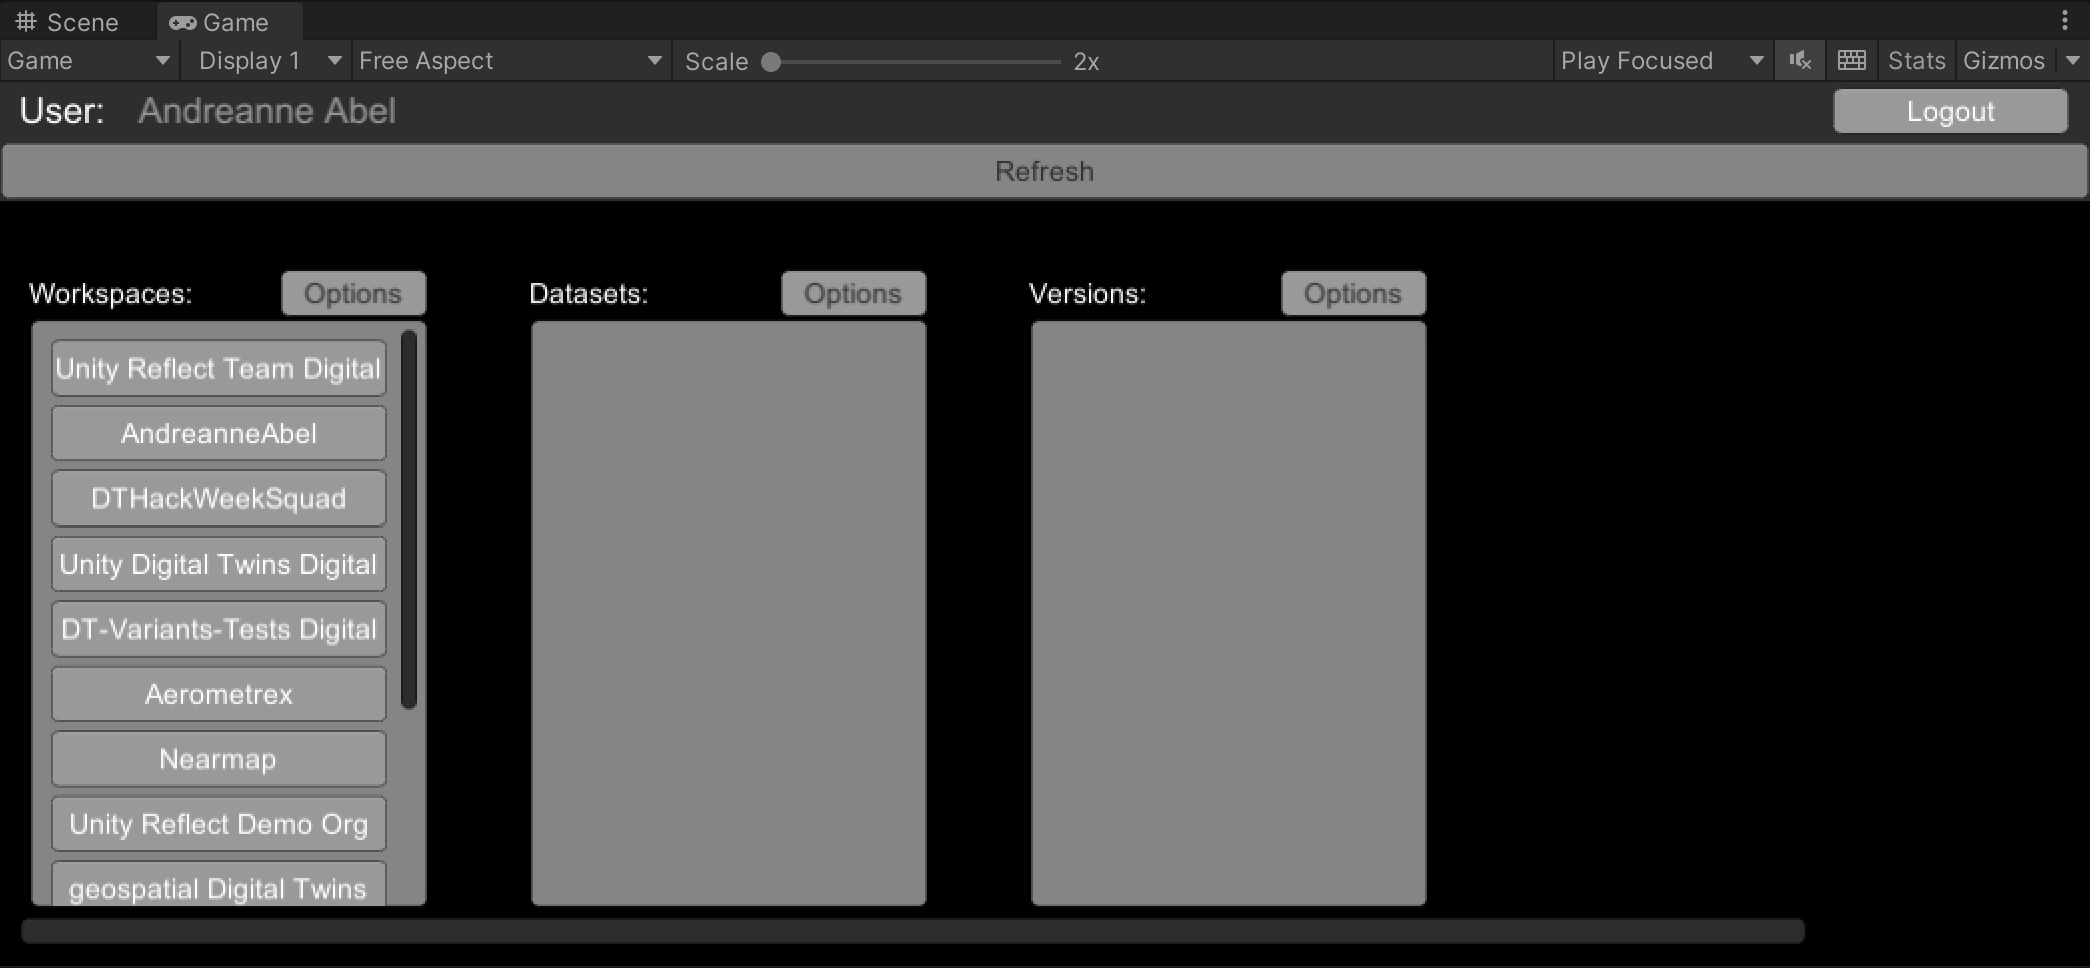
- Return to the sample scene to confirm that you are logged in.
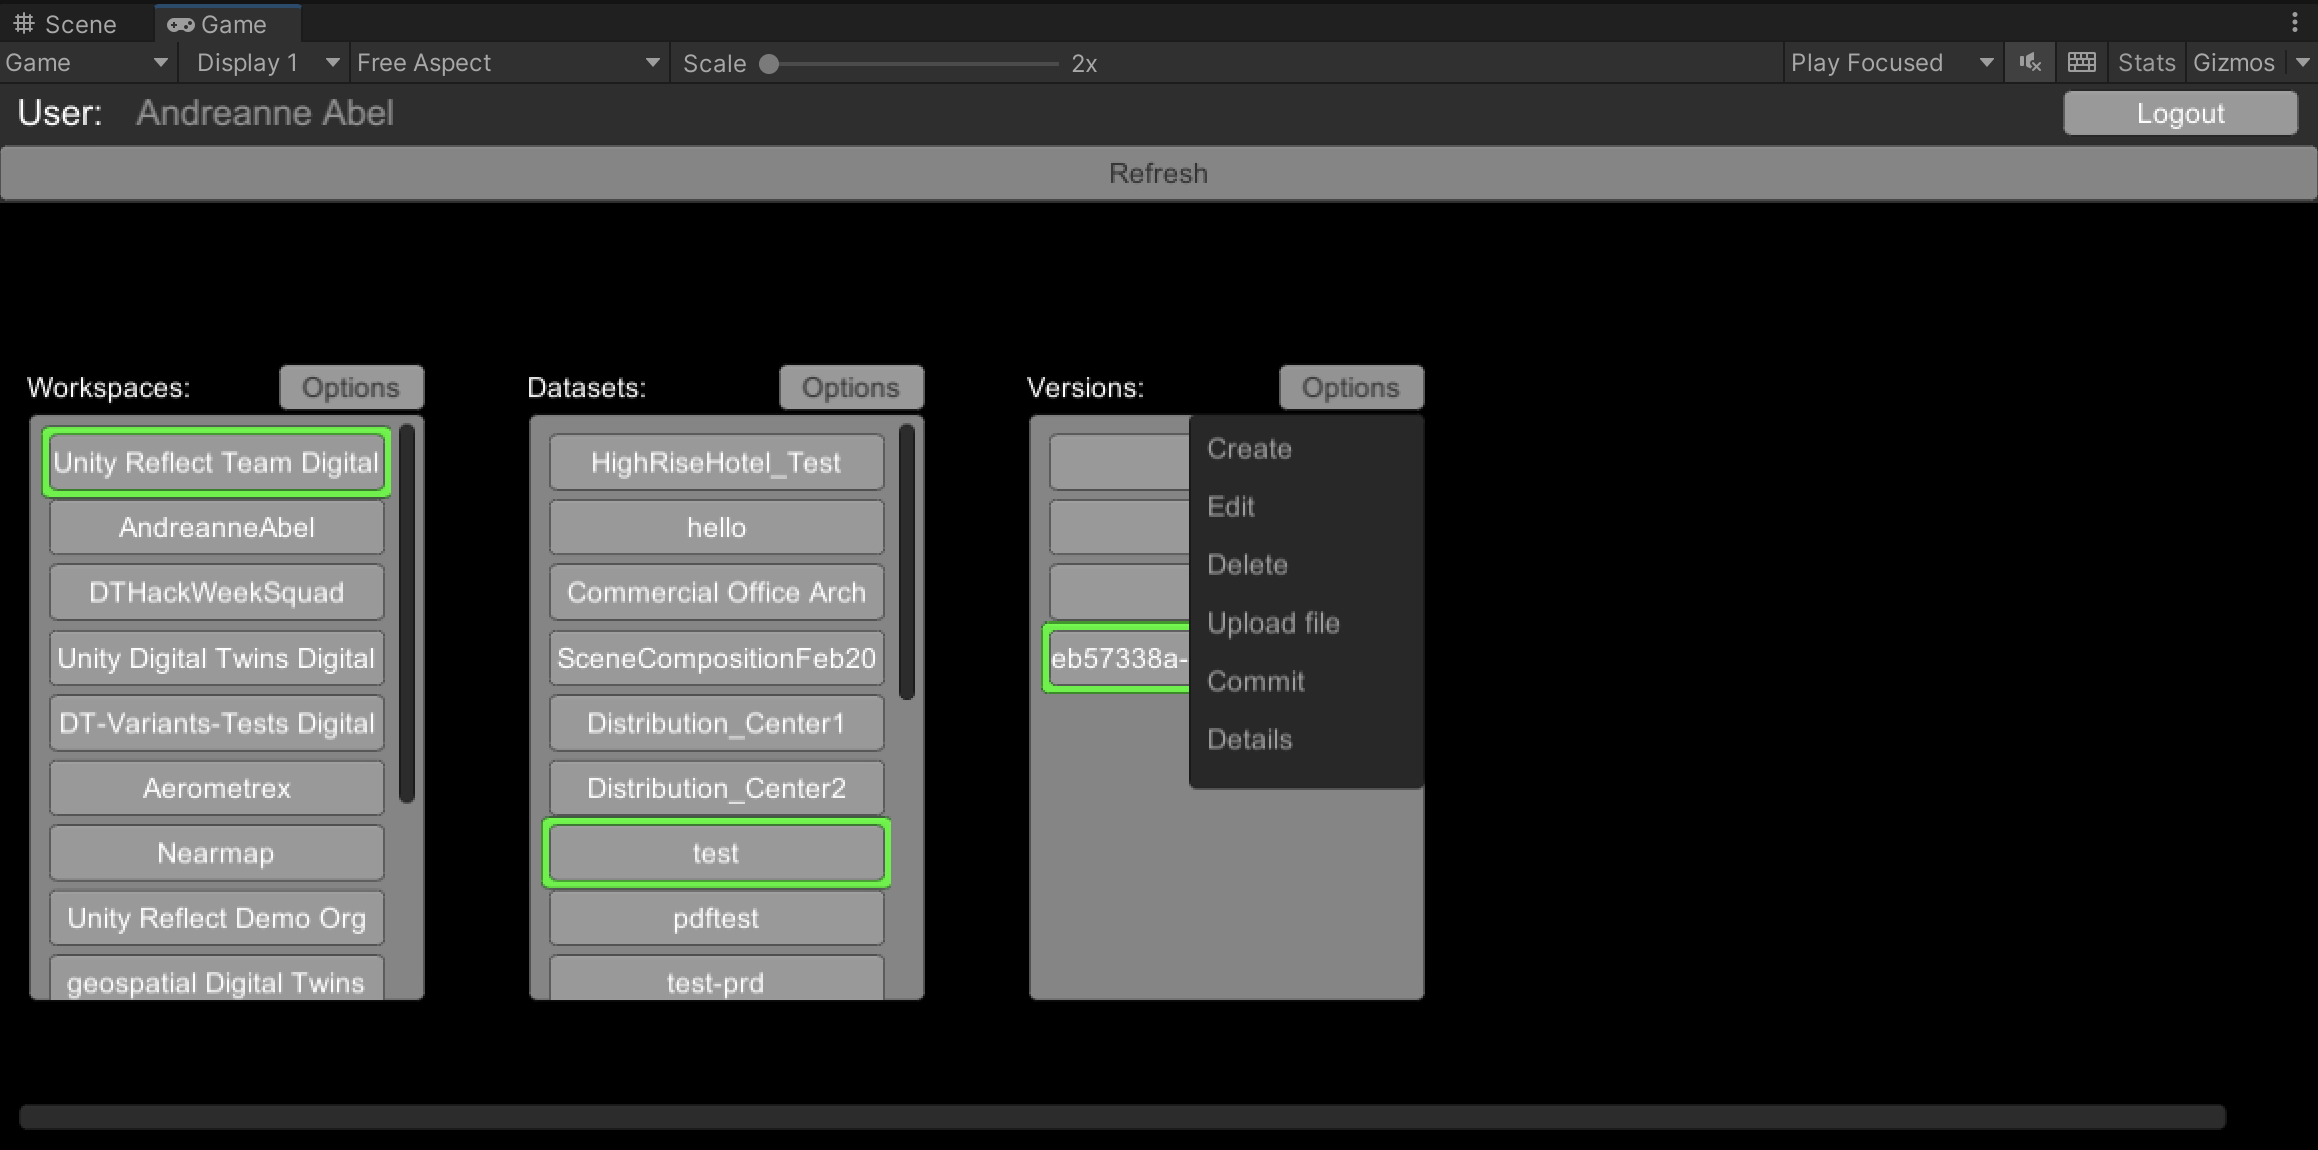
The Workspaces section lists the workspaces that you have access to.
Workspaces
To create a workspace
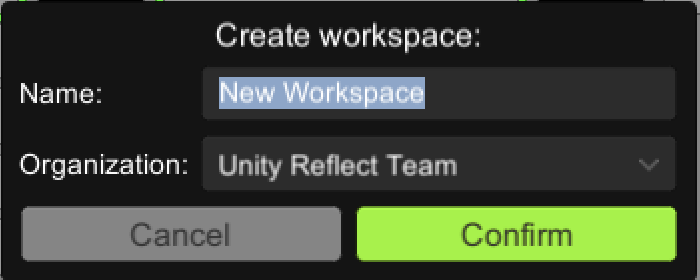
- From the Workspaces section, go to Options > Create.
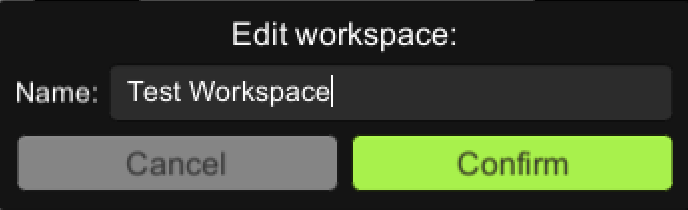
- In the Name field, type the name of the new workspace.
- Select Confirm.
To rename a workspace
- Select the workspace you wish to rename.
- Select Options > Edit.
- Rename the workspace.
- Select Confirm.
To get access to workspace details
- Select the entity you wish to know more about.
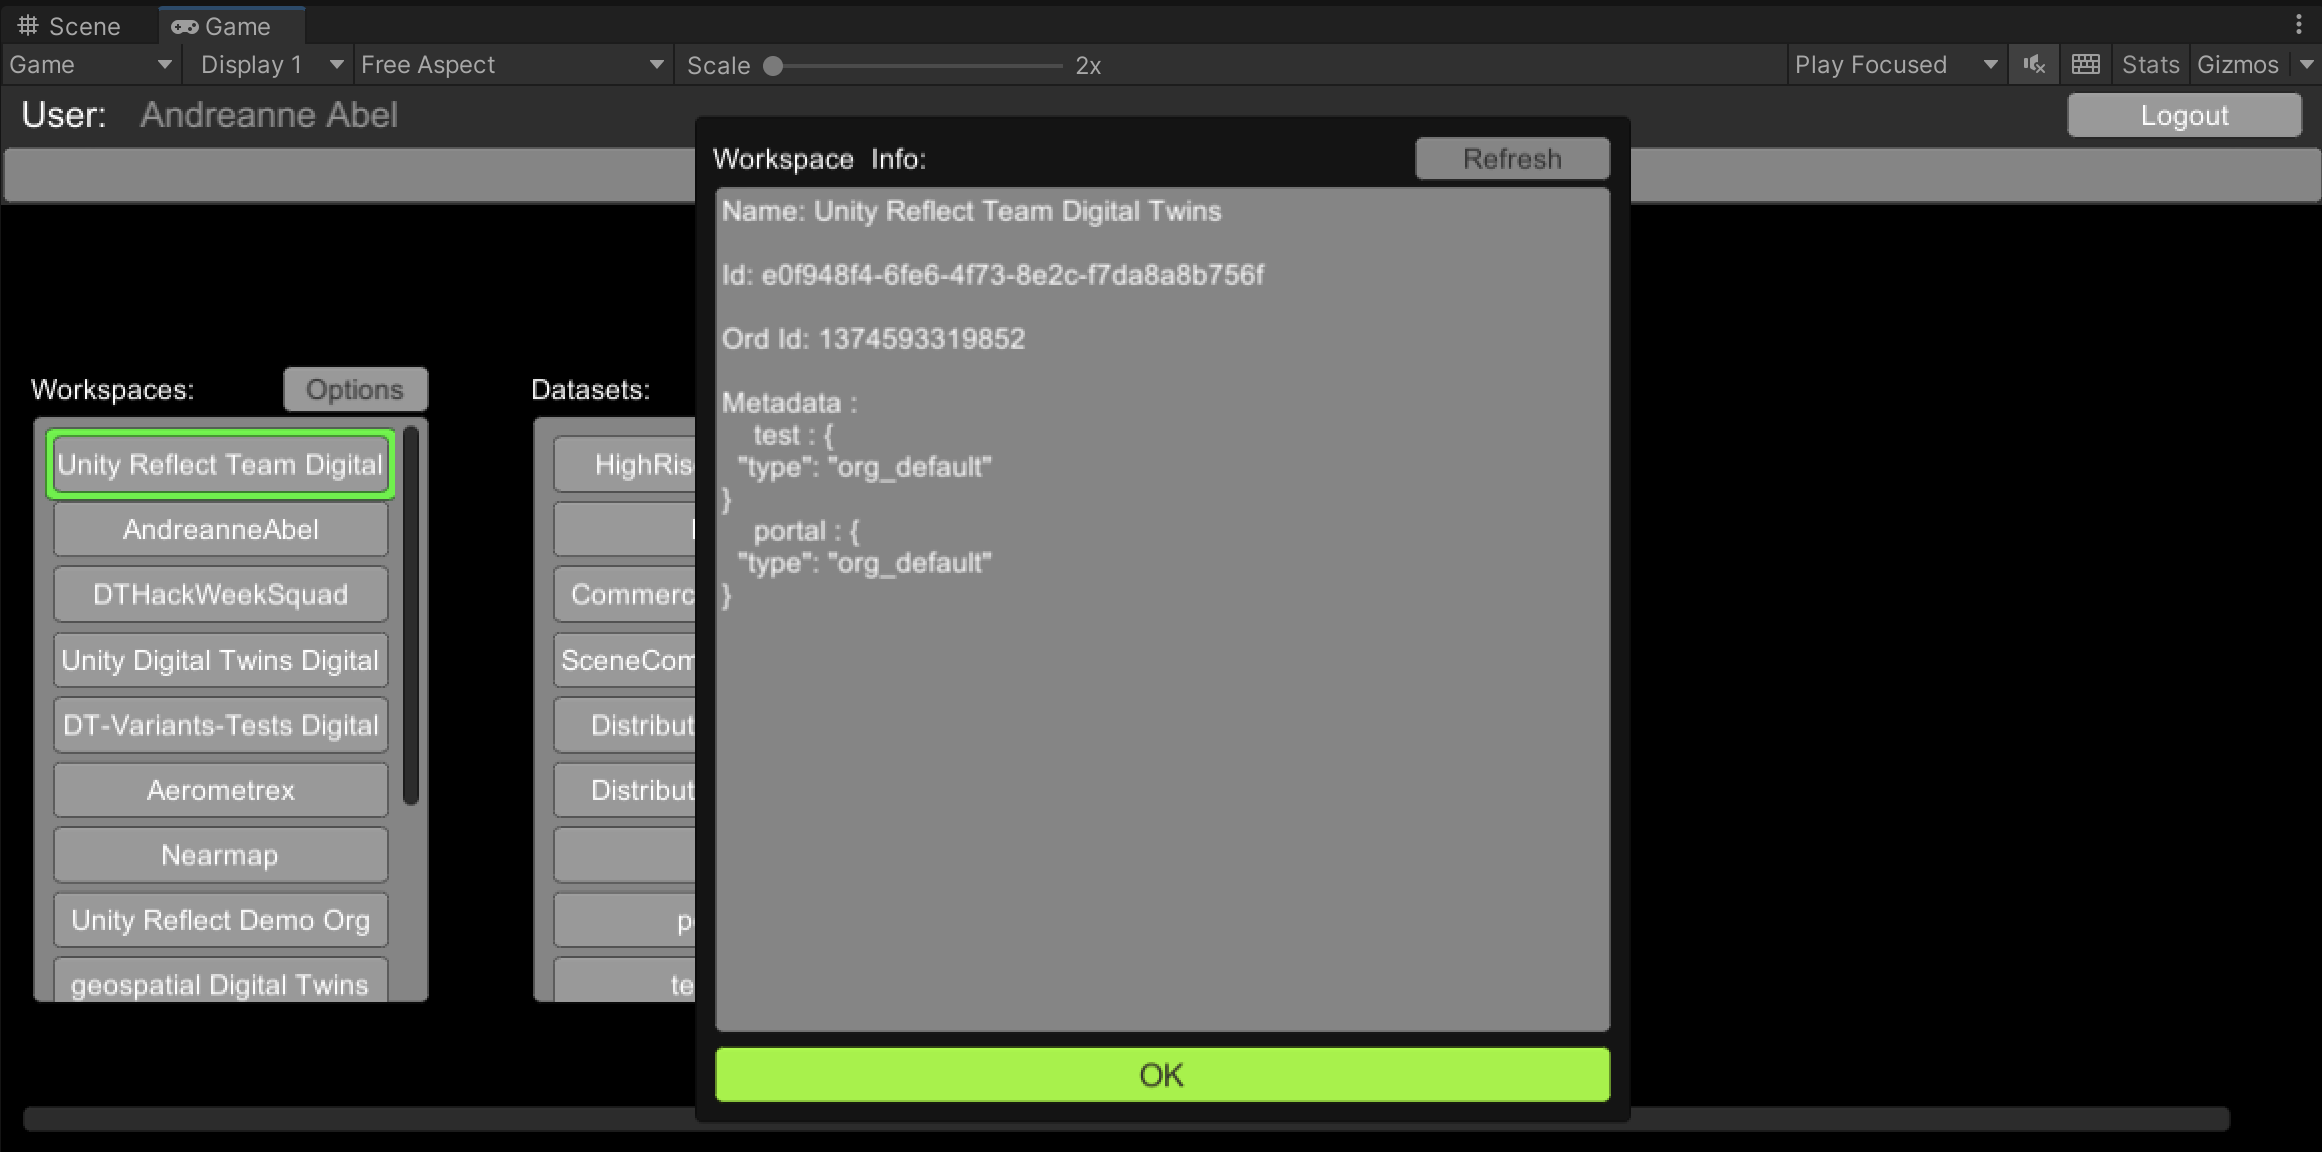
- Select Options > Details.
Unity Cloud displays the name, ID, organization ID, and additional metadata.
To delete a workspace
- Select the workspace you wish to delete.
- Select Options > Delete.
Warning: This action is irreversible.
Datasets
To create a dataset
- Select the workspace you wish to add a file to.
- From the Datasets section, select Options > Create.
- Type a name for the new dataset.
- Select Confirm.
To rename a dataset
- Select the dataset you wish to rename.
- Select Options > Edit.
- Edit the name of the dataset.
- Select Confirm.
To get access to dataset details
- Select the entity you wish to know more about.
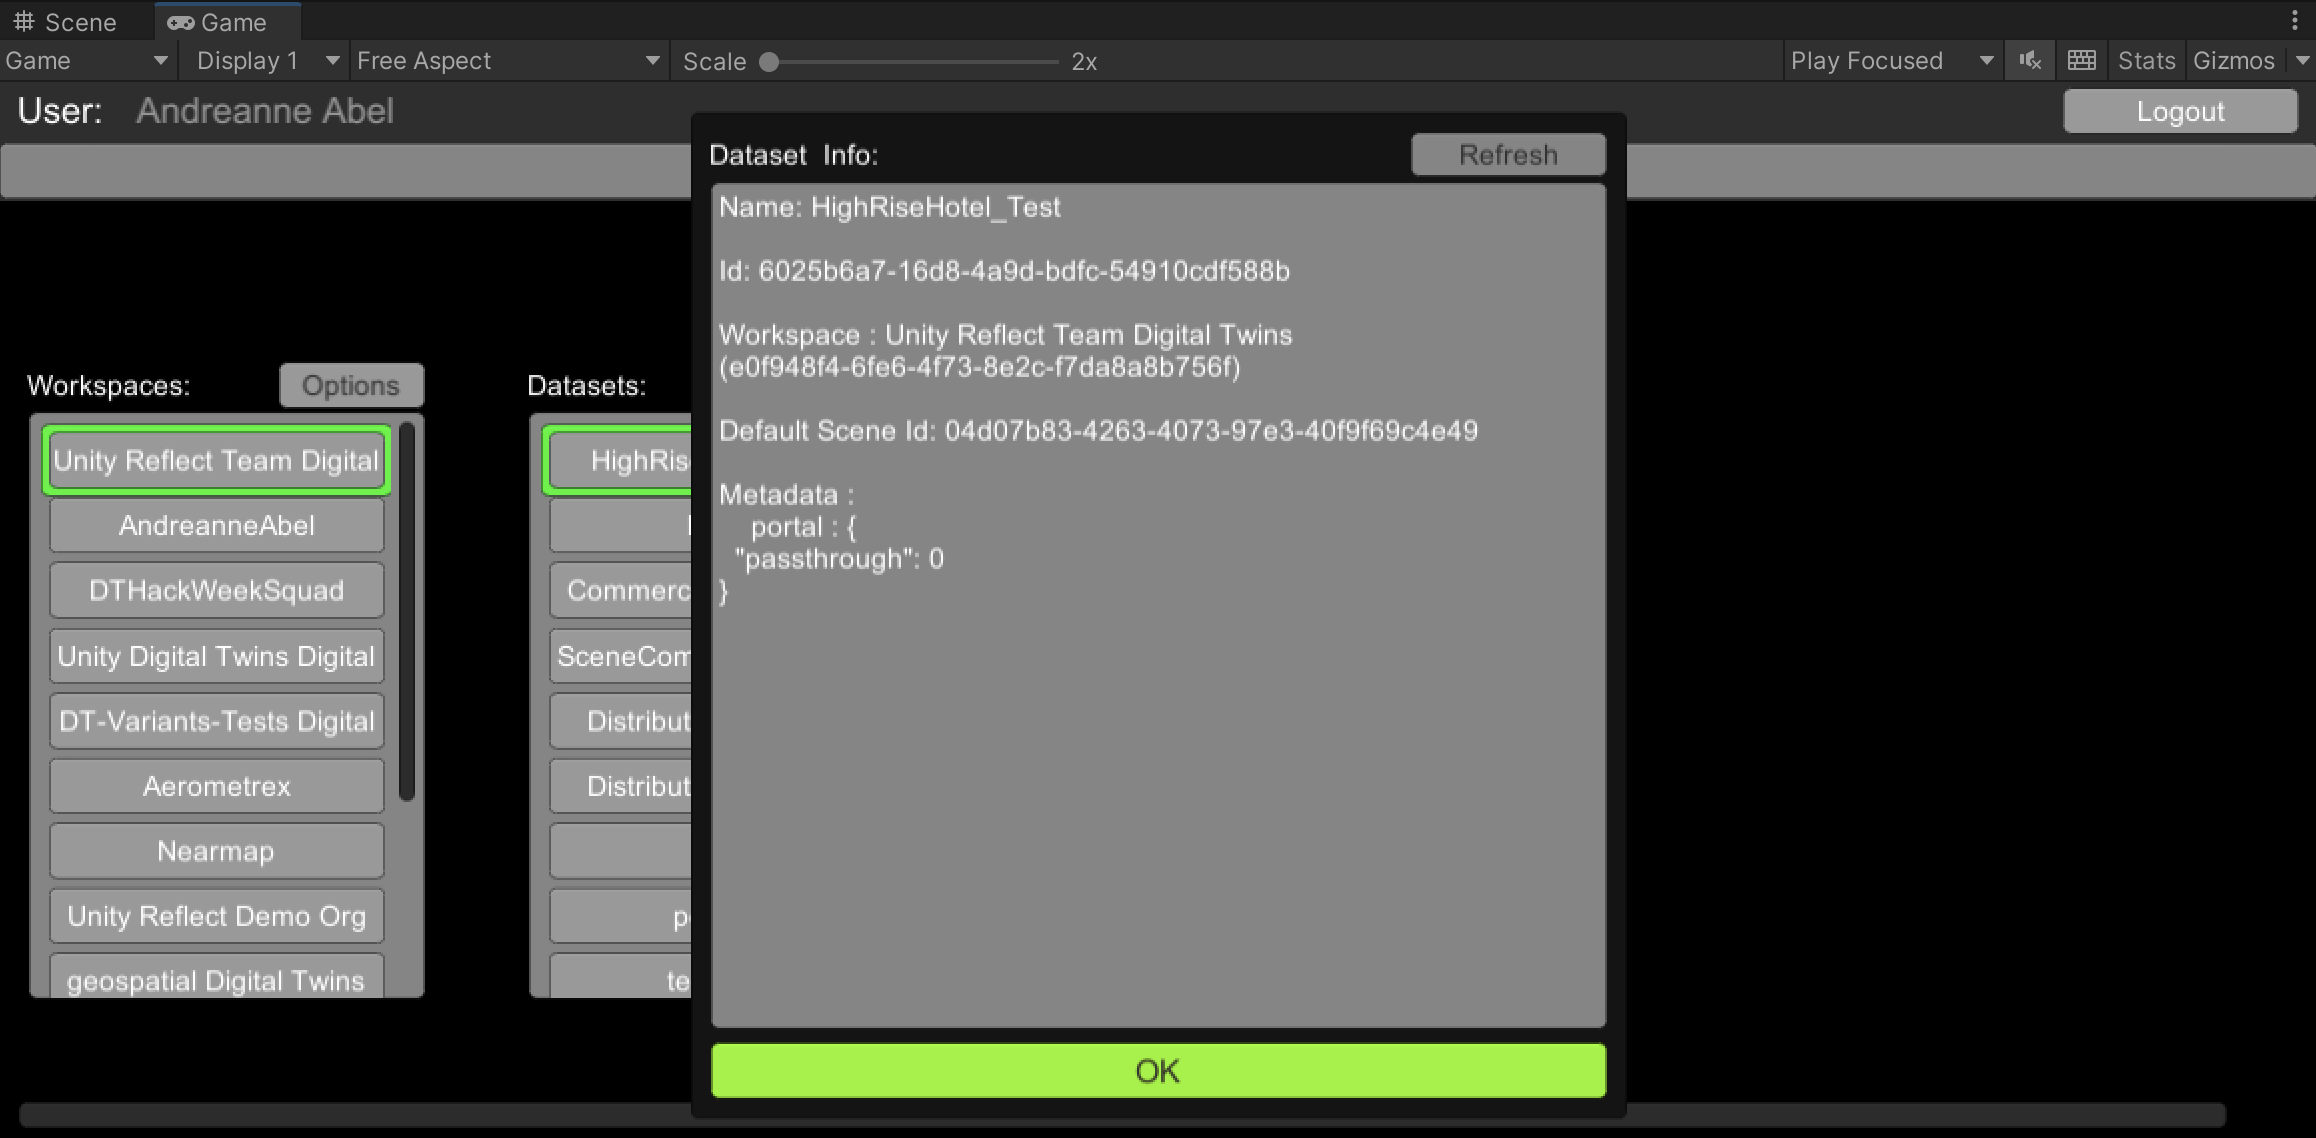
- Select Options > Details.
Unity Cloud displays the dataset name and ID, the workspace name and ID, and additional metadata.
To delete a dataset
- Select the dataset you wish to delete.
- Select Options > Delete.
Warning: This action is irreversible.
Dataset Versions
To create a dataset version
- Select the dataset you want to add a file to.
- From the Versions section, select Options > Create.
From there you can decide if you want this version to be public. This information is only visible to anyone with the URL. - Click Confirm.
To get access to dataset version details
- Select the entity you wish to know more about.
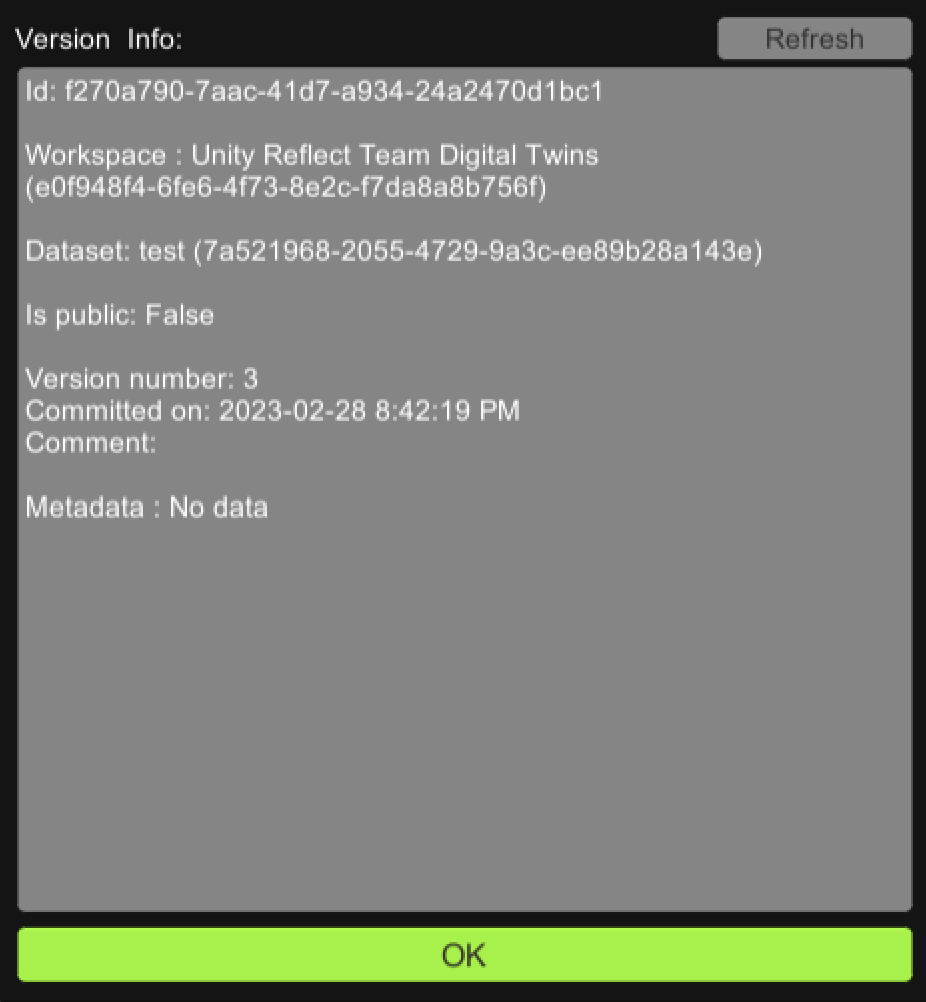
- Select Options > Details.
Unity Cloud displays the dataset version's ID, the workspace name and ID, the name of the dataset and ID, whether the version is public, and the version's commit details.
To delete a dataset version
- Select the dataset version you wish to delete.
- Select Options > Delete.
Warning: This action is irreversible.
Artifacts
Important: This sample only supports desktop platforms, when it comes to downloading and uploading files.
To upload files
- Select a new dataset version.
- Select Upload file.
- Using the prompt, select the file from your disk.
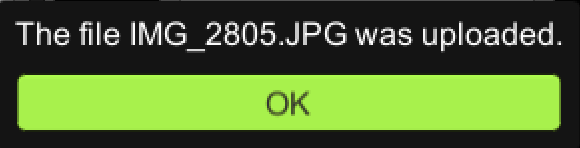
Once the file is uploaded, a prompt appears.
- Select Commit to commit the version.
The version number increments to the next sequential number.
Note: No more file can be uploaded to this version.
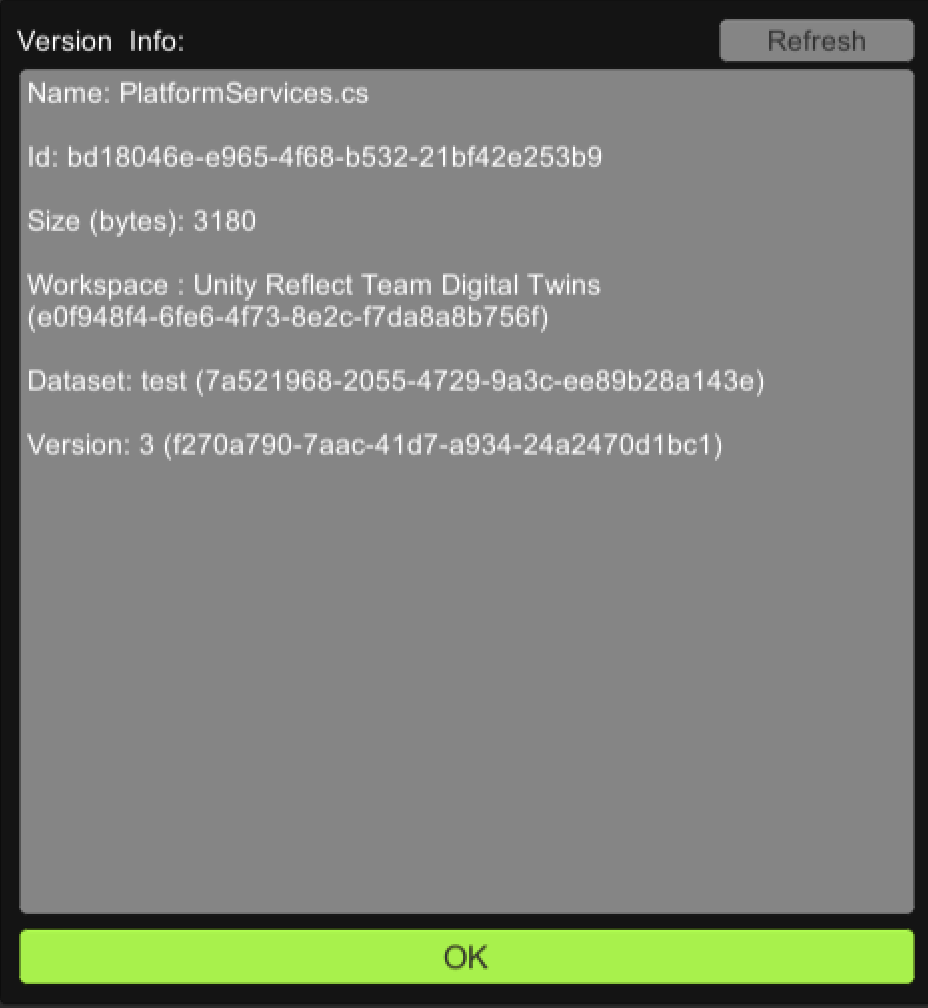
To get access to artifact details
- Select the entity you wish to know more about.
- Select Options > Details.
To download an artifact
- Select the artifact you wish to download.
- Select Options > Download.
- Select the input target path.
- Select Save.
Main components
This section describes the scripts that make up the Storage sample.
Workspaces, datasets, versions & artifacts
This sample contains various components (hidden under the UI folder), whose purpose is to manage a complex and advanced UI, such as WorkspacesReadOnlyBehaviour or DatasetsBehaviour.
When using the Storage SDK, the most important classes to be familiar with are the following:
WorkspacesControllershows how to useIWorkspaceRepositoryand gets a list ofIWorkspace.WorkspaceViewershows how to extract information from anIWorkspace.DatasetControllershows how to useIWorkspaceand gets a list ofIDataset.DatasetViewershows how to extract information from anIDataset.VersionControllershows how to useIDatasetand gets a list ofIDatasetVersion.VersionViewershows how to extract information from anIDatasetVersion.ArtifactControllershows how to useIDatasetVersionand gets a list ofIArtifact.ArtifactViewershows how to extract information from anIArtifact.
Platform services script
The PlatformServices class initializes and disposes of the IWorkspaceRepository and its dependencies. The PlatformServices class exposes the provider through a property so any component that needs to retrieve workspace information can use this provider.
The PlatformServices class has two accompanying classes called PlatformServicesInitialization and PlatformServicesShutdown that call the initialization and shutdown methods through Unity's standard Monobehaviour methods Awake(), Start() and OnDestroy().
Login manager script
The LoginManager class is responsible for the user login. Refer to the Identity package and its samples for details about user authentication.
Troubleshooting
This section describes issues you might have while using the Workspaces and Scenes sample.
I have a missing dependency error message for com.digital-twins.identity
If you don't have the Identity package installed, you receive the following error in your console: error CS1029: #error: 'Missing dependency to com.unity.cloud.identity package.'
Use the Package Manager to add the Identity package to your project.
The automatic browser redirection doesn't work
If you run the sample in the Unity Editor, you should see the following page after you successfully login through your browser.
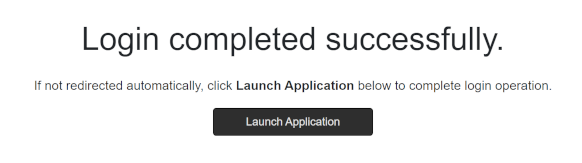
If you aren't automatically redirected to the Editor and nothing happens when you select Launch Application, return to the Editor. This should continue the authentication process.
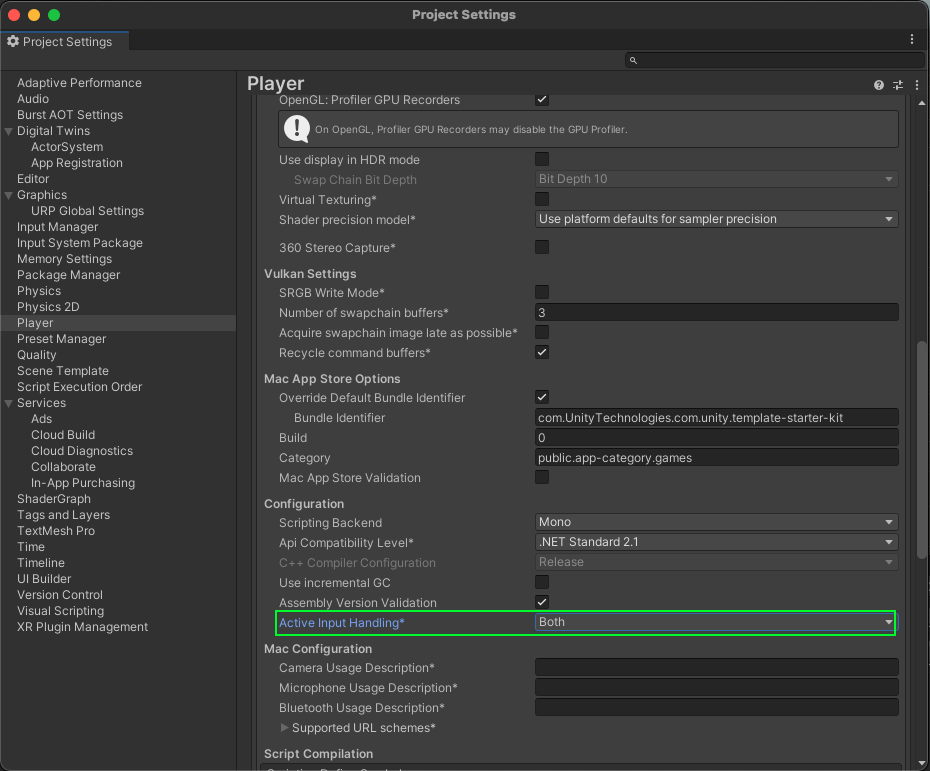
The mouse input isn't registered
This sample isn't created to run with the Input System package. If you're using this package in your project, your mouse selections may not be detected.
To fix this, set your project to support both the built-in input system and the Input System package: go to Edit > Project Settings > Player and set Active Input Handling to Both.