Sample: View avatars in Unity Cloud scenes
You can use this sample to control your avatar and view the avatars of other participants in a Unity Cloud scene.
Prerequisites
Before you use the this sample, you must have the following:
- Installed the Presence, Vivox, Identity, and Storage packages
- A valid Unity ID
- A Unity Cloud scene associated with your Unity ID
- Tried out the Monitor and Join Rooms to learn how to join rooms.
Note: While the Presence service doesn't depend on the Storage and Identity services directly, they are used in the sample to control the authentication flow.
Installation
To install the sample, see the following steps:
- Inside your Unity project window, go to Package Manager > Unity Cloud Presence.
- Expand the Samples section and select Import next to the Room Monitoring sample.
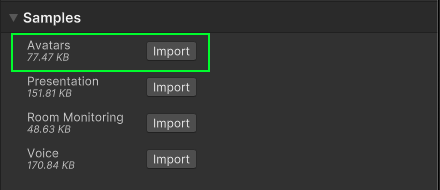
After the import process is complete, you can view your imported assets under the Assets/Samples/Unity Cloud Presence folder.
![]()
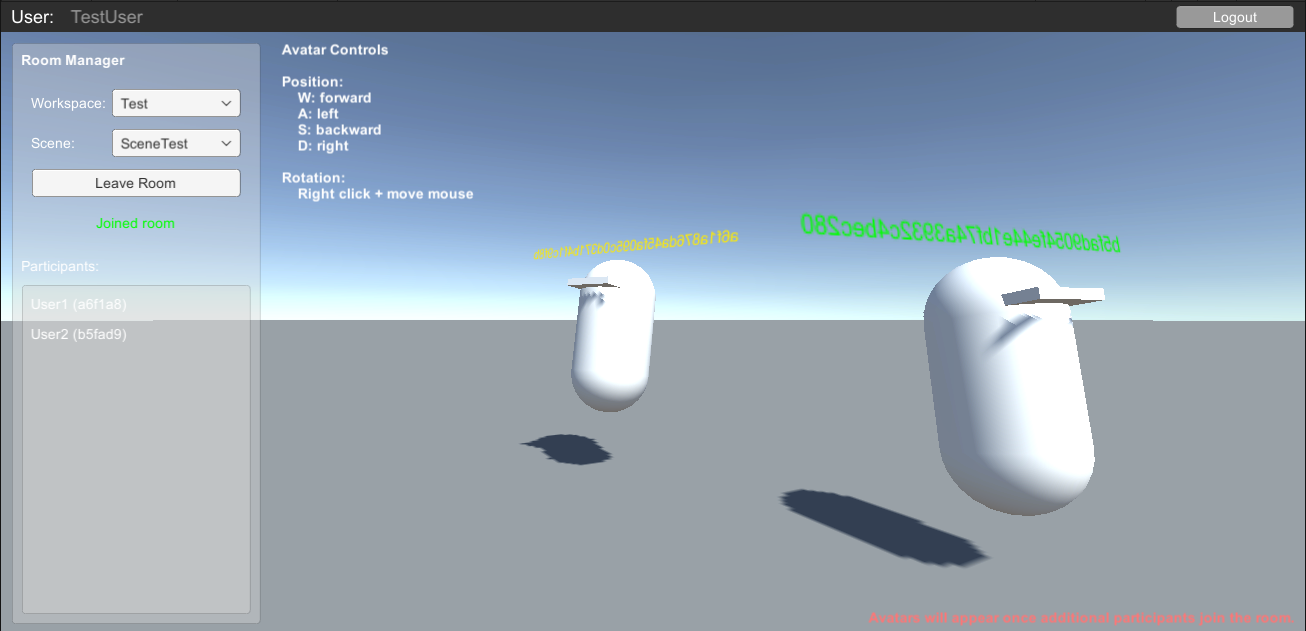
View avatars in Unity Cloud scenes
This sample shows you how to control your avatar and view the avatars of other participants in a scene.
For a better user experience, you can join a room from multiple clients. To join a room from multiple clients, see the following steps:
- Run the sample on two machines and join the same room
- Build the sample scene and run the build at the same time as the sample in the Editor
- Run the sample in two instances of the Unity Editor at the same time
Launch the sample
To launch the sample, see the following steps:
- Go to
Assets/Samples/Unity Cloud Presence/<package-version>/Avatars/Scenes/AvatarSample.unityand run the scene. If this is your first time launching the sample, make sure to sign in with your Unity ID account and that you have a Unity Cloud scene created. For more information on creating a Unity Cloud scene, see the Storage package documentation. - Select and join a room as demonstrated in the Monitor and Join Rooms sample.
View the avatars of other participants
At least two participants must have joined the room for you to view the avatars in a scene. The avatars populate when a second participant joins the room.
To view and move your avatar inside a scene, see the following steps:
- Join a room. Your avatar appears inside the scene the room is attached to.
- Use the controls listed on the screen to move your avatar. As other participants control their avatars, their avatars move on your screen.
Main components
This section describes the scripts that make up the main components of this sample.
Avatar manager script
The AvatarManager script interacts with the INetcodeService class to notify you when a new INetcodeParticipant is added or removed. Each INetcodeParticipant represents a participant for which a new avatar is instantiated or destroyed.
To open the AvatarManager sample script, go to your Assets/Samples/Unity Cloud Presence/<package-version>/Avatars/Scripts/AvatarManager.cs file.
Avatar script
The Avatar script shows you how to do the following:
- Perform simple movement actions for an avatar
- Send or receive transform information for the avatar via the
INetcodeParticipantclass
To open the Avatar sample script, go to your Assets/Samples/Unity Cloud Presence/<package-version>/Avatars/Scripts/Avatar.cs file.
Troubleshoot
The automatic browser redirection doesn't work
If you run the sample in the Unity Editor, you should see the following page after you successfully login through your browser.
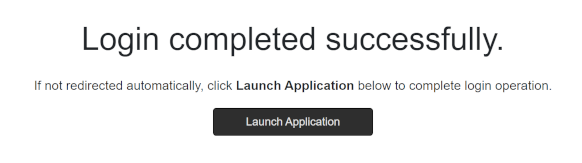
If you aren't automatically redirected to the Editor and nothing happens when you select Launch Application, return to the Editor. This should continue the authentication process.
Mouse input isn't registered
This sample isn't created to run with the Input System package. If you are using this package in your project, your mouse selections may not be detected.
To fix this, set your project to support both the built-in input system as well as the Input System package: go to Edit > Project Settings > Player and set Active Input Handling to Both.
