Sample: Monitor and join rooms in Unity Cloud scenes
You can use this sample to join a room and to monitor a room to get information about its participants.
Prerequisites
Before you use this sample, you must have the following:
- Installed the Presence, Vivox, Identity, and Storage packages
- A valid Unity ID
- A Unity Cloud scene associated with your Unity ID
Note: While the Presence service doesn't directly depend on the Storage and Identity services, they are used in this sample to control the authentication flow.
Installation
To install this sample, see the following steps:
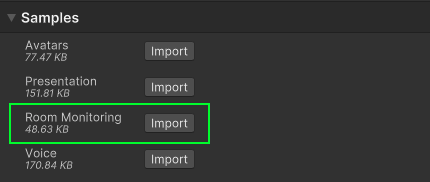
- Inside your Unity project window, go to Package Manager > Unity Cloud Presence.
- Expand the Samples section and select Import next to the Room Monitoring sample.
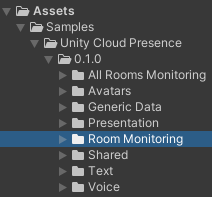
After the import process is complete, you can view your imported assets under the Assets/Samples/Unity Cloud Presence folder.
Manage rooms in Unity Cloud scenes
This sample shows you how to monitor, join, and leave rooms attached to Unity Cloud Unity scenes.
For a better user experience, you can join a room from multiple clients. To join a room from multiple clients, see the following steps:
- Run the sample on two machines and join the same room
- Build the sample scene and run the build at the same time as the sample in the Editor
- Run the sample in two instances of the Unity Editor at the same time
Launch the sample
To launch the sample, see the following steps:
- Go to
Assets/Samples/Unity Cloud Presence/<package-version>/Room Monitoring/Scenes/RoomMonitoringSample.unityand run the scene. If this is your first time launching the sample, make sure to sign in with your Unity ID account and that you have a Unity Cloud scene created. For more information on creating a Unity Cloud scene, see the Storage package documentation. - Select Launch Scene.
Monitor a room in the sample
To monitor a room in the sample, see the following steps:
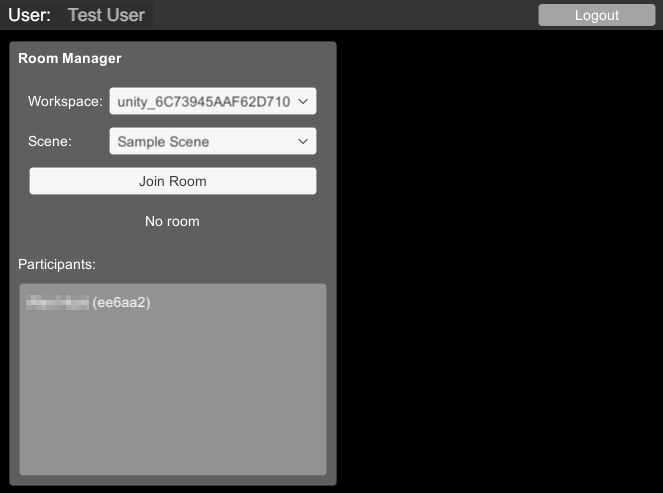
- Go to Room Manager and select a workspace in the first dropdown.
- In the second dropdown, select the scene you want to monitor.

- Go to the list of participants to see the participants currently in the room attached to the scene you selected.
Join and leave a room in the sample
To join and leave a room in the sample, see the following steps:
- To join a room, select a room and select Join Room. The list of participants in the room updates to include your participant.
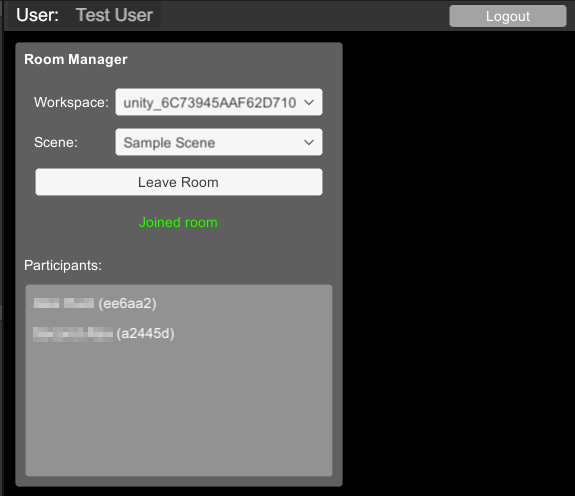
- To leave a room, select Leave Room. You can also automatically leave by selecting another scene.
Main components
This section describes the scripts that make up the main components of this sample.
Platform services script
The PlatformServices class initializes and disposes of dependencies required by the Presence samples. You can use this class to manage the Unity Cloud services and dependencies you use in your application.
To open the platform services script, go to your Assets/Samples/Unity Cloud Presence/<package-version>/Shared/Scripts/Services/PlatformServices.cs file.
The PlatformServices class has two accompanying classes called PlatformServicesInitialization and PlatformServicesShutdown that call the initialization and shutdown methods through Unity's standard Monobehaviour methods Awake(), Start() and OnDestroy().
Login manager script
The LoginManager class manages the login flow for signing in with your Unity ID. For more information on authentication, see the Identity package documentation.
To open the login manager script, go to your Assets/Samples/Unity Cloud Presence/<package-version>/Shared/Scripts/Login/LoginManager.cs file.
Room manager script
The RoomManager script shows you how to do the following:
- Retrieve the Unity Cloud workspaces and scenes associated with your Unity ID
- Get a
Roomfrom aRoomProvider - Monitor and join a selected room
To open the RoomManager sample script, go to your Assets/Samples/Unity Cloud Presence/<package-version>/Shared/Scripts/RoomManager/RoomManager.cs file.
Go further
This section describes other actions you can perform with this sample.
Monitor multiple rooms
You can create a lobby to monitor and view participants in multiple rooms at the same time without joining them.
Troubleshoot
The automatic browser redirection doesn't work
If you run the sample in the Unity Editor, you should see the following page after you successfully login through your browser.
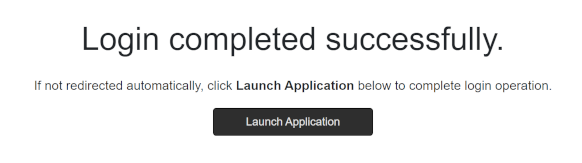
If you aren't automatically redirected to the Editor and nothing happens when you select Launch Application, return to the Editor. This should continue the authentication process.
Mouse input isn't registered
This sample isn't created to run with the Input System package. If you are using this package in your project, your mouse selections may not be detected.
To fix this, set your project to support both the built-in input system as well as the Input System package: go to Edit > Project Settings > Player and set Active Input Handling to Both.
