Add assets to groups
Create groups, add and remove assets from groups, and manage group organization using the Addressables Groups window.
To manage groups and Addressables assets, open the Addressables Groups window by going to Window >Asset Management > Addressables > Groups. Refer to Addressables Groups window for details about the features of this window.
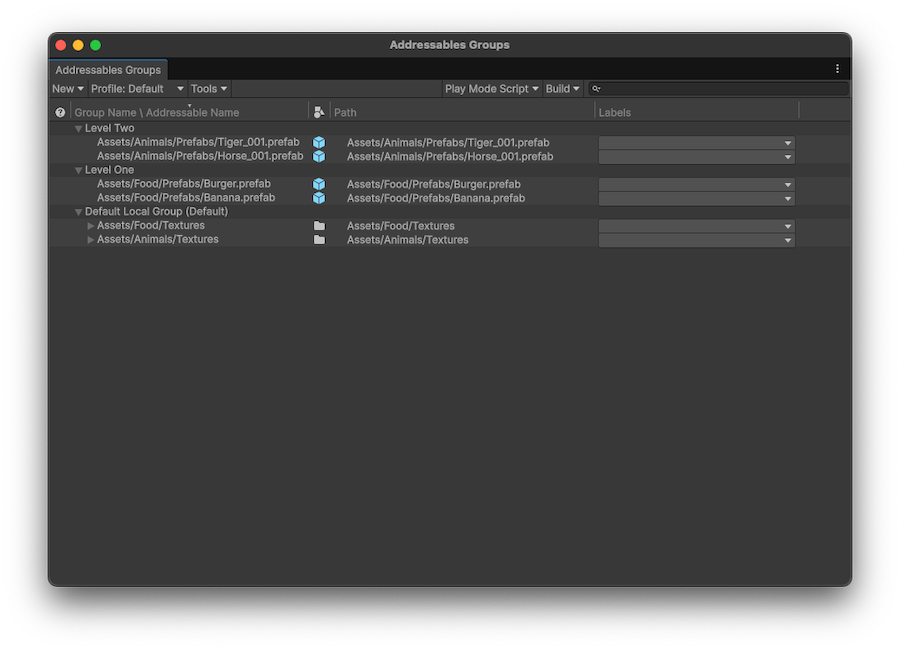
The Addressables Groups window showing the toolbar and list of groups and assets.
Create a group
To create a group:
- Open the Addressables Groups window: Window > Asset Management > Addressables > Groups
- Select New > Packed Asset, or right-click in the window and select Create New Group to create a new group. You can alternatively select a custom group template, if any are available.
- Right click the new group and select Rename to rename the group.
- Open the context menu again and select Inspect Group Settings. Alternatively, you can select the group from the
AssetGroupsfolder in the project. - In the Inspector, adjust the group settings as desired.
For groups that contain assets that you plan to distribute with your main application, you can use the default settings.
Groups for remote distribution
For groups containing assets that you plan to distribute remotely, you must change the build and load paths to use the remote versions of the profile path variables. To build AssetBundles for remote distribution, you must also enable the Build Remote Catalog option in the Addressable System Settings.
Add assets to a group
To add an asset to a group, perform one of the following steps:
- Open the Groups window (Window > Asset Management > Addressables > Groups) and drag the assets from the Project window into the desired group.
- Drag the assets from one group into another.
- Select an asset, or a folder, and in its Inspector window, enable the Addressables option. This adds the asset, or the contents of the folder to the default group. You can then use the object picker to select a different group.
Note
If you add assets in a Resources folder to a group, the Addressables system first moves the assets to a non-Resource location. You can move the assets elsewhere, but you can't store Addressable assets in a Resources folder in your project.
Remove assets from a group
Select one or more assets in the Groups window and right-click to open the context menu, then select Remove Addressables. You can also select the assets and press the Delete key to remove the assets from the group.
Add or remove labels
Select one or more assets in the Groups window, then select the label field for one of the selected assets.
To assign labels, enable or disable the checkboxes for the desired labels.
To add, remove or rename your labels, select the + button, then select Manage Labels. To only add a new label, select the + button and then select New Label. For more information on how to use labels, refer to Labelling assets.