Setting Up A Clustered Scene
Using these tools are optional if you already have a scene that knows which camera configuration to use.
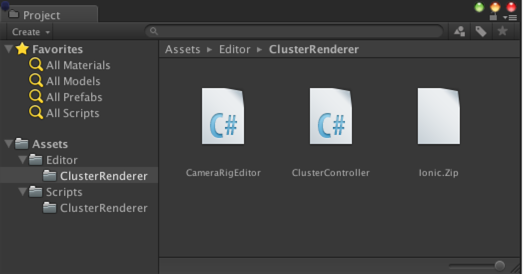
Importing The Editor Tools
Import the clustertools.package into your project. You should see something like this:
Using The Tools To Setup The Cameras
Power Wall
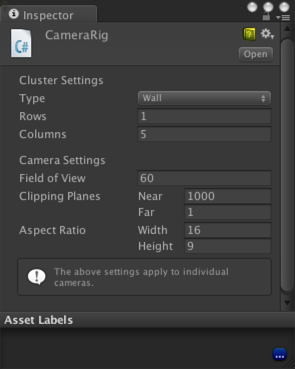
Create a “Camera Rig” asset by clicking on Assets>Create>Camera Rig.
Click on the new asset and observe its properties in the Inspector.
Edit the properties as you see fit.
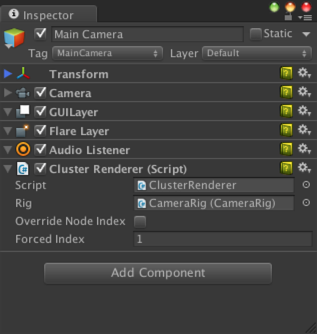
Attach the “ClusterRenderer.cs” script to the MainCamera. From the inspector, assign the asset created at step 1 to the “Rig” property. For testing purposes ONLY, you may check Override Node Index and manually enter an index. You may render this camera to a RenderTexture to check its view.
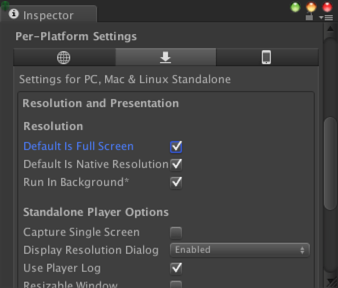
Edit the Player Settings from the Build Settings dialog. You can adjust the screen resolution and fullscreen/windowed as desired but you must check “Run In Background”.
Build the player.
Cave
Use the same steps as for the Power Wall but set the CameraRig’s Type property to “Cave”