Build your WebGL application
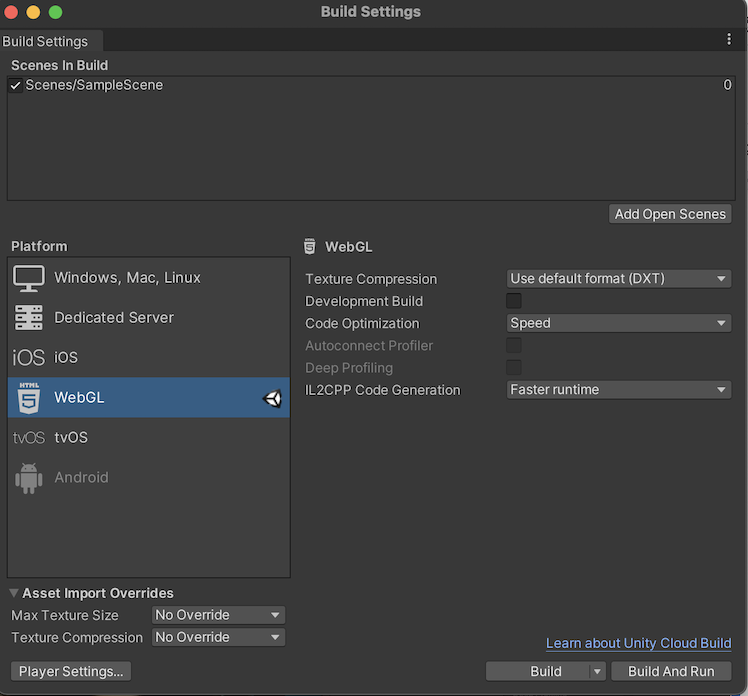
To create a build for WebGL, go to File > Build Settings from Unity’s main menu. In the Platform list, select WebGL and then click Switch Platform. For Build Settings, refer to WebGL Build Settings.
When you have configured the Build Settings, choose from the following two options:
- Build builds your application into a Player.
- Build and Run builds your application in a Player, and opens that Player on your target platform.
Build folder structure
The Build folder has the following files, where [ExampleBuild] represents the name of the target build folder.
| File name | Contains |
|---|---|
[ExampleBuild].loader.js |
The JavaScript code that the web page needs to load the Unity content. |
[ExampleBuild].framework.js |
JavaScript runtime and plug-insA set of code created outside of Unity that creates functionality in Unity. There are two kinds of plug-ins you can use in Unity: Managed plug-ins (managed .NET assemblies created with tools like Visual Studio) and Native plug-ins (platform-specific native code libraries). More info See in Glossary. |
[ExampleBuild].wasm |
WebAssembly binary. |
[ExampleBuild].mem |
A binary image to initialize the heap memory for your Player. Unity only generates this file for multithreaded WebAssembly builds. |
[ExampleBuild].data |
Asset data and ScenesA Scene contains the environments and menus of your game. Think of each unique Scene file as a unique level. In each Scene, you place your environments, obstacles, and decorations, essentially designing and building your game in pieces. More info See in Glossary. |
[ExampleBuild].symbols.json |
Debug symbol names necessary to troubleshoot an error stack trace. This file is only generated for Release builds when you enable the Debug Symbols option (File > Build Settings > Player Settings.) |
[ExampleBuild].jpg |
A background image, which displays while the build is loading. This file is only generated when a Background Image is available in Player Settings (File > Build Settings > Player Settings > Splash Image). For more information, refer to Splash Screen. |
If you enable a CompressionA method of storing data that reduces the amount of storage space it requires. See Texture Compression, Animation Compression, Audio Compression, Build Compression.
See in Glossary Method for your build, Unity identifies the extension that corresponds with the compression method and adds this extension to the names of the files inside the Build sub folder. If you enable Decompression Fallback, Unity appends the extension .unityweb to the build file names. Otherwise, Unity appends the extension .gz for the Gzip compression method, or .br for the Brotli compression method.
For more information, refer to Compressed builds and server configuration.
If you enable Name Files As Hashes in the Player SettingsSettings that let you set various player-specific options for the final game built by Unity. More info
See in Glossary, Unity uses the hash of the file content for each file in the build folder instead of the default file name. The Name File as Hashes option lets you upload updated versions of the game builds into the same folder on the server, and only upload the files which have changed between build iterations.
Note: If you open a Player directly from the file system, it might not work in some browsers due to security restrictions applied to local file URLs.
Deep profiling support
Enable the Deep Profiling Support setting to make the Unity ProfilerA window that helps you to optimize your game. It shows how much time is spent in the various areas of your game. For example, it can report the percentage of time spent rendering, animating, or in your game logic. More info
See in Glossary profile every function call in your application. For more information, refer to the documentation on Deep Profiling.
Enable exceptions
-
Open Publishing Settings to access Enable Exceptions, which help you specify how to handle unexpected code behavior (such as errors) at runtime. following options are available:
- None: Select this if you don’t need any exception support. This gives the best performance and smallest builds. With this option, any exception thrown causes your content to stop with an error in that setting.
-
Explicitly Thrown Exceptions Only (default): Select this to capture exceptions that are explicitly specified from a
throwstatement in your scriptsA piece of code that allows you to create your own Components, trigger game events, modify Component properties over time and respond to user input in any way you like. More info
See in Glossary and to also ensurefinallyblocks are called. Note: This option makes the generated JavaScript code from your scripts longer and slower; however, it might only be an issue if scripts are the main bottleneck in your project. -
Full Without Stacktrace: Select this option to capture:
- Exceptions which are explicitly specified from
throwstatements in your scripts (the same as in the Explicitly Thrown Exceptions Only option) - Null References
- Out of Bounds Array accesses
- Exceptions which are explicitly specified from
- Full With Stacktrace: This option is similar to the option above but it also captures Stack traces. Unity generates these exceptions by embedding checks for them in the code, so this option decreases performance and increases browser memory usage. Only use this for debugging, and always test in a 64-bit browser.
Select Publishing Settings to access Data Caching.
Data caching
This enables the browser to cache the main data files into the IndexedDB database. To access Data Caching, go to Publishing Settings via File > Build Settings > Player Settings > WebGL.
Using the default browser HTTP cache doesn’t guarantee that the browser caches a particular response. This is because the browser HTTP cache has limited space, and the browser might not be able to cache large files.
To improve your loading speed, IndexedDB allows you to cache files above the browser limit. When you cache more files, you increase the chance that downloaded content is available on the user’s machine during the next run of the build.
Data Caching caches the .data files in the IndexedDB cache for HTTP responses. To cache AssetBundles, you need to enable Data Caching and override unityInstance.Module.cacheControl().
To do this, make sure Module.cacheControl(url) returns must-revalidate for the requested AssetBundle URL. For example, you can override the unityInstance.Module.cacheControl() function in the fulfillment callback of the Promise that createUnityInstance() returns.
For information on createUnityInstance(), refer to Compressed builds and server configuration.