Data Binding Graph
The Data Binding Graph is at the core of the HMI package. It provides a node-based way to connect data sources / events to components that should receive or react to data.
You set up your data flow, including logic from left to right. This usually starts with inputs/Stores/events on the left side. Then processing logic is added and bound to some HMI Components or Actions on the right side (more on Stores and actions in the next sections).
Create HMI Component
HMI Components are our special union of a Prefab and our Data Binding Graph and are the basic building blocks for creating (and reusing) data-driven and interactive visual components. An HMI Component is a Prefab which has a Data Binding Graph attached to it.
To create an HMI component:
- In the Project Panel, select + > > HMIComponent creates an HMI Component.
- Double-click on the Prefab or the Data Binding Graph to open the HMI Component.
Convert a Prefab to an HMI Component
Project
To convert a Prefab to an HMI Component, right-click and select Convert > Prefab to HMI Component.
Hierarchy
In the hierarchy you can convert Prefabs via RightClick/HMI/Convert Prefab to HMI Component. This will add a Data Binding Graph to the Prefab and save it next to the Prefab you convert. In the Hierarchy, the Prefab you want to convert needs to be a Root Prefab. If you want to convert nested Prefabs you have to enter Prefab Mode and convert the Prefab there.
You can also convert GameObjects directly to HMI Components via RightClick/HMI/Convert GameObject to HMIComponent. This will pop up a save dialogue to specify the save location.
Use the Data Binding Graph
Menu Bar

Plus: Create a new HMI Component
Save: Save the current Data Binding Graph
Blackboard: Open the Blackboard Panel for specifying Inputs
Frame All: Frame all nodes in the graph (also hotkey “a” in the Graph window)
Frame Origin: Jump to the center of the graph (also hotkey “o” in the Graph window)
Show All Files: Clear Search filter in the Project
Show Graphs: Sets a Search filter in the Project window to show Graphs
Show Stores: Sets a Search filter in the Project window to show Stores
Create new Store: Opens the Data Builder
Preview: Enable this during edit mode to see changes from the graph in real-time
Breadcrumb: The graph that currently is open
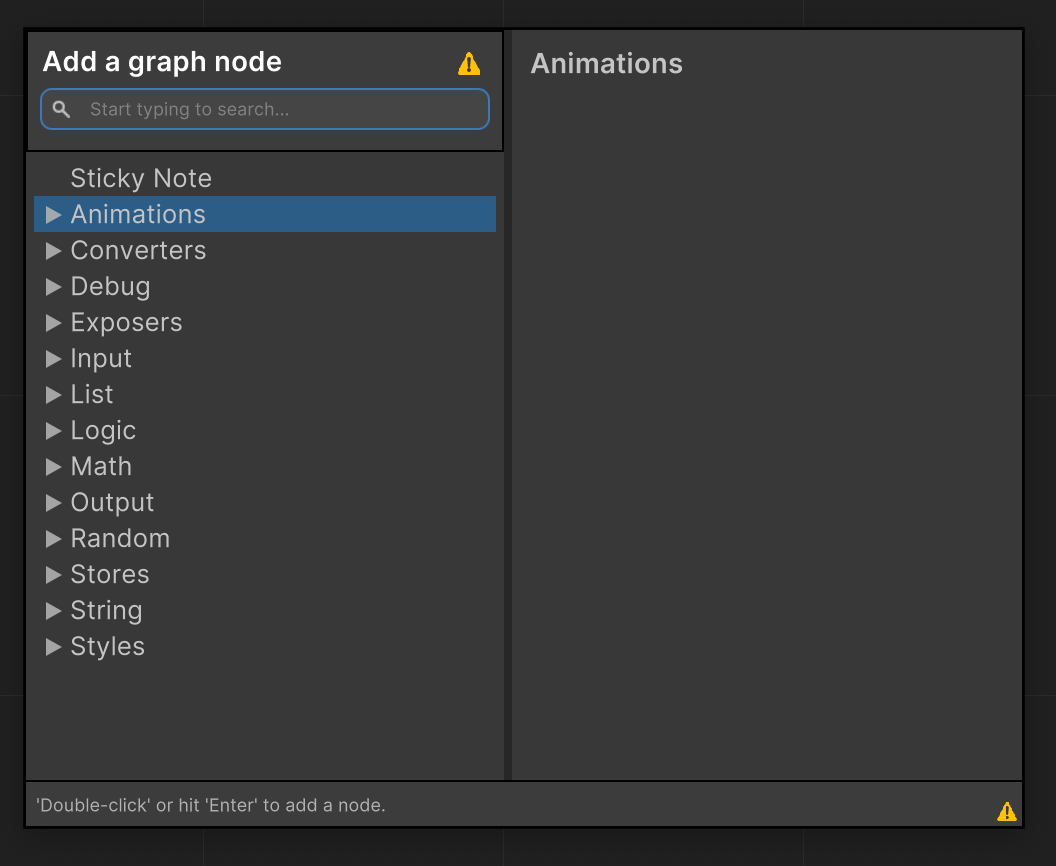
Searcher
By hitting the spacebar in the Data Binding Graph (or Mouse Right Click -> Create Node), you will get an overview of all the available nodes.
Selecting one of the nodes will place it in the graph.
Drag and Drop
You can drag and drop child GameObjects from the Prefab into the Data Binding Graph to bind to values.
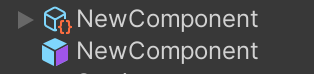
An icon beside the GameObject indicates that it's available in the graph. Clicking this icon will focus and highlight the corresponding node.
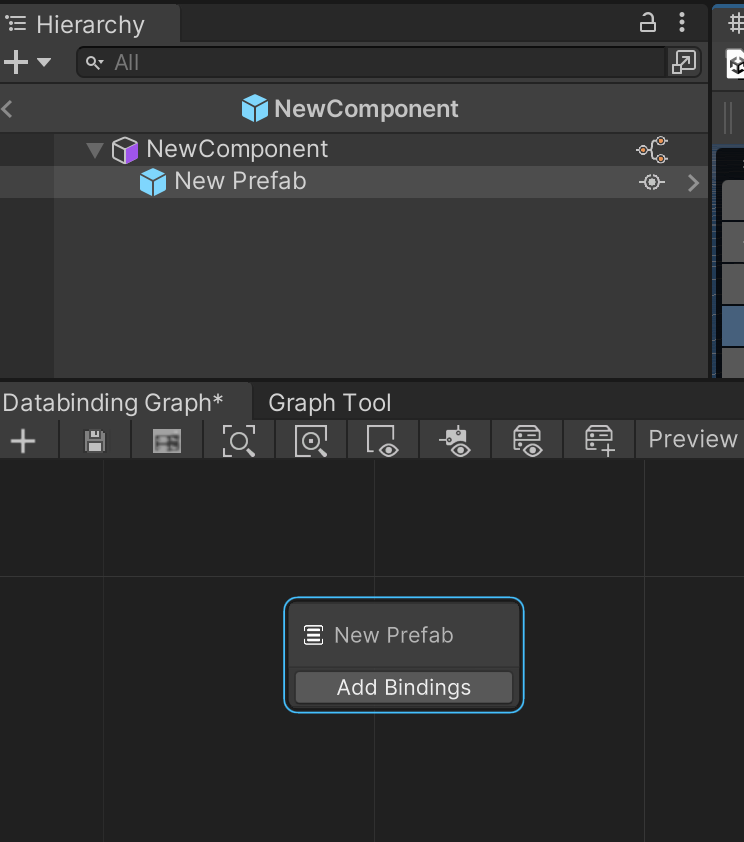
Binding Node
The Binding Node (any GameObject dragged into the graph will automatically create a Binding Node) allows you to bind to fields of the components on the GameObject.
Select Add Bindings to see the available Options.
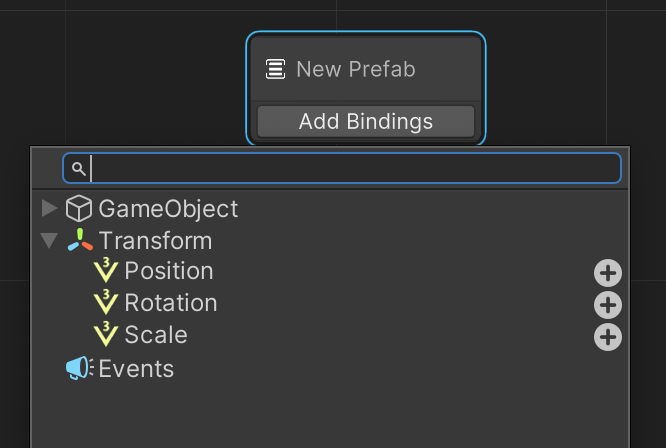
Press the add button (+) to expose this property in the graph.
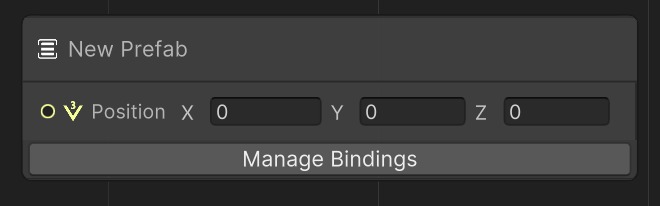
To remove the binding, select Manage Bindings and remove the property with the Remove button (−).
Data Binding Graph Blackboard
The Blackboard can define input variables for the HMI Component.
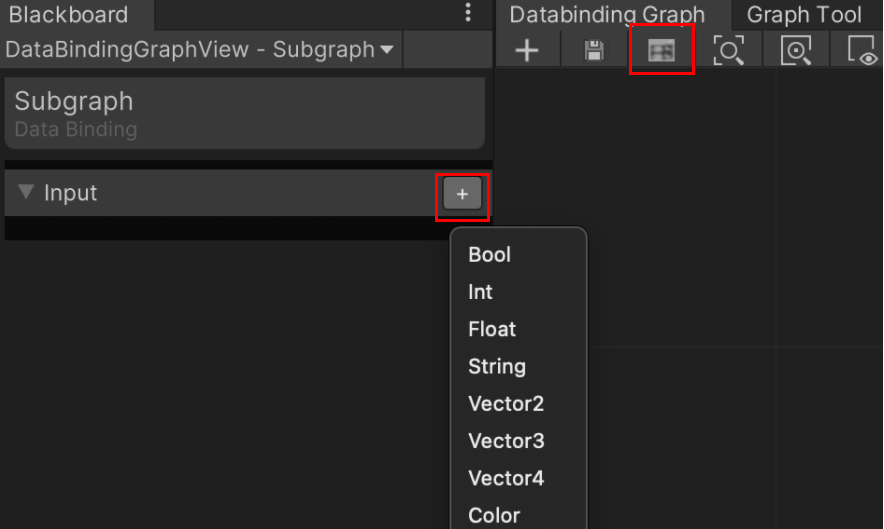
You can open the Blackboard via the Blackboard button in the Menu Bar.
Hit the Add button (+) to add some Input value.
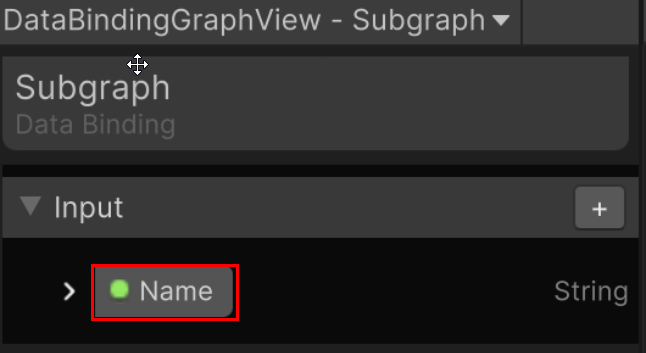
You can edit the name of the variable by double clicking or right click > edit, so it gives a proper description of the type of input it is.
Selecting an HMI Component will then expose those variables in the Inspector.
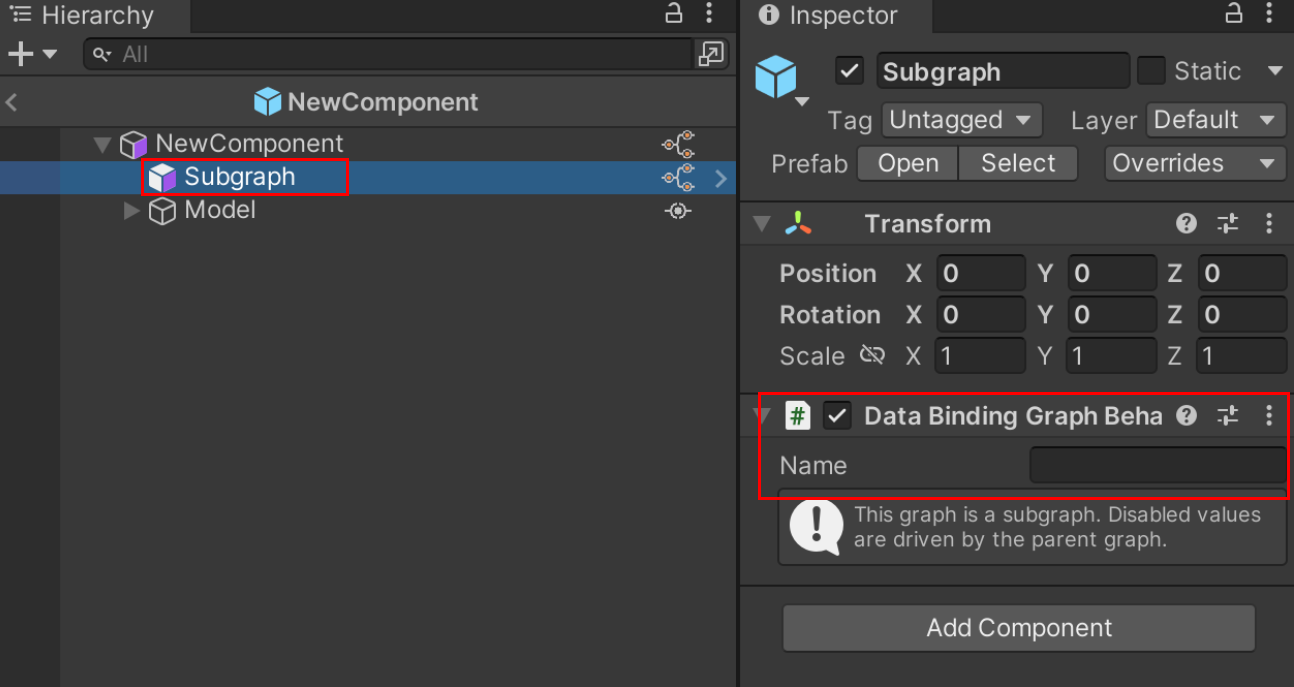
You can set the value through the Inspector directly, or you can use the HMI Component in a ‘parent’ HMI Component to bind values via the Data Binding Graph.
If the value is bound via a ‘parent’ graph the field will be disabled in the Inspector.
Subgraph Node
A Subgraph Node is just another Data Binding Graph that exposes values that can be bound to via a ‘parent’ graph.
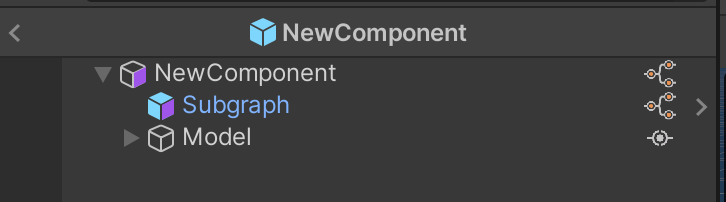
As with usual Unity Prefabs you can nest them in the Prefab view. Placing an HMI Component inside another HMI Component is a valid approach.You can then drag the HMI Component into the Data Binding Graph to access its exposed values and drive them from the outer graph. Nesting logic into HMI Components makes a lot of sense to reuse components and only expose the variables that should be driven from outside.

|

|
You can only drop graphs that are one level down from the current HMI Component.
In the example above, AnotherHMIComponent can only be dropped into the Subgraph HMI Component.