Make a custom render mode
Work with a script to edit render modes or create your own. Get started with the file structure and a custom example.
Refer to Render modes for information about the built-in render modes.
Structure
Each render mode is basically a piece of the shader used when rendering. These are all stored in
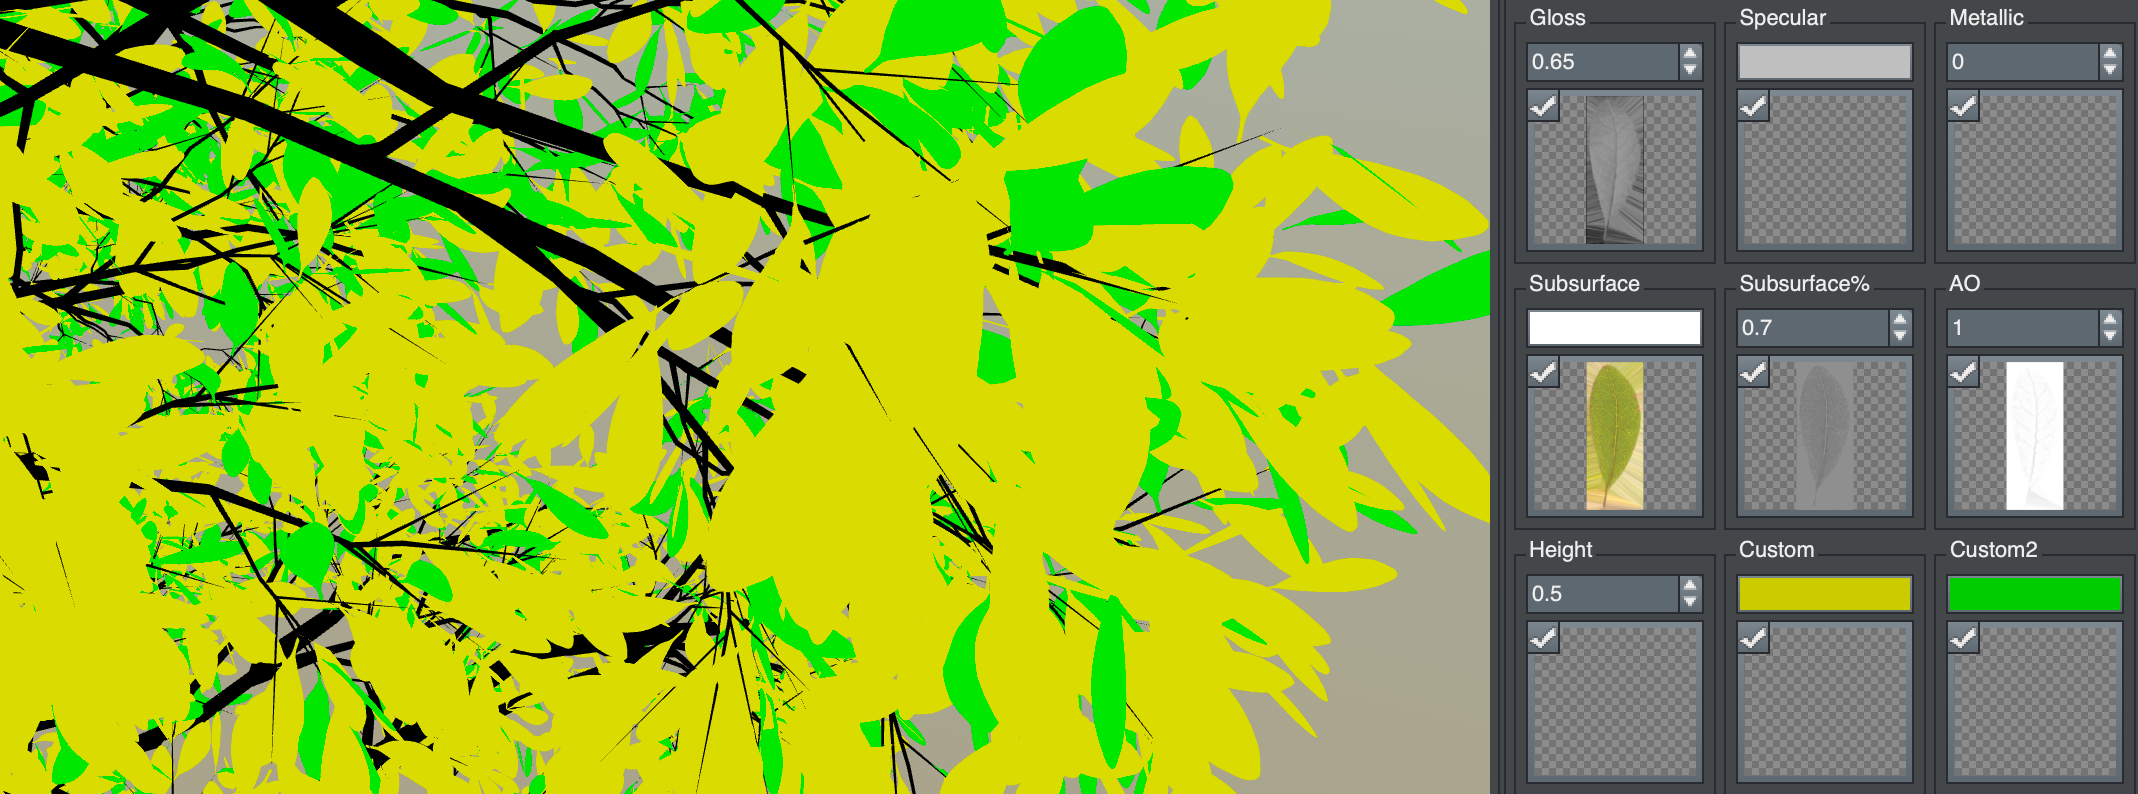
At the top of the file, you have the option of defining one or more of the following options, depending on what you need to do in the render mode. By default, the background is controlled by the tree window settings and tonemapping and conversion to sRGB color space is done. You may override any of these. Each file contains a single function definition that takes a SRenderModeInput as input, which describes everything about the material and lighting environment, plus includes some extra information about the geometry. The function also must completely fill out a SRenderModeOutput to return. As an example of what you can do with a render mode, this one will render the front of a leaf with the Custom map channel and the back with the Custom2 map channel set up in the material, while also maintaining the opacity. This shader function should be saved into a file with the .fx extension somewhere in the render_mode directory and then chosen in the tree window. And this will be the result: #define OVERRIDE_BACKGROUND float3(1.0, 1.0, 1.0)
#define DISABLE_TONEMAPPING
#define DISABLE_SRGB
  struct SRenderModeInput
  {
      // material values
      float3        m_vColor;
      float     m_fOpacity;
      float3        m_vNormal;
      float     m_fGloss;
      float3        m_vSpecularColor;
      float     m_fMetallic;
      float3        m_vSubsurfaceColor;
      float     m_fSubsurfaceAmount;
      float     m_fAmbientOcclusion;
      float     m_fHeight;
      float3        m_vCustom;
      float3        m_vCustom2;

      bool      m_bTwoSided;

      // lighting info
      float3        m_vLightDirection;
      float3        m_vLightColor;
      float     m_fShadow;

      // camera info
      float3        m_vCameraPosition;
      float3        m_vCameraDirection;
      float4x4          m_mInverseWorldView;

      // vertex info (interpolated)
      float3        m_vVertexPosition;
      float3        m_vVertexNormal;
      float3        m_vVertexBinormal;
      float3        m_vVertexTangent;
      float2        m_vVertexUV;
      float4        m_vVertexColor;
      float4        m_vWind;
      float     m_fWindRipple;

      // extra
      float     m_fScreenDepth;
      bool      m_bFrontFace;
  };
  struct SRenderModeOutput
  {
      float3        m_vColor;
      float     m_fOpacity;
  };
Custom example
  SRenderModeOutput RenderMode(SRenderModeInput sInput)
  {
      SRenderModeOutput sOutput;

      if (sInput.m_bFrontFace)
      {
          sOutput.m_vColor = sInput.m_vCustom;
      }
      else
      {
          sOutput.m_vColor = sInput.m_vCustom2;
      }

      sOutput.m_fOpacity = sInput.m_fOpacity;
      return sOutput;
  }