Lightmap UVs

In order to use static lighting (e.g., Lightmass in UE4) you must compute a set of unwrapped UV coordinates for the model. This UV mapping is referred to as the lightmap for the model. Getting a good lightmap is one part science and one part art. The following steps detail how to go about computing lightmap UV mapping in SpeedTree.

Step 1: Switch to lightmap density rendering mode
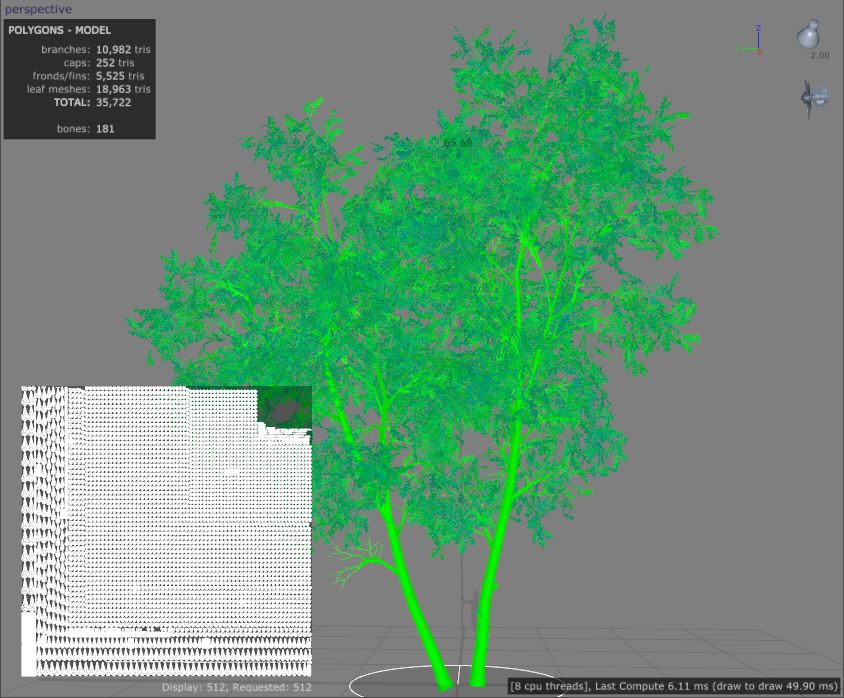
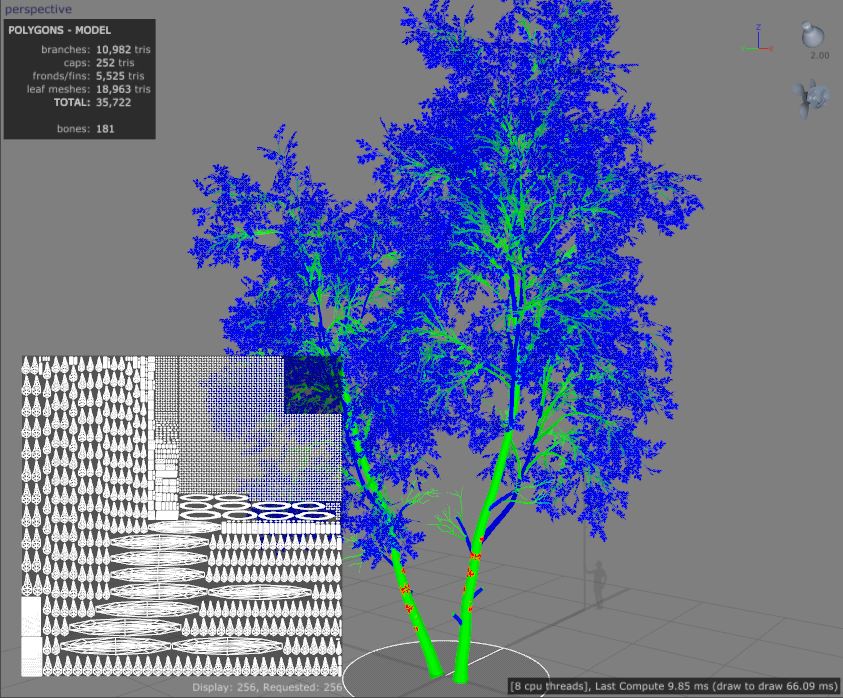
Using the "Render" toolbar button switch the rendering mode to "Lightmap". Your display should look like the one in the image below.

This visualization shows how well your lightmap resolution is distributed across your model ("Show→Lightmap"). Green sections of the model represent ideal density. Blue indicates that the lightmap resolution is too low and may show artifacts when the lightmap is built in UE4. Red indicates the lightmap resolution is too high and is being wasted on that geometry.
The lightmap itself is rendered in the lower left-hand corner. Select a part of the model to see where it is represented in the lightmap. You can also select triangles in the lightmap to see which part of the model they come from. You want to use as much of the lightmap as possible, with big sections of the model getting big sections of the lightmap. More on how to achieve that later.
Note
You can change how large the lightmap is rendered in the viewport by editing the corresponding property in the "Window properties".
Step 2: Pick a lightmap resolution
The resolution of the lightmap is dependent on your project's requirements and the complexity of the tree. The goal is to use the lowest possible lightmap resolution that gives you adequate coverage given the model's placement in your scene.
Set the target lightmap resolution by selecting the “Tree” generator and editing the “Lightmap:Target Resolution” property. It may be possible that the model is too complex to fit in the resolution you've chosen. If so, you'll get a warning in the output window and the resolution will be bumped to the smallest resolution that will give each node in the model at least one texel in the lightmap while maintaining the one texel border necessary to prevent rendering artifacts.
The property “Lightmap:Display multiplier” will show the lightmap density for resolutions the same or larger than the target resolution. Use this option to pack the UVs into a smaller resolution map and preview what larger resolution maps would look like with that packing. This approach allows you to pack the lightmap UVs into a small space (as may be required for applications such as painted instances) and still experiment with higher resolutions.
Step 3: Tune the lightmap
Once you've picked a resolution the next step is to tune how the lightmap is distributed across the model to make sure the parts of the model that need the most density have it. In general, you'll want the most density in the trunk, low branches, and roots. This is the area most often seen by the player and the most prone to obvious artifacts if the density is too low. Leaves often have to have a comparatively low density to fit the model in a reasonably small lightmap.
Use a combination of the following tools to tune the lightmap density distribution:
Reset. Select "Tools→Reset lightmap" to set all lightmap scalars to 1.0 except the leaves. They are set to 0.0 so that each leaf gets exactly one texel and no more to start with (we'll up that later).
Material Scales. Each material has a property called "Unwrap scale". Increase or decrease this value to change the relative size of each piece of geometry that uses this material (very useful for caps).
Generator/Node Scales. Each Generator/Nodes combination that can house geometry has a "Lightmap:Weight" property. Change this value to change the size of the selected object's space in the lightmap. The distribution curve on branches can be used to shift the distribution of lightmap space on the object itself (without changing the actual lightmap area used). This curve is used to counteract the fact that branch lightmap density naturally increases near the tip as the geometry narrows but uses the same texture space.
Lightmap Resolution. If you just can't make it work well in the resolution you've selected, you may need to bump it up by selecting a higher resolution as you did in Step 2. The layout will drastically change so you may need to do a reset and start over if it comes to this.
Note
You can go into node editing mode and scale up individual branches, fronds, and leaves to tackle particularly troublesome areas.Best Practice: Keep the leaves at zero until the branches are good. Then scale up the leaves to fill in all of the empty space.
Our algorithm aggressively tries to fit everything in the resolution you've selected. If you scale once component up so large that not everything will fit, the algorithm will adjust and change sizes to make it fit. If this happens you may suddenly lose density where it was fine before. This effect can be counteracted by lowering the scale you just edited to get it back in range.