Hand draw a branch
Follow these steps to get started with hand drawing.
- Make a new scene using the Blank tree template.
- In Freehand Mode, go to the Properties window and select Hand Draw.
Hold the space bar and click anywhere on the tree node disk to place a stub. Your scene should look like the following image at this point. Notice the hand drawing indicator on the new generator.
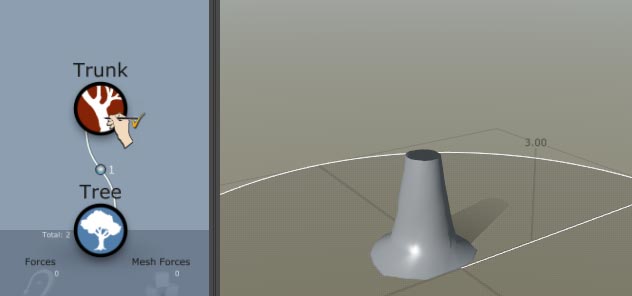
Hold the space bar and hover over the stub. A white diamond should appear at the end like this:
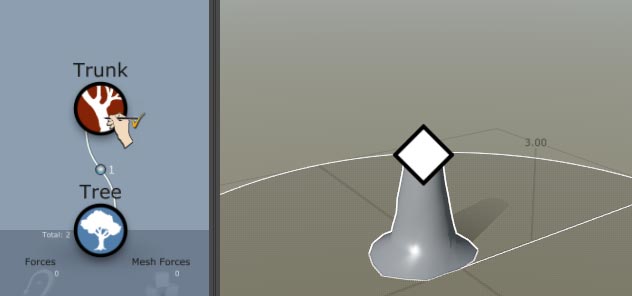
While holding the space bar, click and drag the diamond to draw the branch. Release the left mouse button to complete the action.
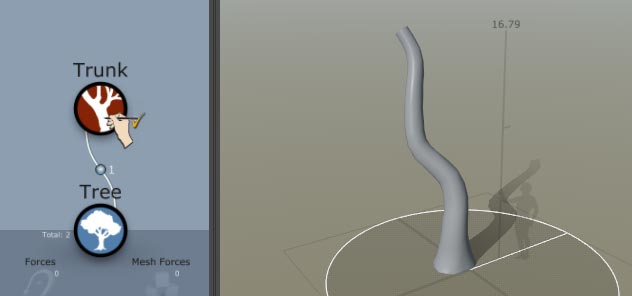
Hold the space bar again and click the trunk in several places to create new stubs. Feel free to rotate the camera around the model to get the stubs where you want them. The stubs start where you click and point toward the camera. Notice that a new generator is made to house these stubs, again with the hand drawing icon.
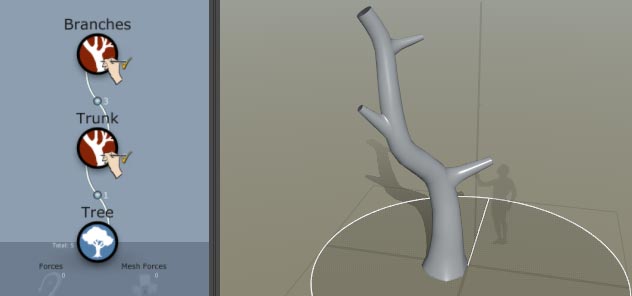
As before, hold the space bar and hover over any stub or hand-drawn branch to reveal the white diamond. Click and drag each diamond while holding the space bar to draw the branches.
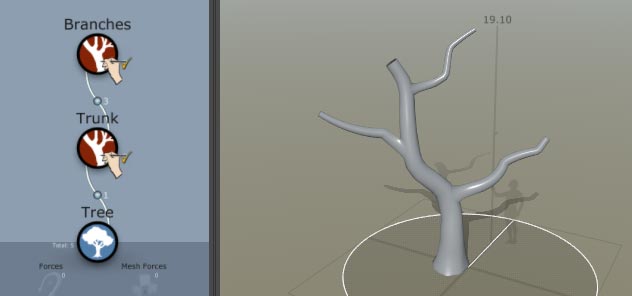
Right-click the Branches generator and select Add geometry to selected > Branches > Bifurcating to add some procedural geometry to the model.
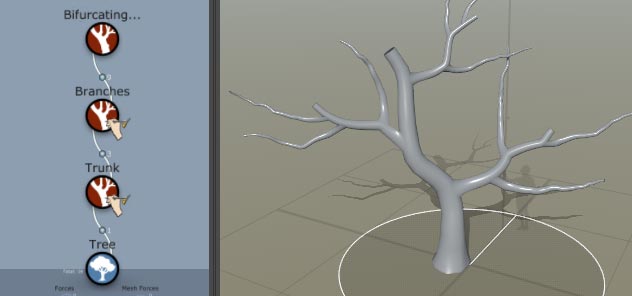
Continue by adding more stubs to the ground or any branches (hand drawn or procedural). You can draw part of the stub, rotate the camera, and continue drawing it to change the direction of the branch.