Android용 Gradle
Gradle is an Android build system which automates a number of build processes. This automation means that many common build errors are less likely to occur. Most notably in Unity, it reduces the method reference count in the DEX (Dalvik Executable format) files, meaning that you are less likely to come across DEX limit problems. However, due to the differences between Gradle and the default Unity Android build system, some existing projects may be hard to convert to Gradle.
Unity 에디터에서 Gradle 빌드 시스템을 사용하여 패키지(APK)를 빌드하거나 Gradle 프로젝트를 익스포트한 후 Android Studio와 같은 외부 도구에서 빌드할 수 있습니다.
자세한 내용은 Android 빌드용 Gradle 시작에서 Gradle의 리소스를 참조하십시오.
Android용 Gradle을 이용한 빌드
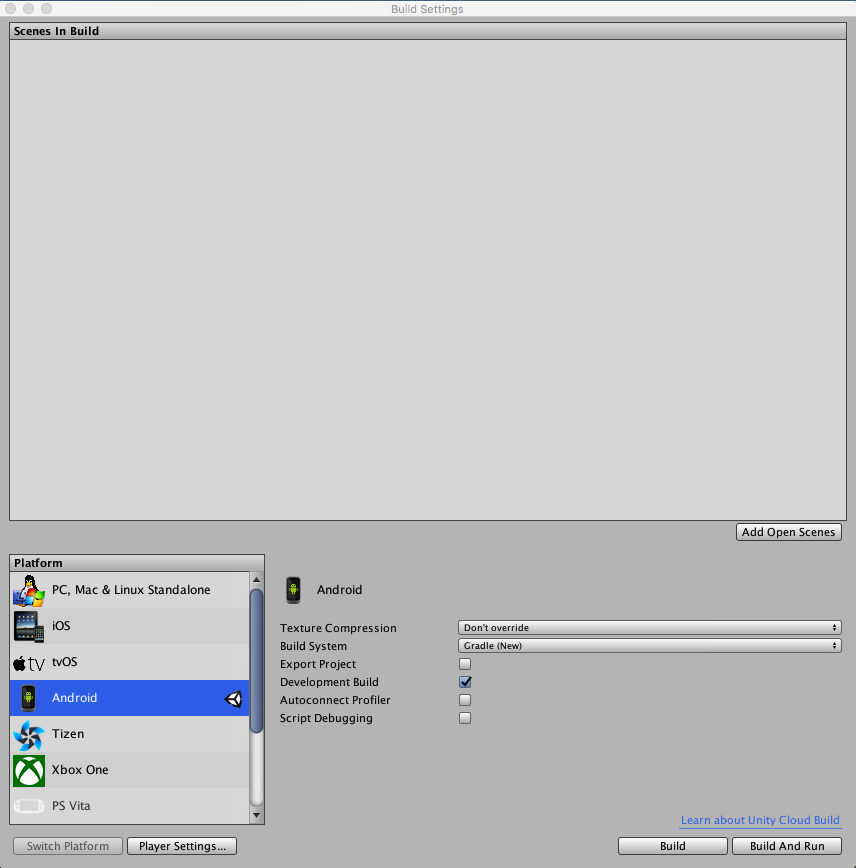
Unity 에디터에서 Gradle을 사용하여 Android 빌드를 빌드하는 방법은 다음과 같습니다.
- Unity 에디터에서 빌드 설정 창을 엽니다(메뉴: File > Build Settings…)
- Platform 목록에서 Android 를 선택합니다.
- Build System 드롭다운에서 Gradle (new) 를 선택한 후 Build 를 클릭합니다.
Gradle 프로젝트 익스포트
Gradle 프로젝트를 익스포트하려면 위의 지침을 따르고, 빌드 창에서 Export Project 옵션을 선택해야 Build 를 클릭할 수 있습니다. Build 를 클릭하면 Unity 에디터가 APK를 작성하지 않고 지정된 디렉토리에서 Gradle 프로젝트를 생성합니다. 프로젝트를 Android Studio로 임포트하면 추가 수정을 하거나 빌드 프로세스를 완전히 제어할 수 있습니다.
패키지(APK) 빌드에 대한 자세한 내용은 Android Studio 빌드 구성 관련 문서를 참조하십시오.
커스텀 build.gradle 템플릿 제공
To use your own build.gradle file when building the APK from Unity, import your build.gradle file to Assets/Plugins/Android/mainTemplate.gradle. Note that the file may use some template variables like TARGETSDKVERSION. See the default mainTemplate.gradle file in the Unity installation for an example file.
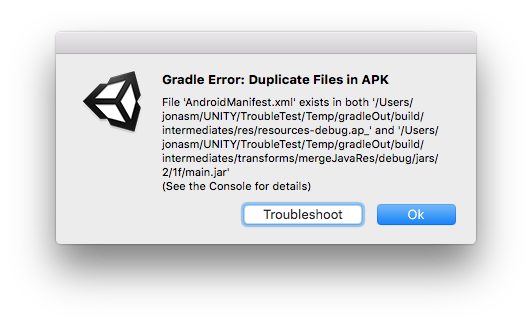
Gradle로 빌드할 때 발생하는 오류
Gradle을 사용하여 Android용으로 빌드할 때 오류가 발생하면 Unity 에디터는 오류 다이얼로그를 표시합니다. 시스템 브라우저에서 Troubleshoot 를 클릭하면 Gradle 문제 해결 Unity 문서를 참조할 수 있습니다.