Warning
Warning: Unity Simulation is deprecated as of December 2023, and is no longer available.
Configure the asset selection
Before Initializers can operate on a scene, they need to know what assets to operate on. At a high level, this can happen in three different ways:
- Entire Scene: Regardless of where objects are placed in the environment, this will look at through the whole hierarchy of the current Unity scene
- Regions: Given a specific geometry placed in the scene environment, this will look at only the objects encompassed in that geometry
- Asset Groups: This is used to specify assets that are not yet in the scene--for example, in order to spawn objects.
We'll go into the configuration of these Asset Selection Modes in this page.
Configure a Region
What is a Region?
For Initializers that want to operate on a well-defined space in the simulation environment, Regions are the right choice. These are a collection of shapes, and can be used to find objects encompassed in the area, or used to sample points inside it. \n\nA Region component can contain multiple, arbitrary geometries; these are defined via Region Splines.
Then what's a Region Spline?
A Region Spline is a single geometry in the scene, implemented using Unity's Spline package, displayed in the scene via a colored mesh outline. You can add multiple of these to a single Region component, in case you want to have, for example, four different rectangle areas where you want to run an Operation.
Once you've selected Region as the Asset Source Mode in your Initializer, you can customize your areas!
- Start by adding a Region component to your Initializer GameObject. The Region component will have been added automatically for our pre-defined Initializers, but you'll need to add it for any custom Initializers you may have written
You'll see that this automatically generates a new GameObject, added as a child to your Initializer. This new object already contains the necessary components to define a single geometry: the Spline container, and the Region Spline.
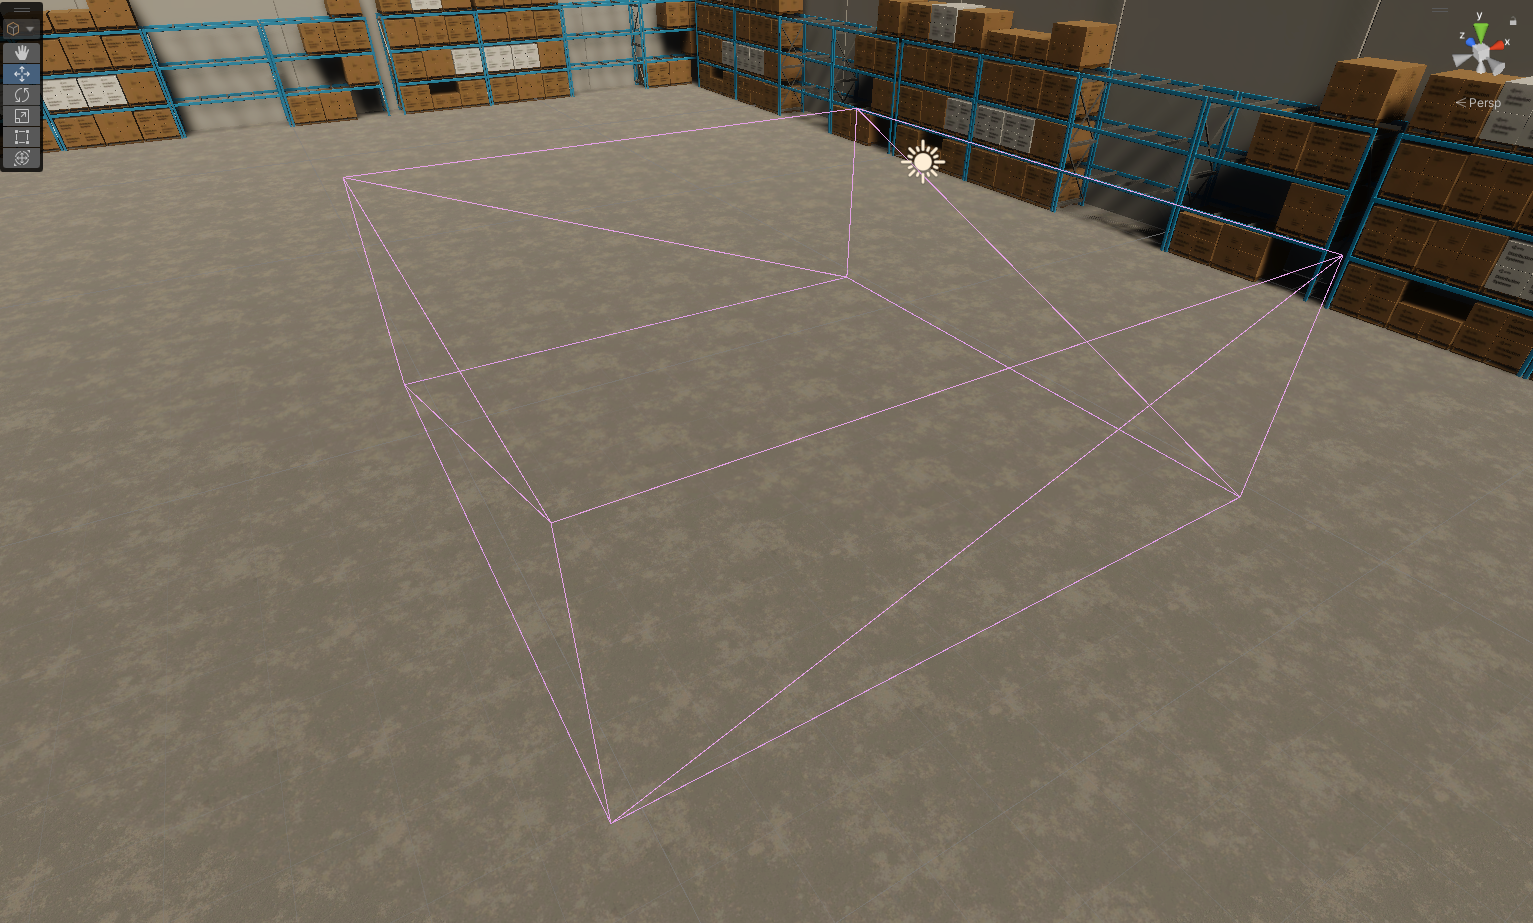
- To edit this shape, select the child Region object in your Hierarchy
- In the Scene Tools, select the dropdown next to the GameObject's cube icon, and select the Spline context

You should see the vertices of your shape highlighted with white ◎ symbols; this means you've entered the spline editing mode.
You can now use the usual Unity Scene tools to move these vertices around, or select the Knot Placement Tool (found at the bottom of the Scene tools) to add more vertices along the shape.
You can also modify the height of this Region.
- On the child object, find the Region Height field of the Region Spline. You can set this value to the necessary height to define the vertical axis of your geometry
Depending on your use of the Region, you may want to enable Auto Curate Objects in Region. When toggled on, this allows the Region to subscribe to changes in the scene and keep note of what objects are encompassed by the geometry. These objects are tracked in the Objects inside Region list.
Finally, you can optionally set the color of the geometries in your scene for each Initializer's set of Region Splines. This gizmo is set via the Color field of the Region component, and affects all connected Region Splines.
To use your Region, return to your Initializer object and find the Scene Initializer component.
- Ensure you've selected the Region as the Asset Source Mode in the non-simple view
- On the Region component, ensure your Region Spline is added to the Splines list
From here, all Operations and asset filtering will apply to the objects found in the geometries of your Region!
Configure an Asset Group
What's an Asset Group?
If you're initializing your environment with assets that are not yet in the Scene—which is to say, with assets from disk--then the Asset Group is the way to go. Asset Groups are just lists for objects; for example, it can be a list of Prefabs.
We'll discuss Asset Groups by walking through the process of creating one from scratch.
- To create an Asset Group, right click in your Project window and select Create > Permutations > Asset Group > You'll find that the newly made file is a Scriptable Object
- Click into the New Asset Group, and click the
+to begin adding assets - Add your prefab to the new GameObject field
- Repeat with all your desired prefabs for this Asset Group! > You can also have just a single asset in your Asset Group instead of multiple.
That's all you need to do to configure your group! To use your new Asset Group, return to your Initializer object and find the Scene Initializer component.
- Ensure you've selected the Asset Group option for Asset Source Mode
- In the Asset Group field, assign your new Asset Group
From here, all Operations and asset filtering will apply to your assigned Asset Group!