Timeline Integration
Demo
To demonstrate integration with
Timeline,
we will create a Compositor Graph asset that will pan an image horizontally using a Transform node.
The steps are as follows:
Make sure that there are a Render node, a Transform node, and a Layer node in the graph.
Set the size of the Render node to 3840x1080.
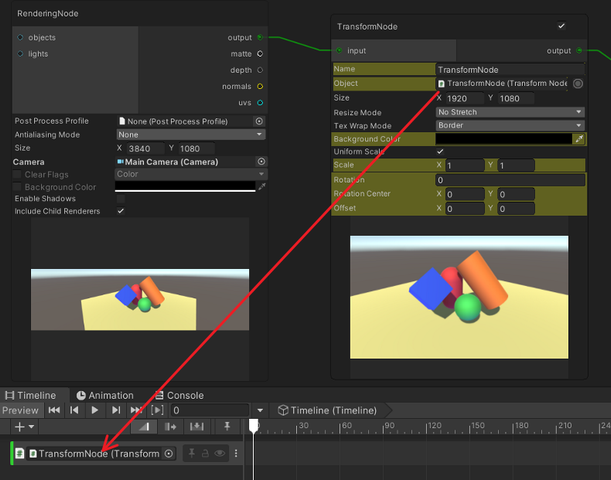
Then, right click the Transform node, and choose "Expose as Component".
This allows Timeline to use this node.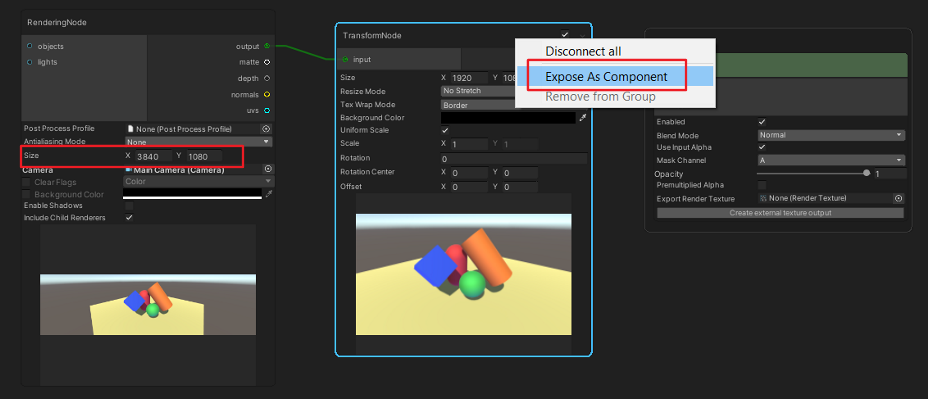
When a compositor node is exposed, the UI of the node changes.
First, two new fields and a greyed out record button are added at the top.- Name: the name of the internal object.
- Object: the internal object for dragging and dropping into a timeline track.
Second, the background colors of some fields are changed to indicate that they are driven by Timeline.

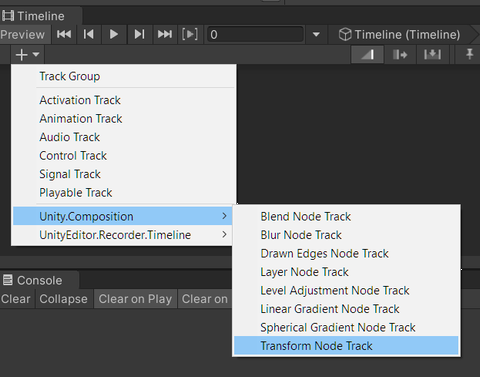
Create a new timeline track. In this case, we choose the Transform Node Track.
Drag the internal object from the Transform node (see step 3) into the slot on the timeline track.
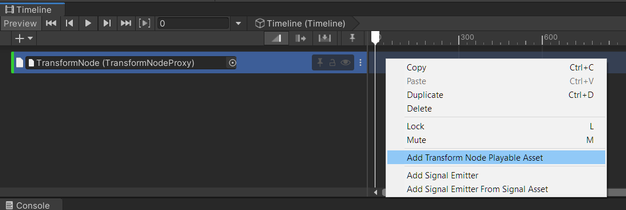
Right click in the timeline track and choose "Add Transform Node Playable Asset".
Click the curves button in the timeline track to open the curves view.
Notice that the curves have been initialized with the values of the TransformNode bound to the track.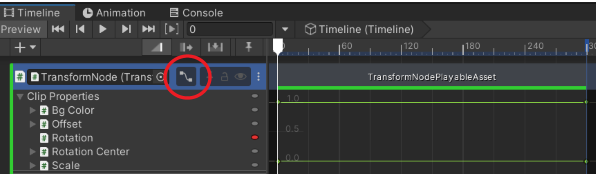
Move the Timeline playhead to a position between the start and end of the TransformNodePlayableAsset, and notice that the previously greyed out record button turns to red.

Click the record button, and modify the X offset value to 512.
Notice that a new key is automatically added in the curve.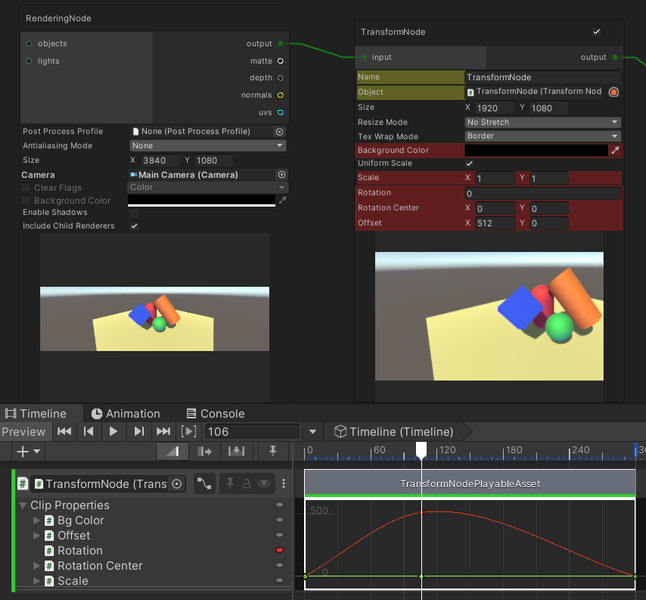
To frame all animation curves or keys of a Playable Asset, press A after selecting it.
Move the Timeline playhead to another position and create more keys if necessary.
Then, click the record button again to stop recording.Enter Play mode or scrub the Timeline to see the image pan horizontally.
Timeline Nodes
Nodes that support Timeline integration are as follows:
- Blend
- Drawn Edges
- Layer
- Level Adjustment
- Linear Gradient
- Multipass Gaussian Blur
- Spherical Gradient
- Transform
Timeline-related Manipulations
Highlight the node, which is bound to a Timeline track, in the Visual Compositor window.
We can click the ellipsis button in the track section to open the menu.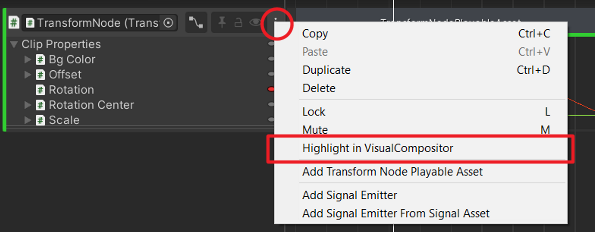
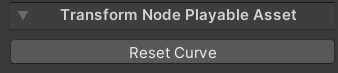
Reset the curve data of a Playable Asset to its default values by using the Reset Curve button shown in the inspector of the Playable Asset.
Please note that this operation is not undoable.