Hello world
Overview
In this tutorial, you will learn how to create a simple SystemGraph design that emulates a counter and displays the current counter value on a LCD screen emulated in Unity.
Create a System Graph Asset
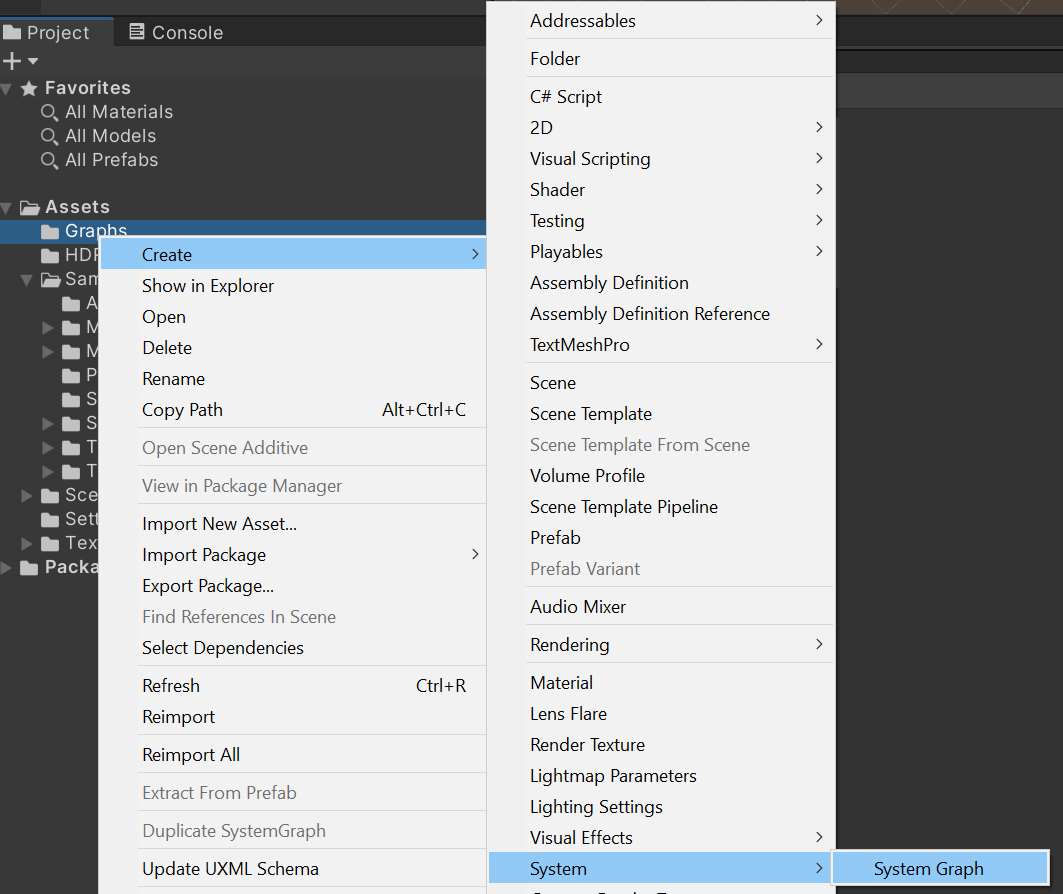
Under the Asset folder, right-click and select Create > System > System Graph and name the graph HelloWorld.
Create the draft of the graph
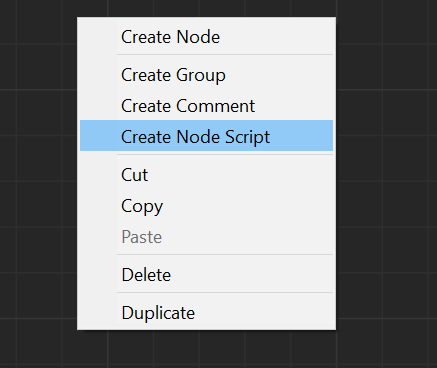
Right-click and select Create Node Script.
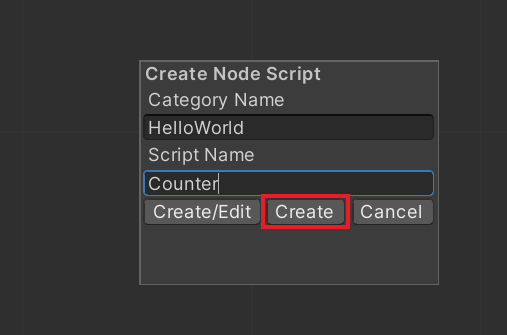
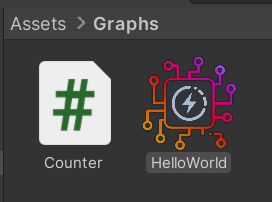
Set HelloWorld as the category name and Counter as the script name, then select Create. You should see the script in the Project window.
The script name is used as the node name when it's added to the graph. When looking for nodes to add to a graph, nodes are grouped under their respective category names, making them easier to find.
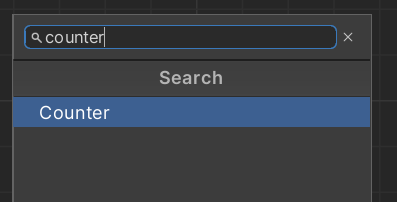
In the SystemGraph editor window, right-click and select Create Node.
Type Counter in the search bar. Your new node script is under the HelloWorld category.

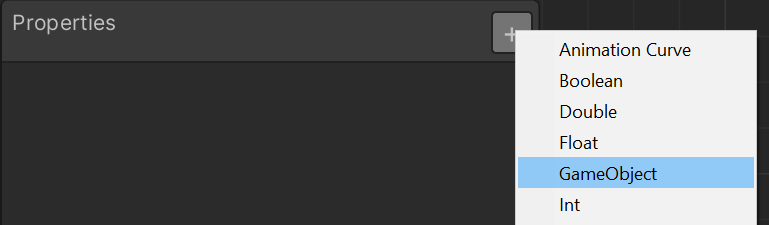
Select the + button on the Properties tab, then select the GameObject type. Enter the name LCDObject for the property you just created.
Drag the property onto the graph. It appears as an output port.

In the system graph toolbar, select Save Asset.
Create the scene objects
Your system graph will interact with scene objects through the LCDObject property you created. For this tutorial, you will create a TextMeshPro GameObject and bind it to the property.
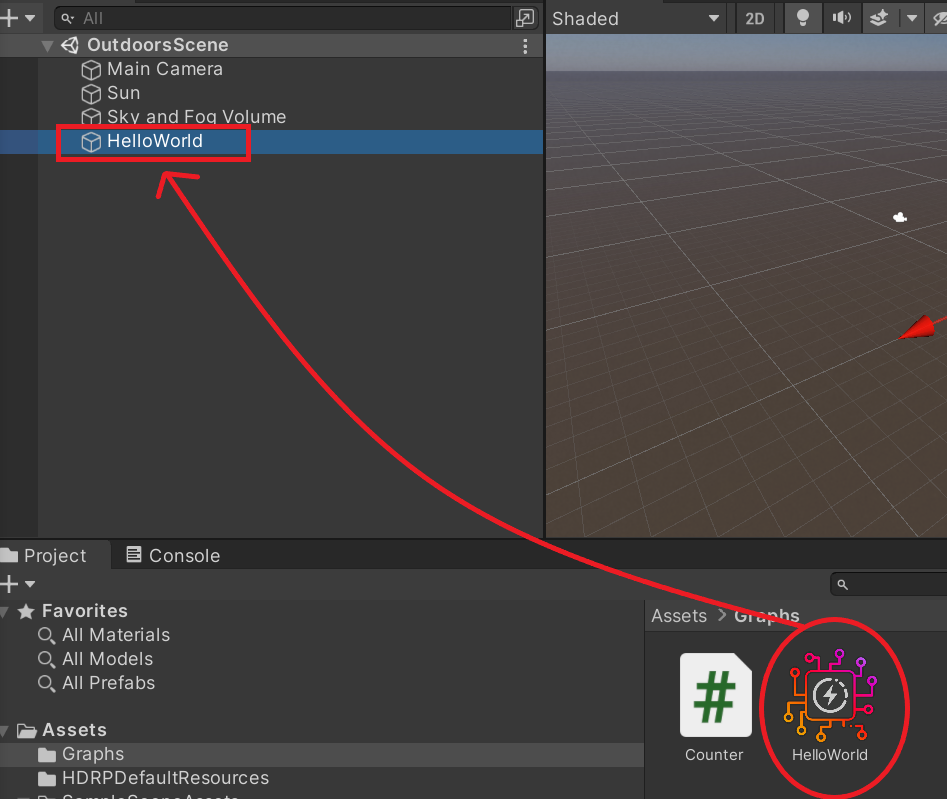
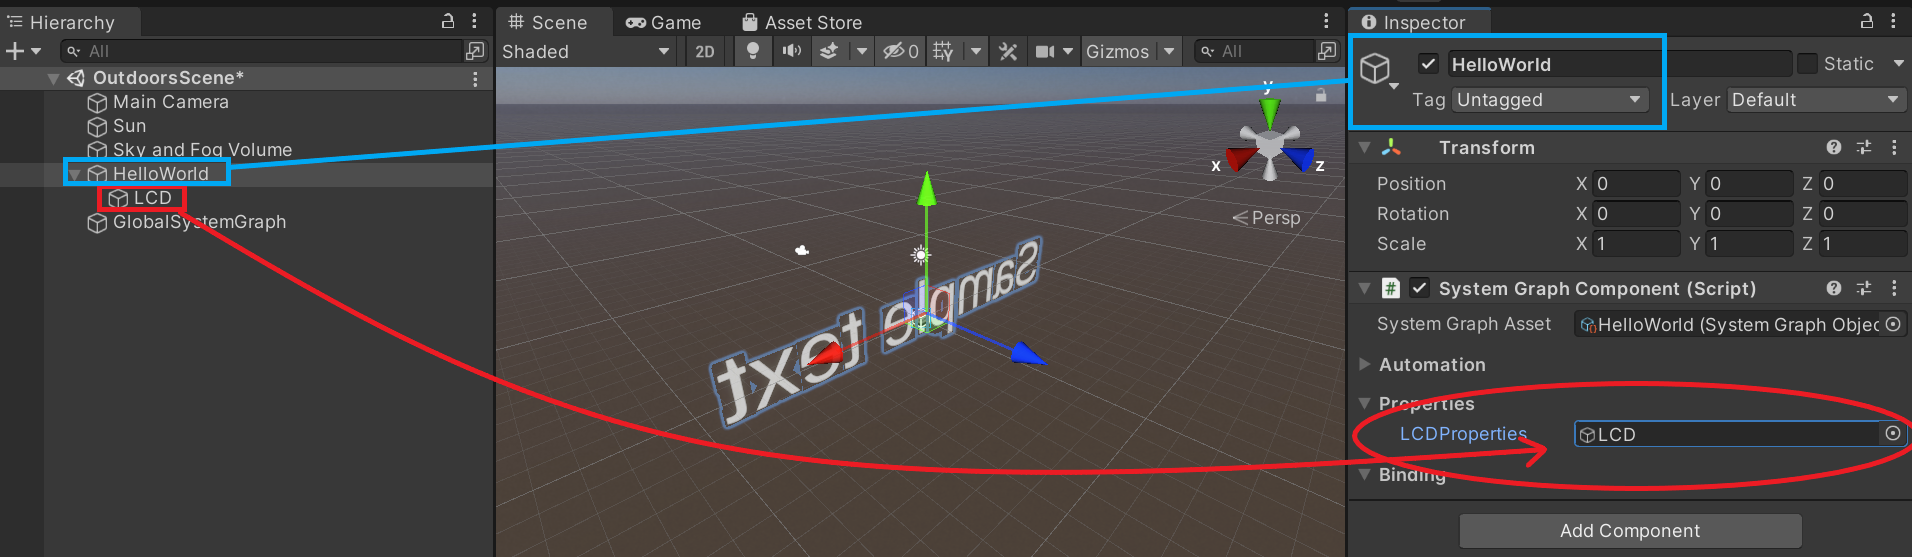
Drag the system graph into the scene.
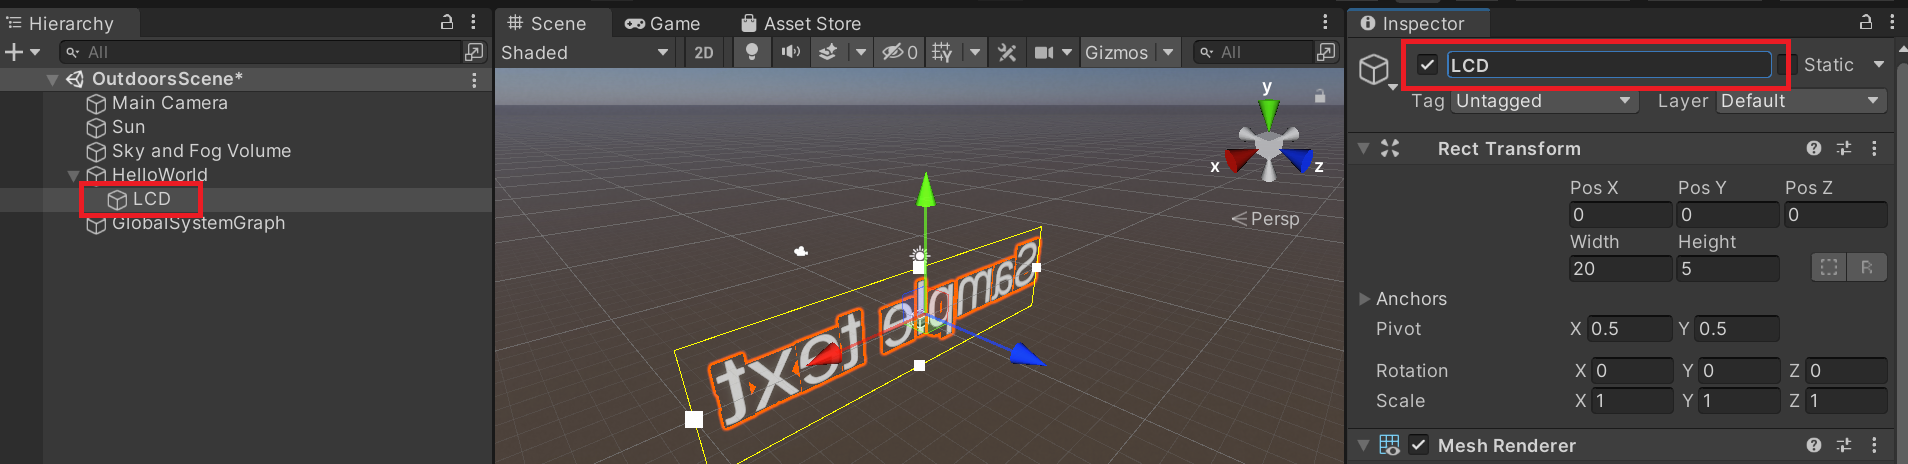
Right-click on the HelloWorld GameObject and select 3D Object > Text - TextMeshPro. Name the GameObject LCD.
If a TMP Importer window appears, select Import TMP Essentials to be able to see the text in your scene. Close the window.
Select the HelloWorld GameObject in the Hierarchy window, then drag the LCD GameObject from the Hierarchy window onto the LCDObject property in the Inspector window to bind it.
Implement the Counter node
Now that the graph is in the scene and connected to a GameObject through its input port, you can add a behaviour.
The Counter.cs script describes a node that's in the HelloWorld system graph. This node has one input and one output by default.
Open the Counter.cs script. By default, you'll find the following:
- A class
NodeCategoryheader, which defines the node group, name, and tick mode. The node is Asynchronous by default. - Two fields: one input and one output.
- An empty constructor.
- An empty
Enablemethod. This method is called when the node is initialized. - An empty
Disablemethod. This method is called when the node is shut down. - An
OnTickmethod. This method is called at a frequency defined in the SystemGraph Scheduler, when the node mode is set to Synchronous.
Replace the existing content of Counter.cs with the following:
using UnityEngine;
using TMPro;
using Mechatronics.SystemGraph;

[NodeCategory("HelloWorld", "Counter", NodeTick.Synchronous)]
public class Counter : NodeRuntime
{
    [Field("LCD Display", PortDirection.Left, FieldExtra.Read), SerializeField]
    private PortType<GameObject> lcdDisplayObject = new();

    [Field("Increment", PortDirection.Left, FieldExtra.Read), SerializeField]
    private PortType<uint> increment = new();

    [Field("Output", PortDirection.Right, FieldExtra.Write), SerializeField]
    private PortType<uint> output = new();

    private TextMeshPro _lcdDisplay;
    private uint _count;

    public override void Enable(Scheduler.ClockState clockState)
    {
        if (lcdDisplayObject.Read != null)
        {
            _lcdDisplay = lcdDisplayObject.Read.GetComponent<TextMeshPro>();
        }
        _count = 0;
    }

    public override bool OnTick(double now, double eventTime, Scheduler.ClockState clockState, Scheduler.Signal signal)
    {
        _count += increment.Read;
        output.Write = _count;

        if (_lcdDisplay != null)
        {
            _lcdDisplay.text = $"Count: {_count}";
        }

        return true;
    }
}
The node is now Synchronous, so that the OnTick method may be called by the Scheduler.
The Enable method retrieves the TextMeshPro component and stores its reference in the _lcdDisplay private field.
The OnTick method increments the current counter by the amount read on the Increment input port, and writes the counter value to the output port. It then changes the LCD display to reflect the new counter value.
Configure the graph
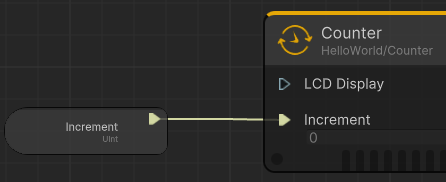
When you open the HelloWorld graph, the Increment input port should now be visible.
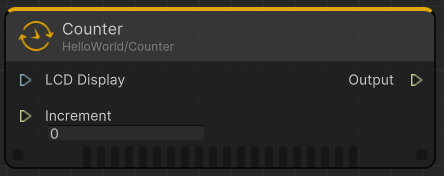
In this tutorial, you will set Increment to a constant value using its edit field.
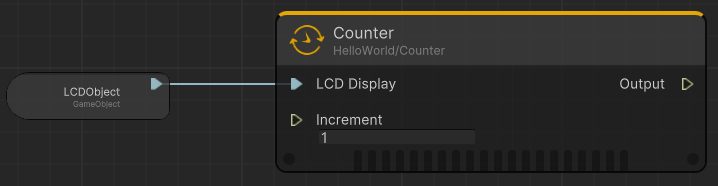
Connect the LCDObject property to the LCD Display port.
Set the Increment edit field to 1.
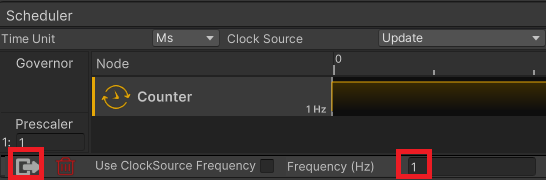
In the Scheduler panel, double-click the Counter node to open the Scheduler bar.
In the Scheduler bar, set Frequency (Hz) to 1.
Select the exit icon to close the Scheduler bar.
Select Save Asset and exit the graph.
Note
You could also provide the Increment value by connecting the port to the output of another node or to a graph property. In that case, the field wouldn't be editable.
Test
In the Editor toolbar, select the Play button. The counter should now increment every second.
