Selection Groups User Documentation
Overview
Selection Groups provides a more convenient workflow in Unity by
allowing users to group a number of GameObjects under a common name.
This way, we can do operations on these groups,
instead of individual GameObjects.
Please refer to the installation page to install Selection Groups package.
Getting Started
Open the Selection Groups window via Window > General > Selection Groups.
We recommend to dock this window next to the Hierarchy window for easier member assignment.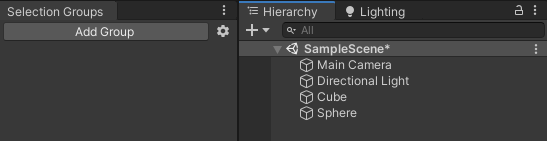
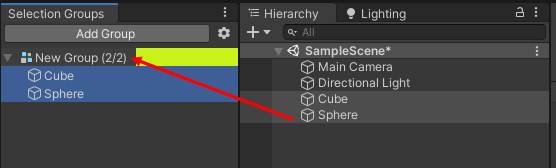
Click “Add Group” in the Selection Groups window, and a new item will appear inside the window.
Drag some GameObjects from the hierarchy, or assets from the Project window.
Click the group name, and the inspector window will display the following properties:
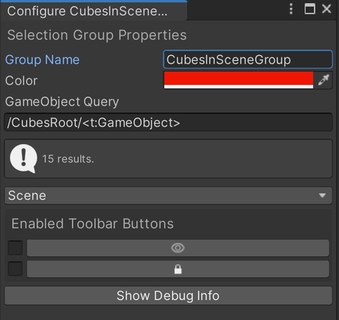
- Group name
- Group color
- GameObject Query
Specifies a query which will automatically assign GameObjects from the hierarchy that match the query to the group.
For example,/Enemy*will select all GameObjects that are in the root of the hierarchy that have names starting withEnemy.
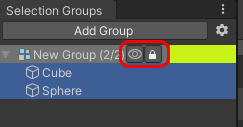
See the GoQL documentation for more information. Toolbar Buttons
Enables/disables the following toolbar items in the main Selection Groups window for the group.- Eye: to show or hide all the GameObjects in the group.
- Lock: to enable or disable the editing of all the GameObjects in the group.