Configure Self-Signed Credentials for https
Prerequisites
Windows
This document is written assuming that the OS is Windows.
Chocolatey
Chocolatey is a package manager for Windows (like apt-get or yum but for Windows). Link to install Chocolatey: https://chocolatey.org/install
OpenSSL
OpenSSL is a robust, commercial-grade, and full-featured toolkit for the Transport Layer Security (TLS) and Secure Sockets Layer (SSL) protocols. Installation:
choco install openssl.light
Step 1: Create a Private Key
Run the command:
"C:\Program Files\OpenSSL\bin\openssl.exe" genrsa -des3 -out rootSSL.key 2048
Enter a Password:
Enter pass phrase for rootSSL.key:
Verify the Password:
Verifying - Enter pass phrase for rootSSL.key:
Step 2: Create a Certificate File
Run the command:
"C:\Program Files\OpenSSL\bin\openssl.exe" req -x509 -new -nodes -key rootSSL.key -sha256 -days 1024 -out rootSSL.pem
Enter the Password:
Enter pass phrase for rootSSL.key:
Enter your Country's 2-Letter Code:
Country Name (2 letter code) [AU]:CA
Enter the name of your state/province:
State or Province Name (full name) [Some-State]:Quebec
Enter the name of your locality (city):
Locality Name (eg, city) []:montreal
Enter the name of your organization:
Organization Name (eg, company) [Internet Widgits Pty Ltd]:Unity
Enter the name of your business unit within the organization:
Organizational Unit Name (eg, section) []:Verticals
Enter your computer's fully qualified domain name or your name:
Common Name (e.g. server FQDN or YOUR name) []:Tony
Enter your e-mail address:
Email Address []:anthonyma@unity3d.com
Step 3: Get Windows to Trust the Certificate Authority (CA)
Search for and run
Microsoft Management Console (mmc.exe)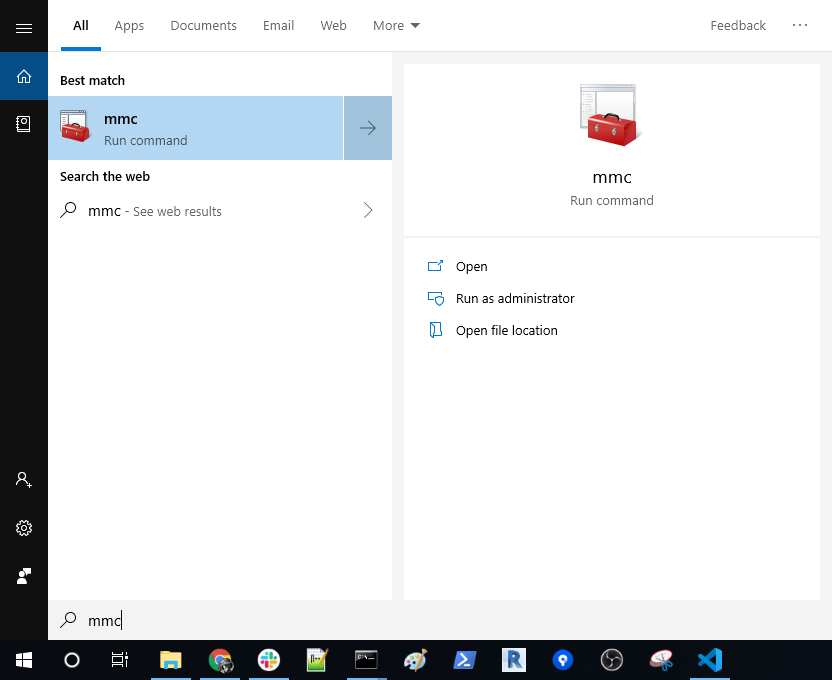
Go to
File > Add/Remove Snap-in...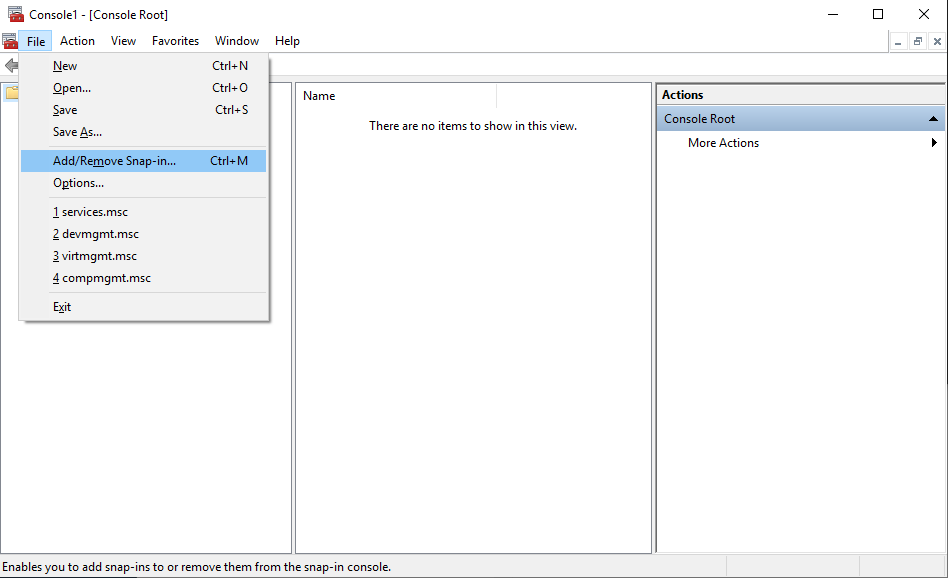
Click on
Certificatesand thenAdd >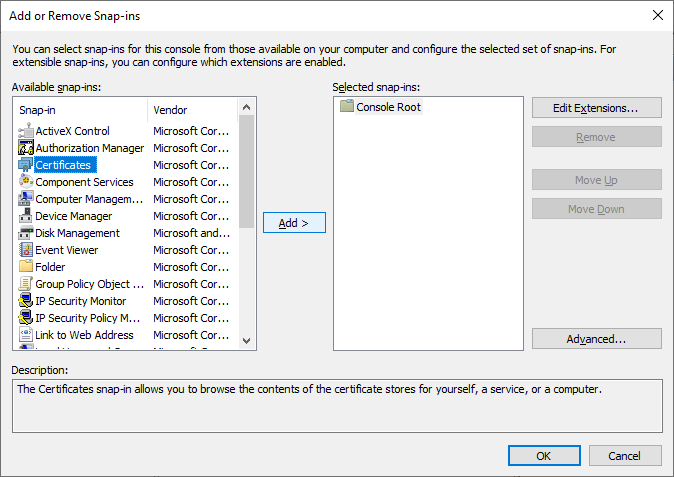
Select
Computer Accountand thenNext >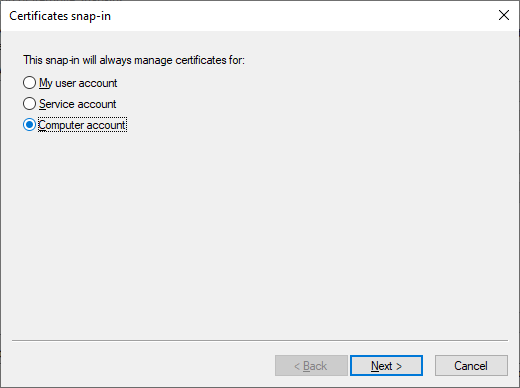
Select
Local computer (the computer this console is running on)and thenFinish
Select
OKin theAdd or Remove Snap-inswindow
Expand
Console Root > Certificates (Local Computer)in theConsole1 - [Console Root]window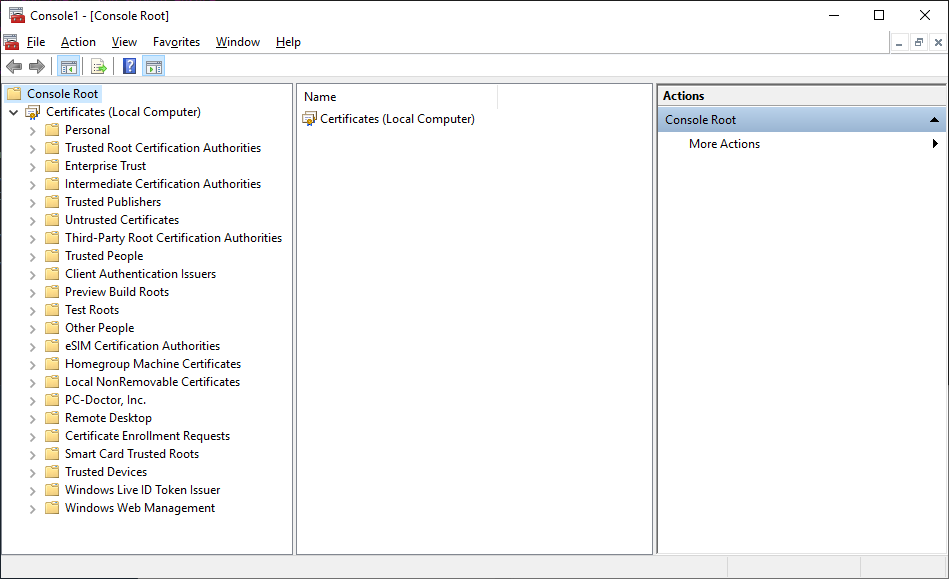
Select
Trusted Root Certification AuthoritiesthenRight-ClickonCertificatesand selectAll Tasks > Import...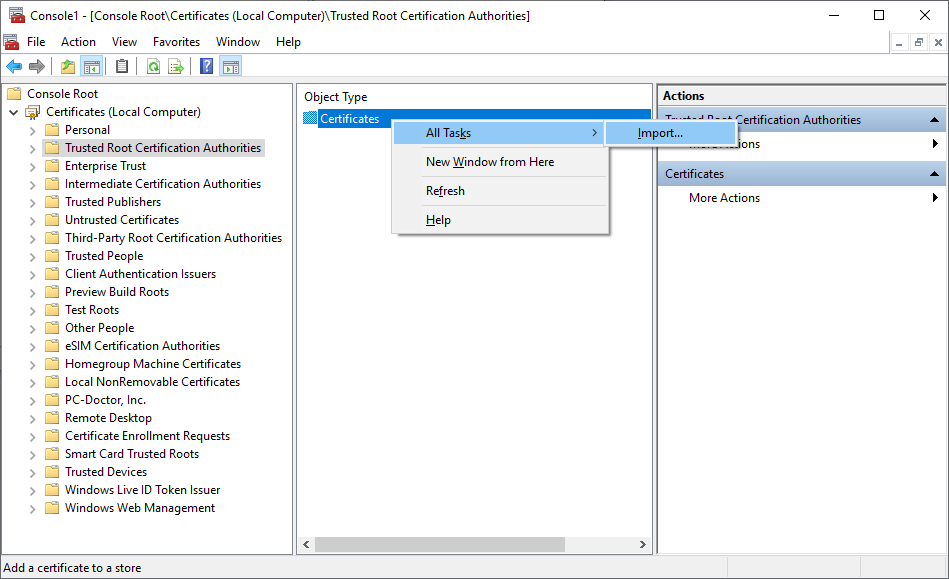
Select
Nextin theCertificate Import Wizardwindow
Browse to the location of the
rootSSL.pemfile created in Step 2: Create a Certificate File and then selectNext.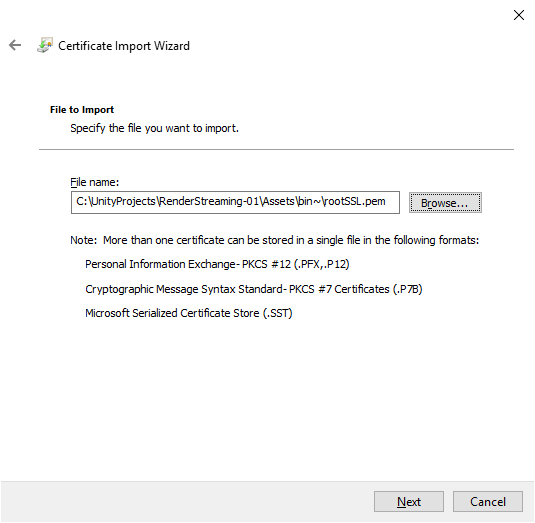
Select
Place all certificates in the following storeand ensure thatTrusted Root Certification Authoritiesis the value in theCertificate store:field, and then selectNext.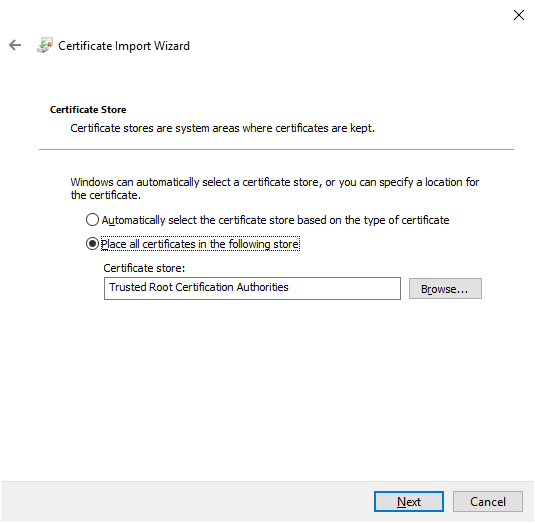
Select
Finish.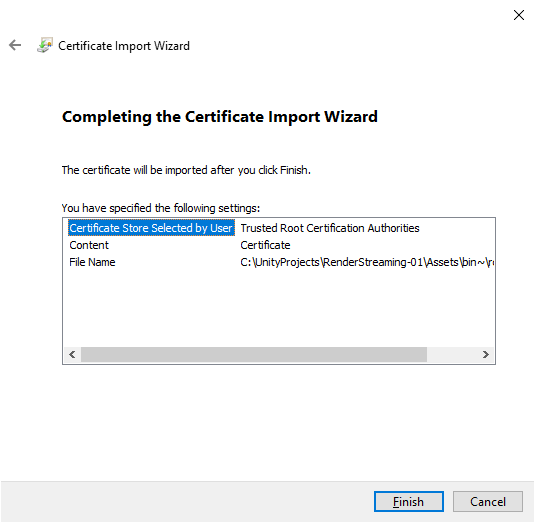
Step 4: Create a Local Domain Site
Add
127.0.0.1 client-1.localto yourC:\Windows\System32\drivers\etc\hostsfile.# Copyright (c) 1993-2009 Microsoft Corp. # # This is a sample HOSTS file used by Microsoft TCP/IP for Windows. # # This file contains the mappings of IP addresses to host names. Each # entry should be kept on an individual line. The IP address should # be placed in the first column followed by the corresponding host name. # The IP address and the host name should be separated by at least one # space. # # Additionally, comments (such as these) may be inserted on individual # lines or following the machine name denoted by a '#' symbol. # # For example: # # 102.54.94.97 rhino.acme.com # source server # 38.25.63.10 x.acme.com # x client host # localhost name resolution is handled within DNS itself. # 127.0.0.1 localhost # ::1 localhost 127.0.0.1 client-1.local # End of section
Step 5: Create a Private Key (client-1.local.key) and Certificate Request (client-1.local.csr) for the New Domain
Execute this command ensuring the following fields are the same as the ones you used in Step 1: Create a Private Key:
- C=CA (Country)
- ST=Quebec (State)
- L=montreal (Locale)
- O=Unity (Organization)
- OU=Verticals (Business Unit)
- CN=Tony (Name)
- emailAddress=anthonyma@unity3d.com (E-Mail)
"C:\Program Files\OpenSSL\bin\openssl.exe" req -new -sha256 -nodes -out client-1.local.csr -newkey rsa:2048 -keyout client-1.local.key -subj "/C=CA/ST=Quebec/L=montreal/O=Unity/OU=Verticals/CN=Tony/emailAddress=anthonyma@unity3d.com"
Step 6: Issue the New Certificate (client-1.local.crt)
Execute the command:
"C:\Program Files\OpenSSL\bin\openssl.exe" x509 -req -in client-1.local.csr -CA rootSSL.pem -CAkey rootSSL.key -CAcreateserial -out client-1.local.crt -days 500 -sha256 -extensions "authorityKeyIdentifier=keyid,issuer\n basicConstraints=CA:FALSE\n keyUsage = digitalSignature, nonRepudiation, keyEncipherment, dataEncipherment\n subjectAltName=DNS:client-1.local"
Enter the password:
Enter pass phrase for rootSSL.key:
Step 7: Run the webserver.exe
Execute the command:
.\webserver.exe -s -p 443 -k client-1.local.key -c client-1.local.crt